Velomobile Fairing Project
For more confortable all-year-rides.
Start of the project: a sketch on a foam stack.
I decided to start designing the fairing by studying dimensions with a small scale model after sketching some rough drawings.

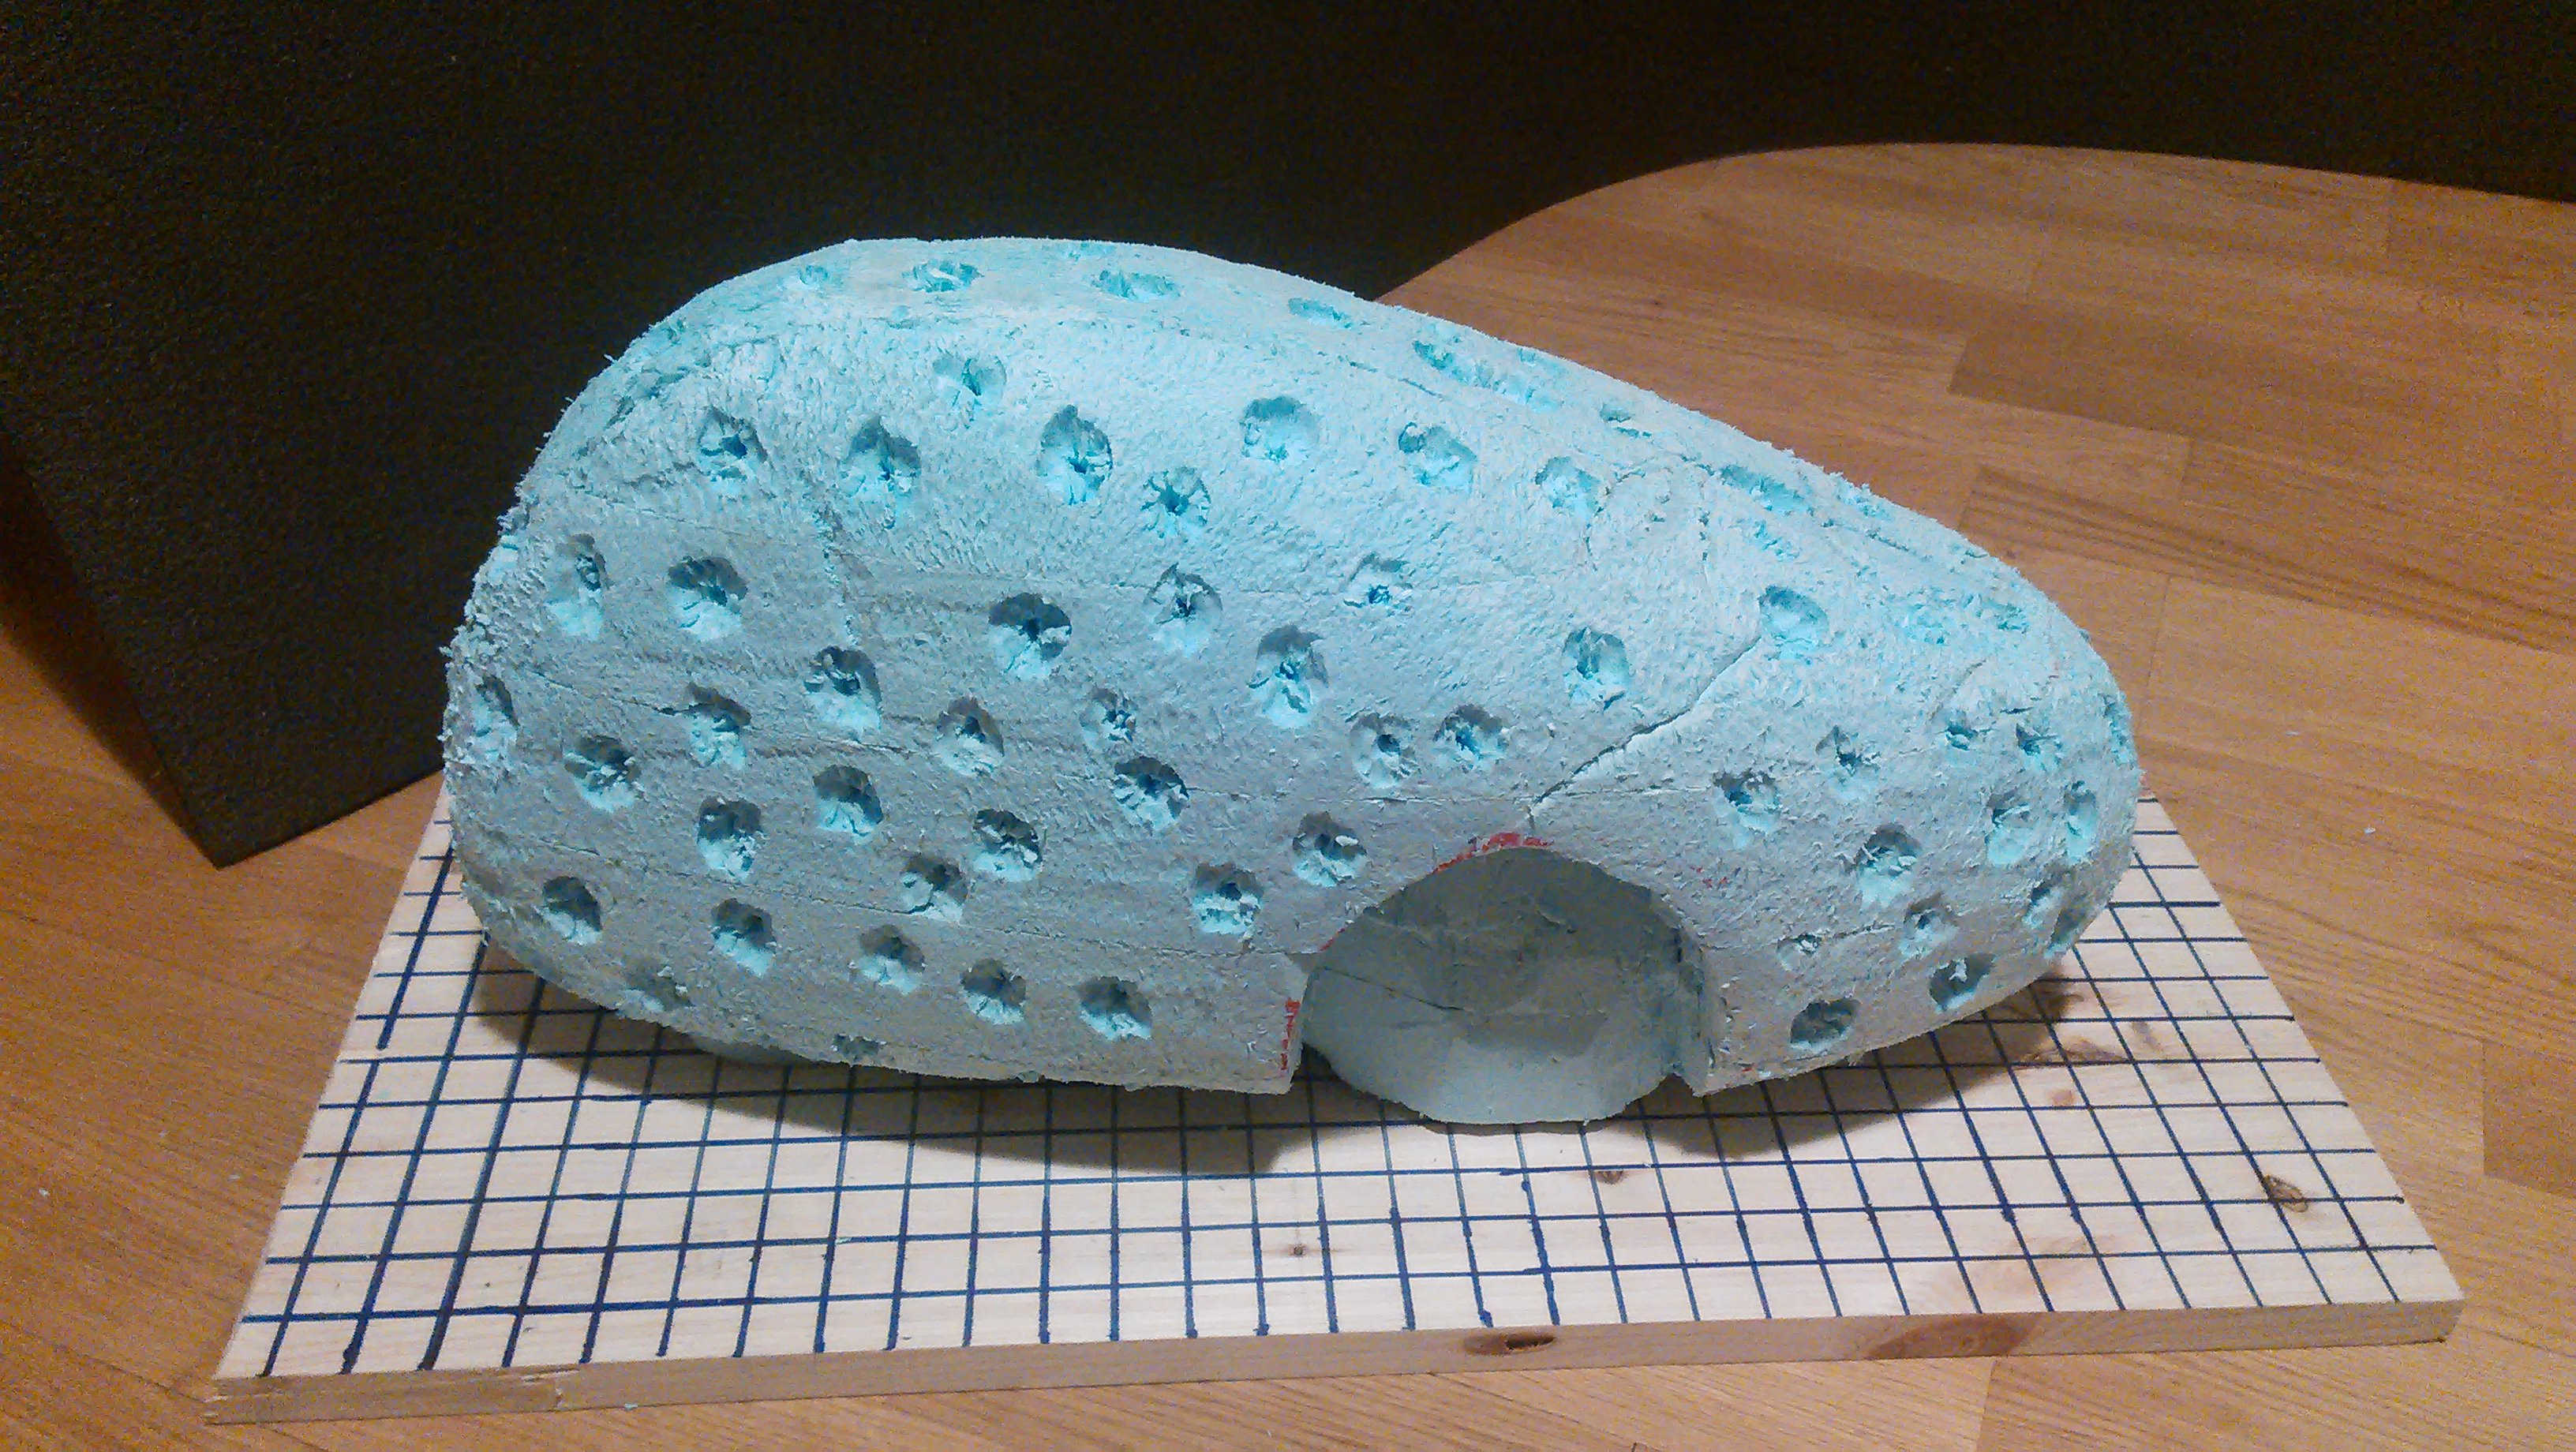
Initial forming resulted a coarse form.
I cut the foam stack and used a hand plane to finish the form. I used a drill to make holes for the clay to attach to the surface.
Adding the CLAY!
I bought some ceramic clay and applied it on to the model.
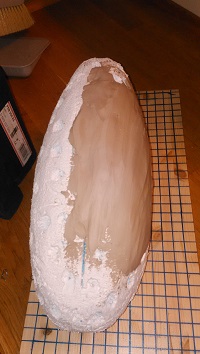
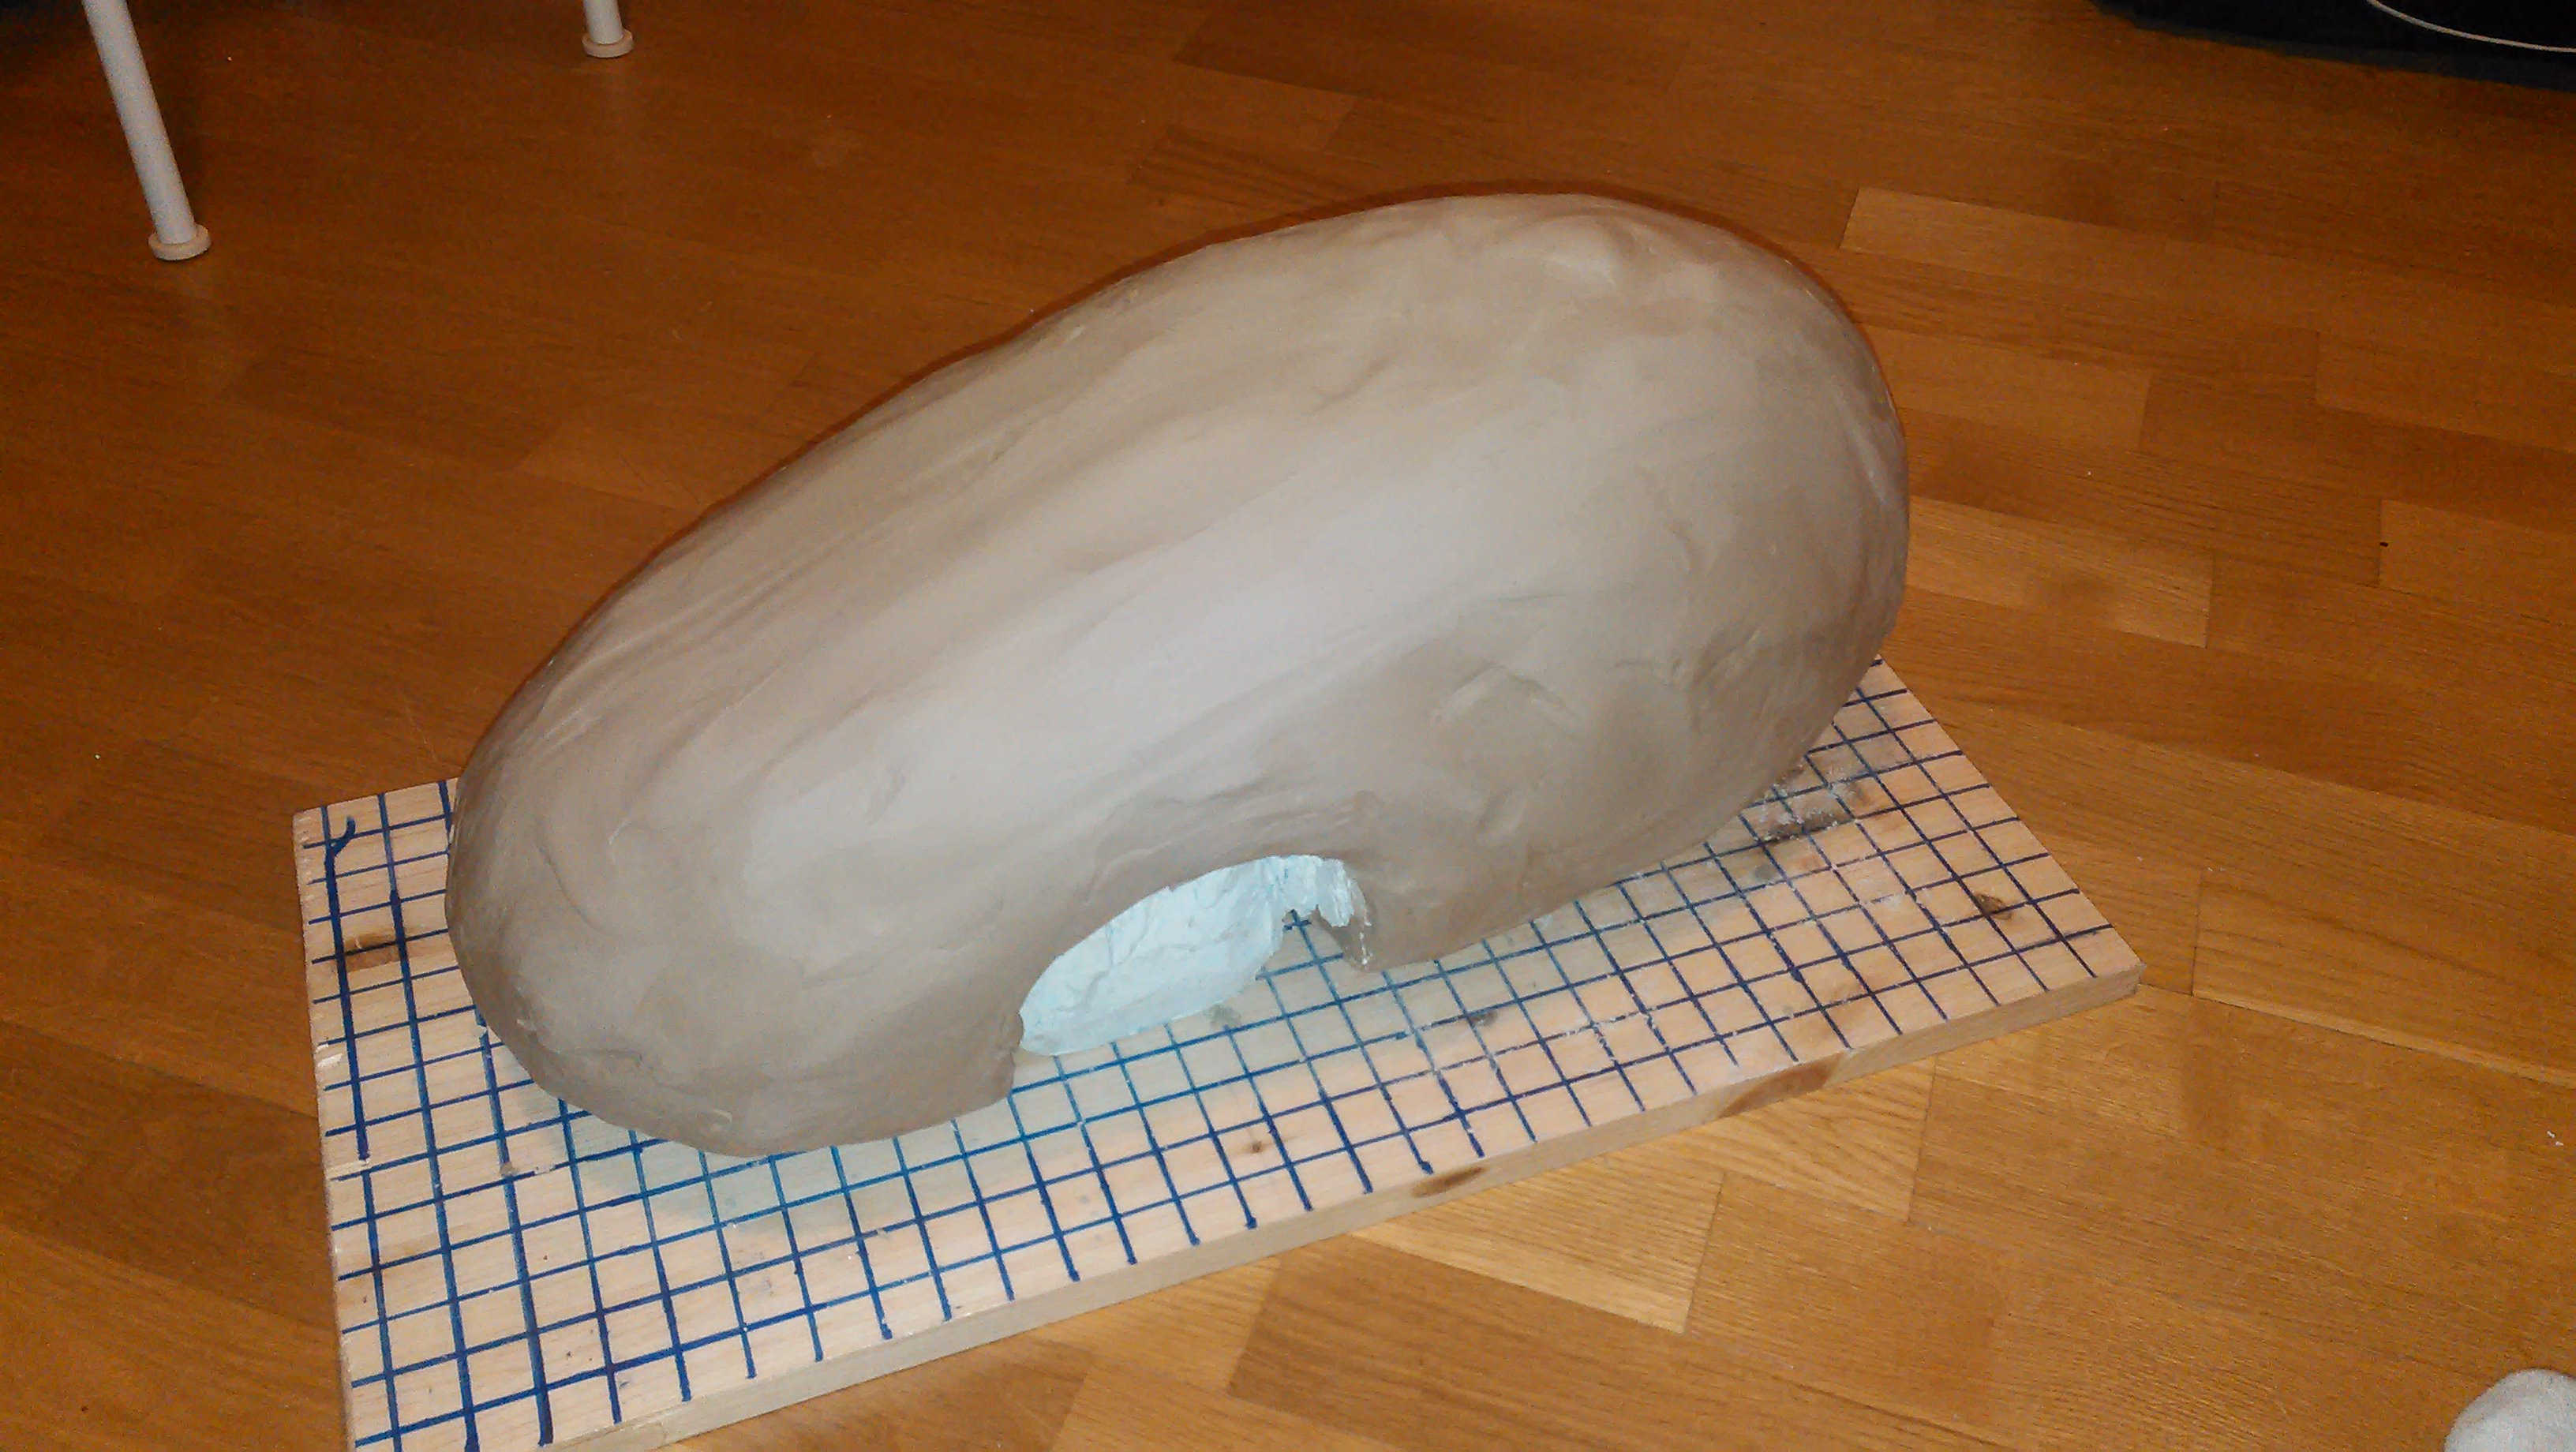
Ready to be formed.
After getting the clay on the model it turned out that I had chosen wrong clay type and the clay started to dry which obviously made forming impossible.
Dimensions appear.
I used a copper wire to study the required dimensions.
Project started rolling.
After some failed trials with a 3D-modelling softwares I decided to go on with forming by hand.
Designing the form.
The upper part was most difficult to design. It should be small to keep weight down but on the other hand one should be able turn head with a helmet.
After few days work looking promising.
I decided to go on fully covered fairing even though this will add some weight..
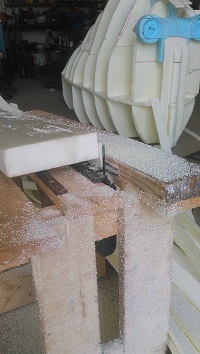
Creating temporary tools
I had to make a saw horse to hold the saw. There was still a lot more work on the foam model.
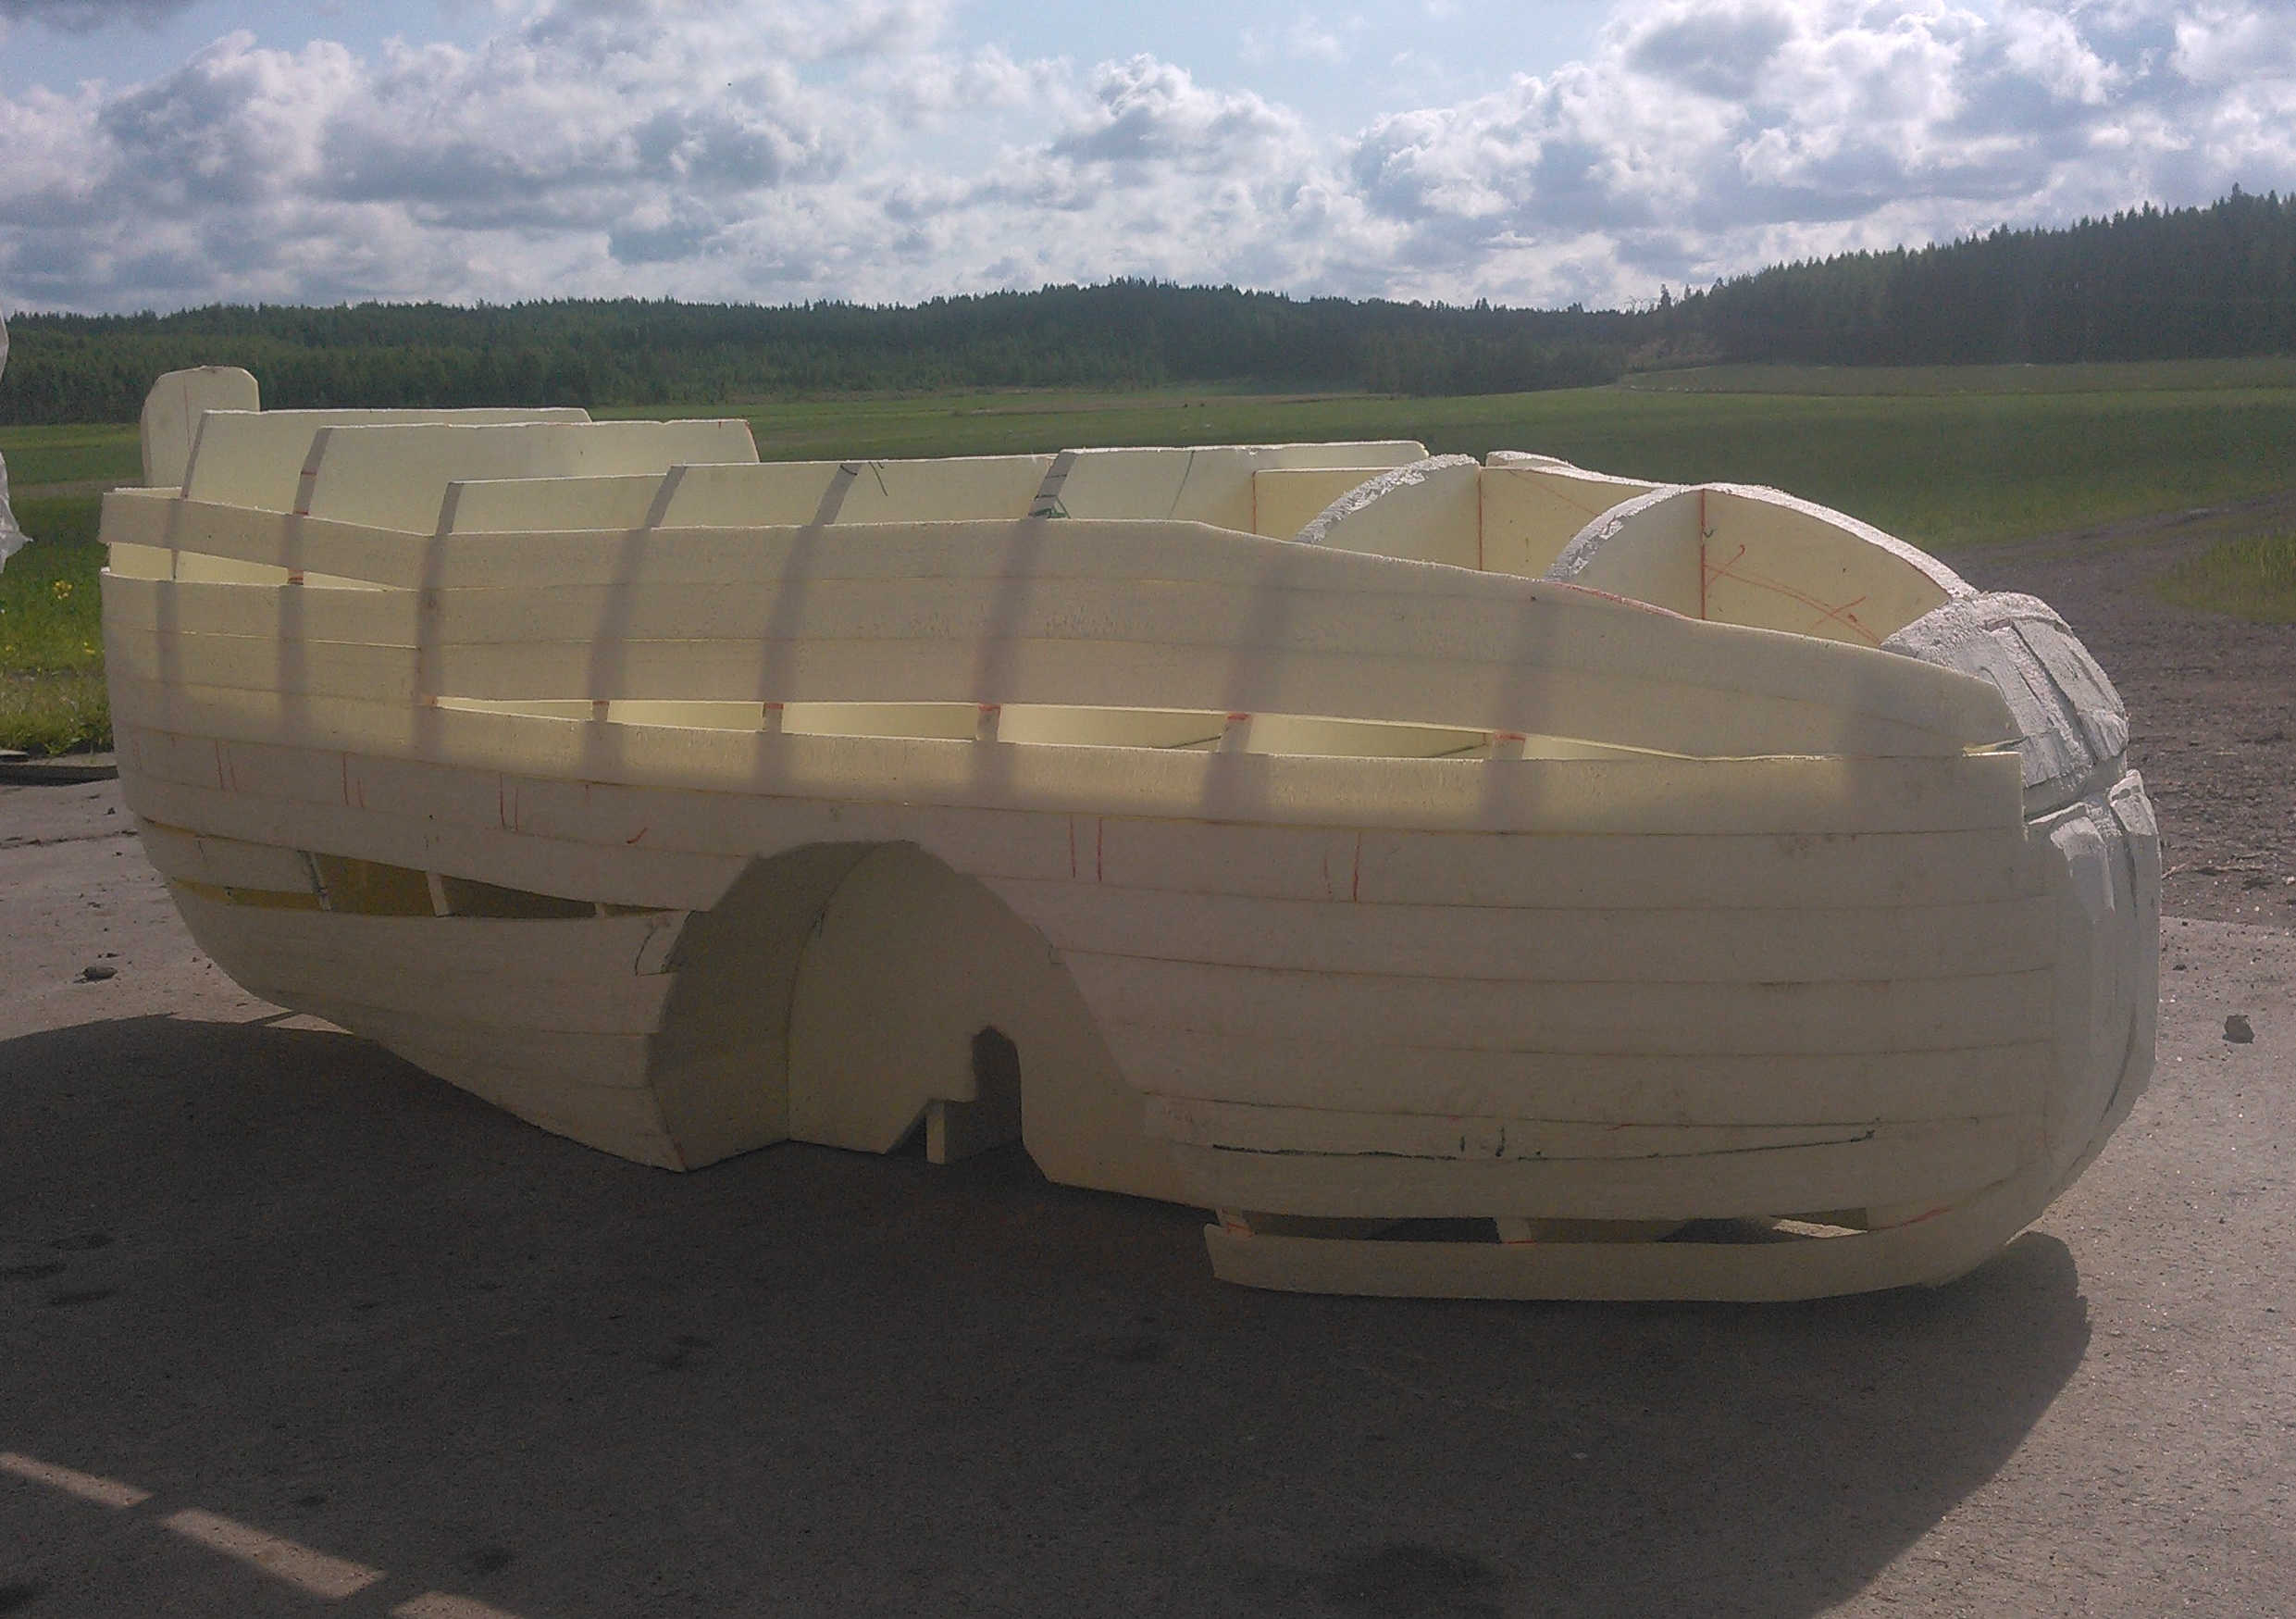
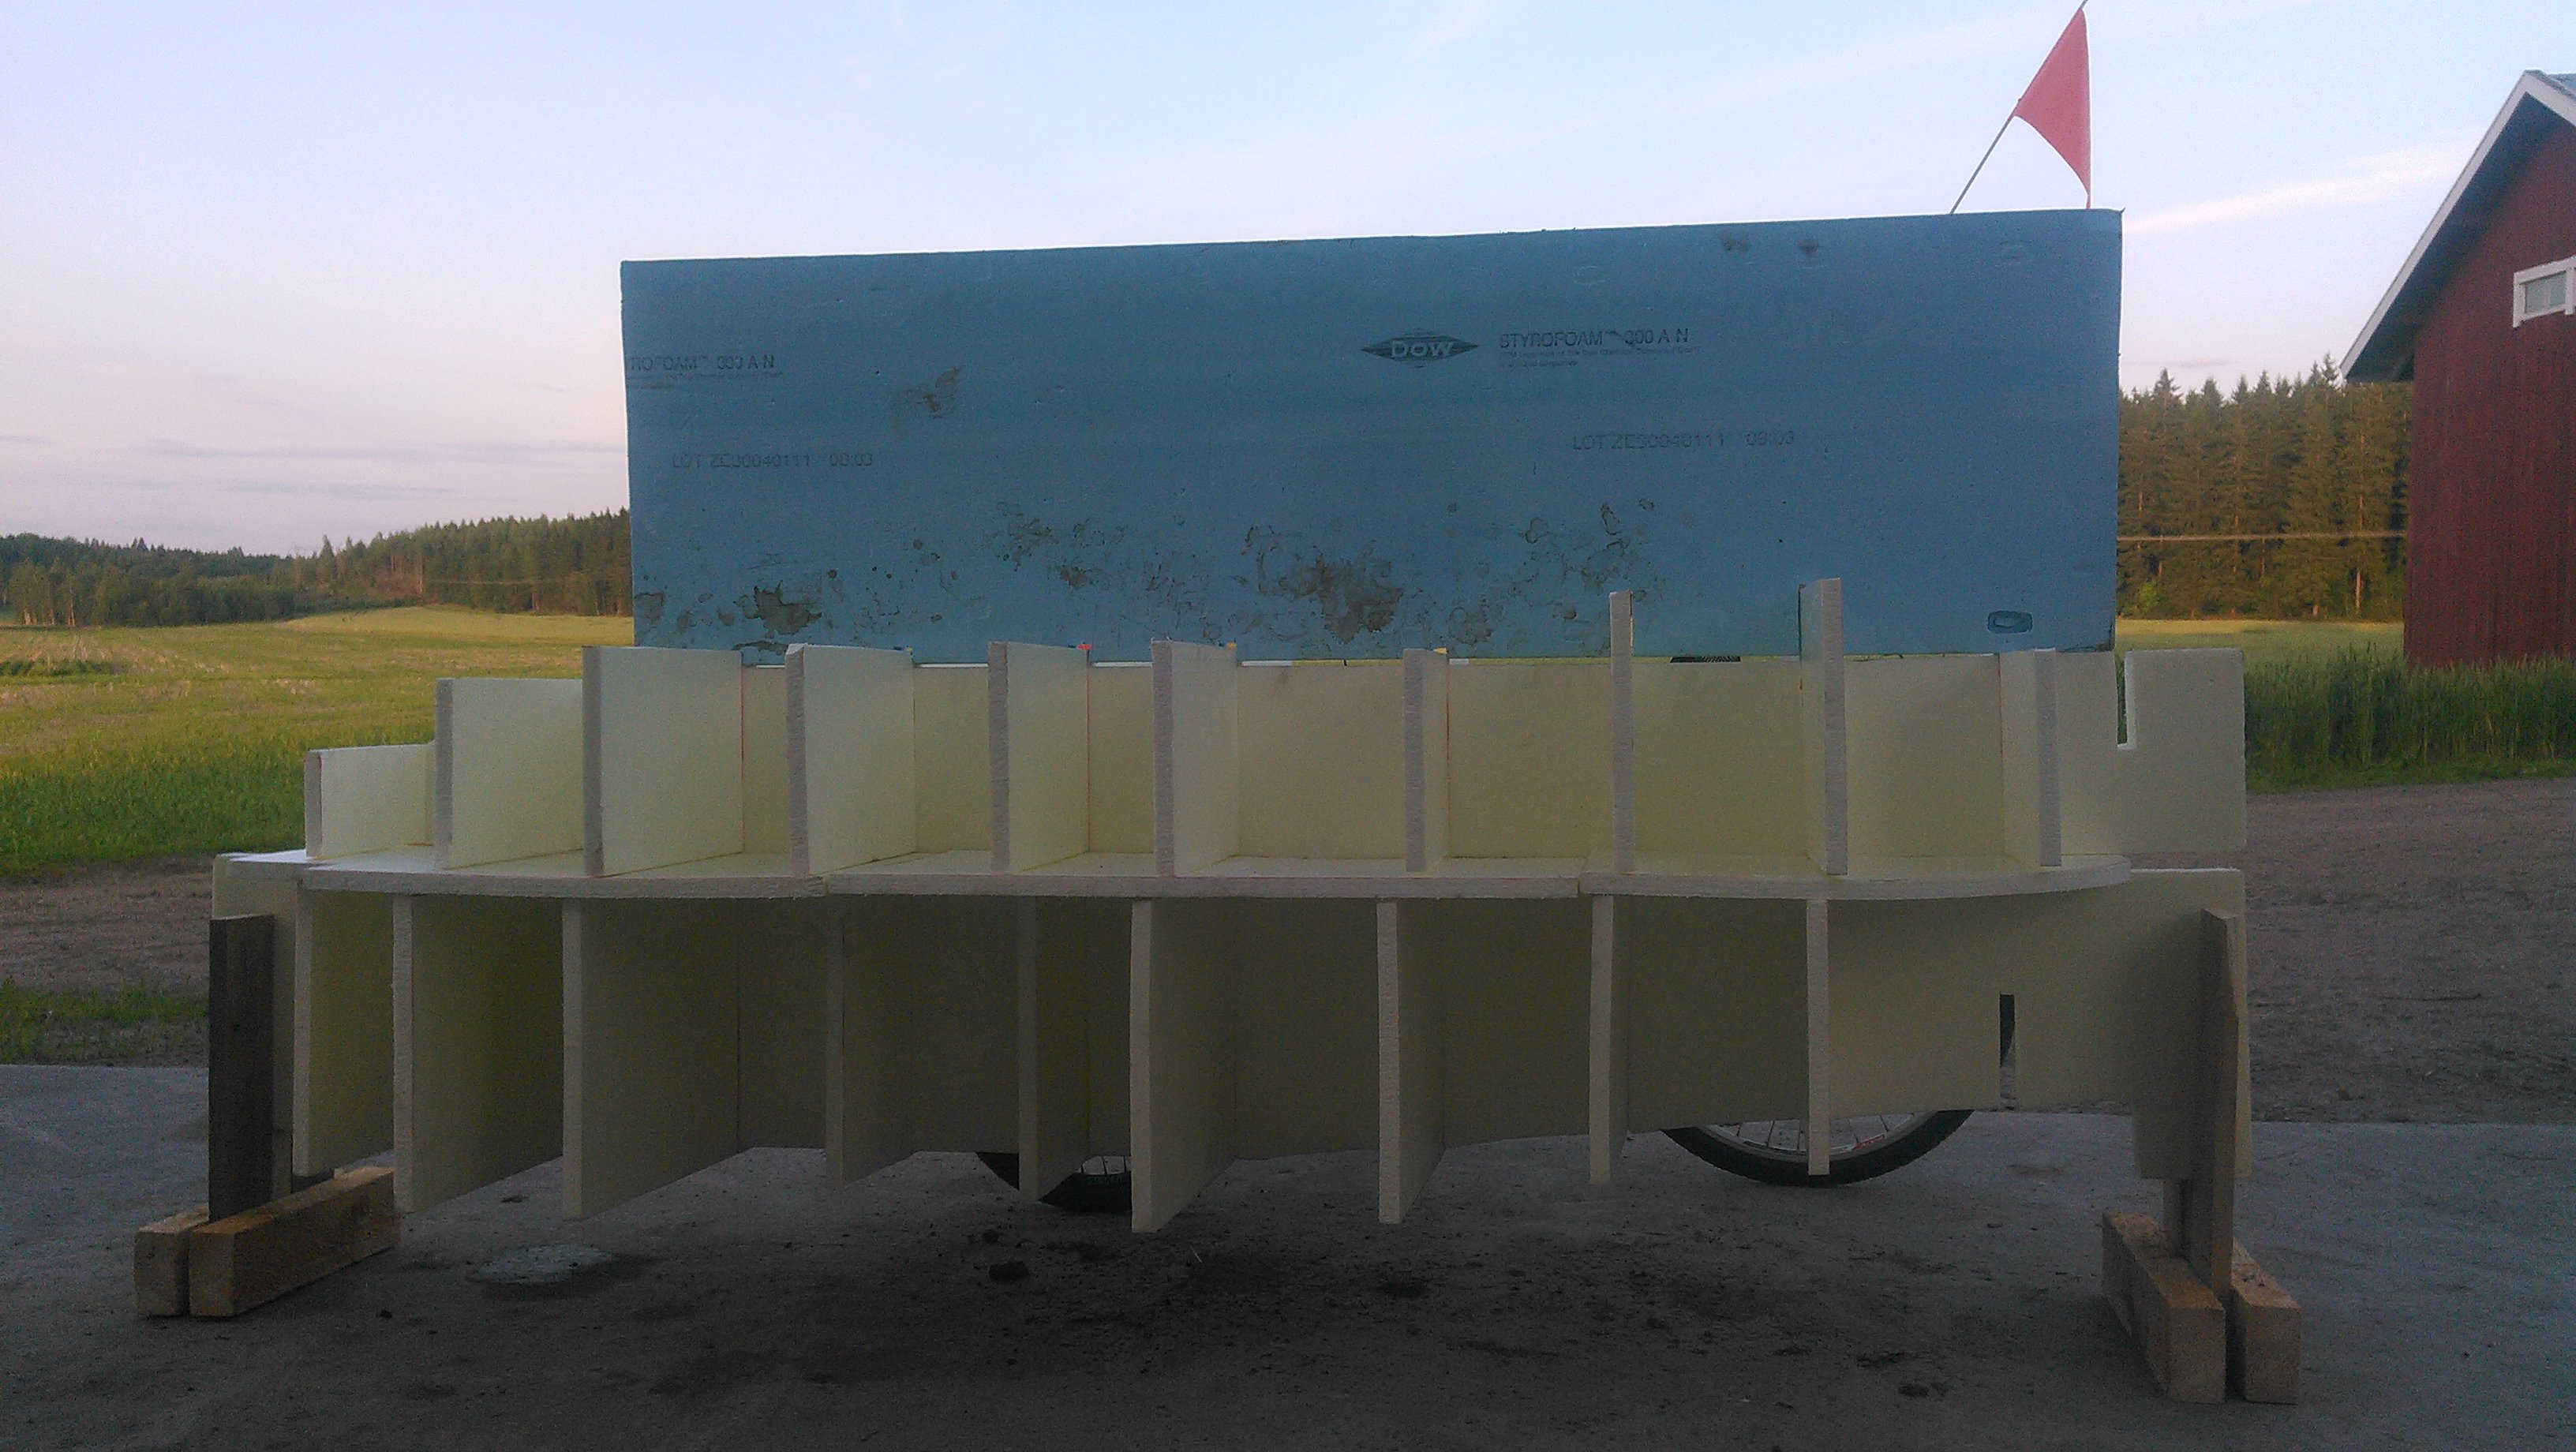
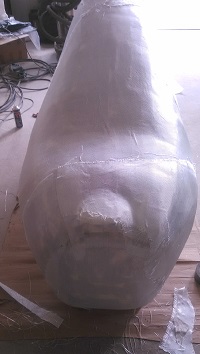
Velomobile form EMERGES!
After days of sprayglueing the strips and carving suitable foam parts it started to look like a real velomobile.
Finally some form!
Getting the form out of the puzzle was a relief. Although this just meant that the grinding business was only in its beginning. It takes several hours to get the surface smooth enough with this building technique.
Side by side comparison.
There is still some hope that the parts will fit together.
Ready to be glass fibred
After getting the surface of the body smooth enough with epoxy and microballoons I was ready to cover it with glass fibre fabric.
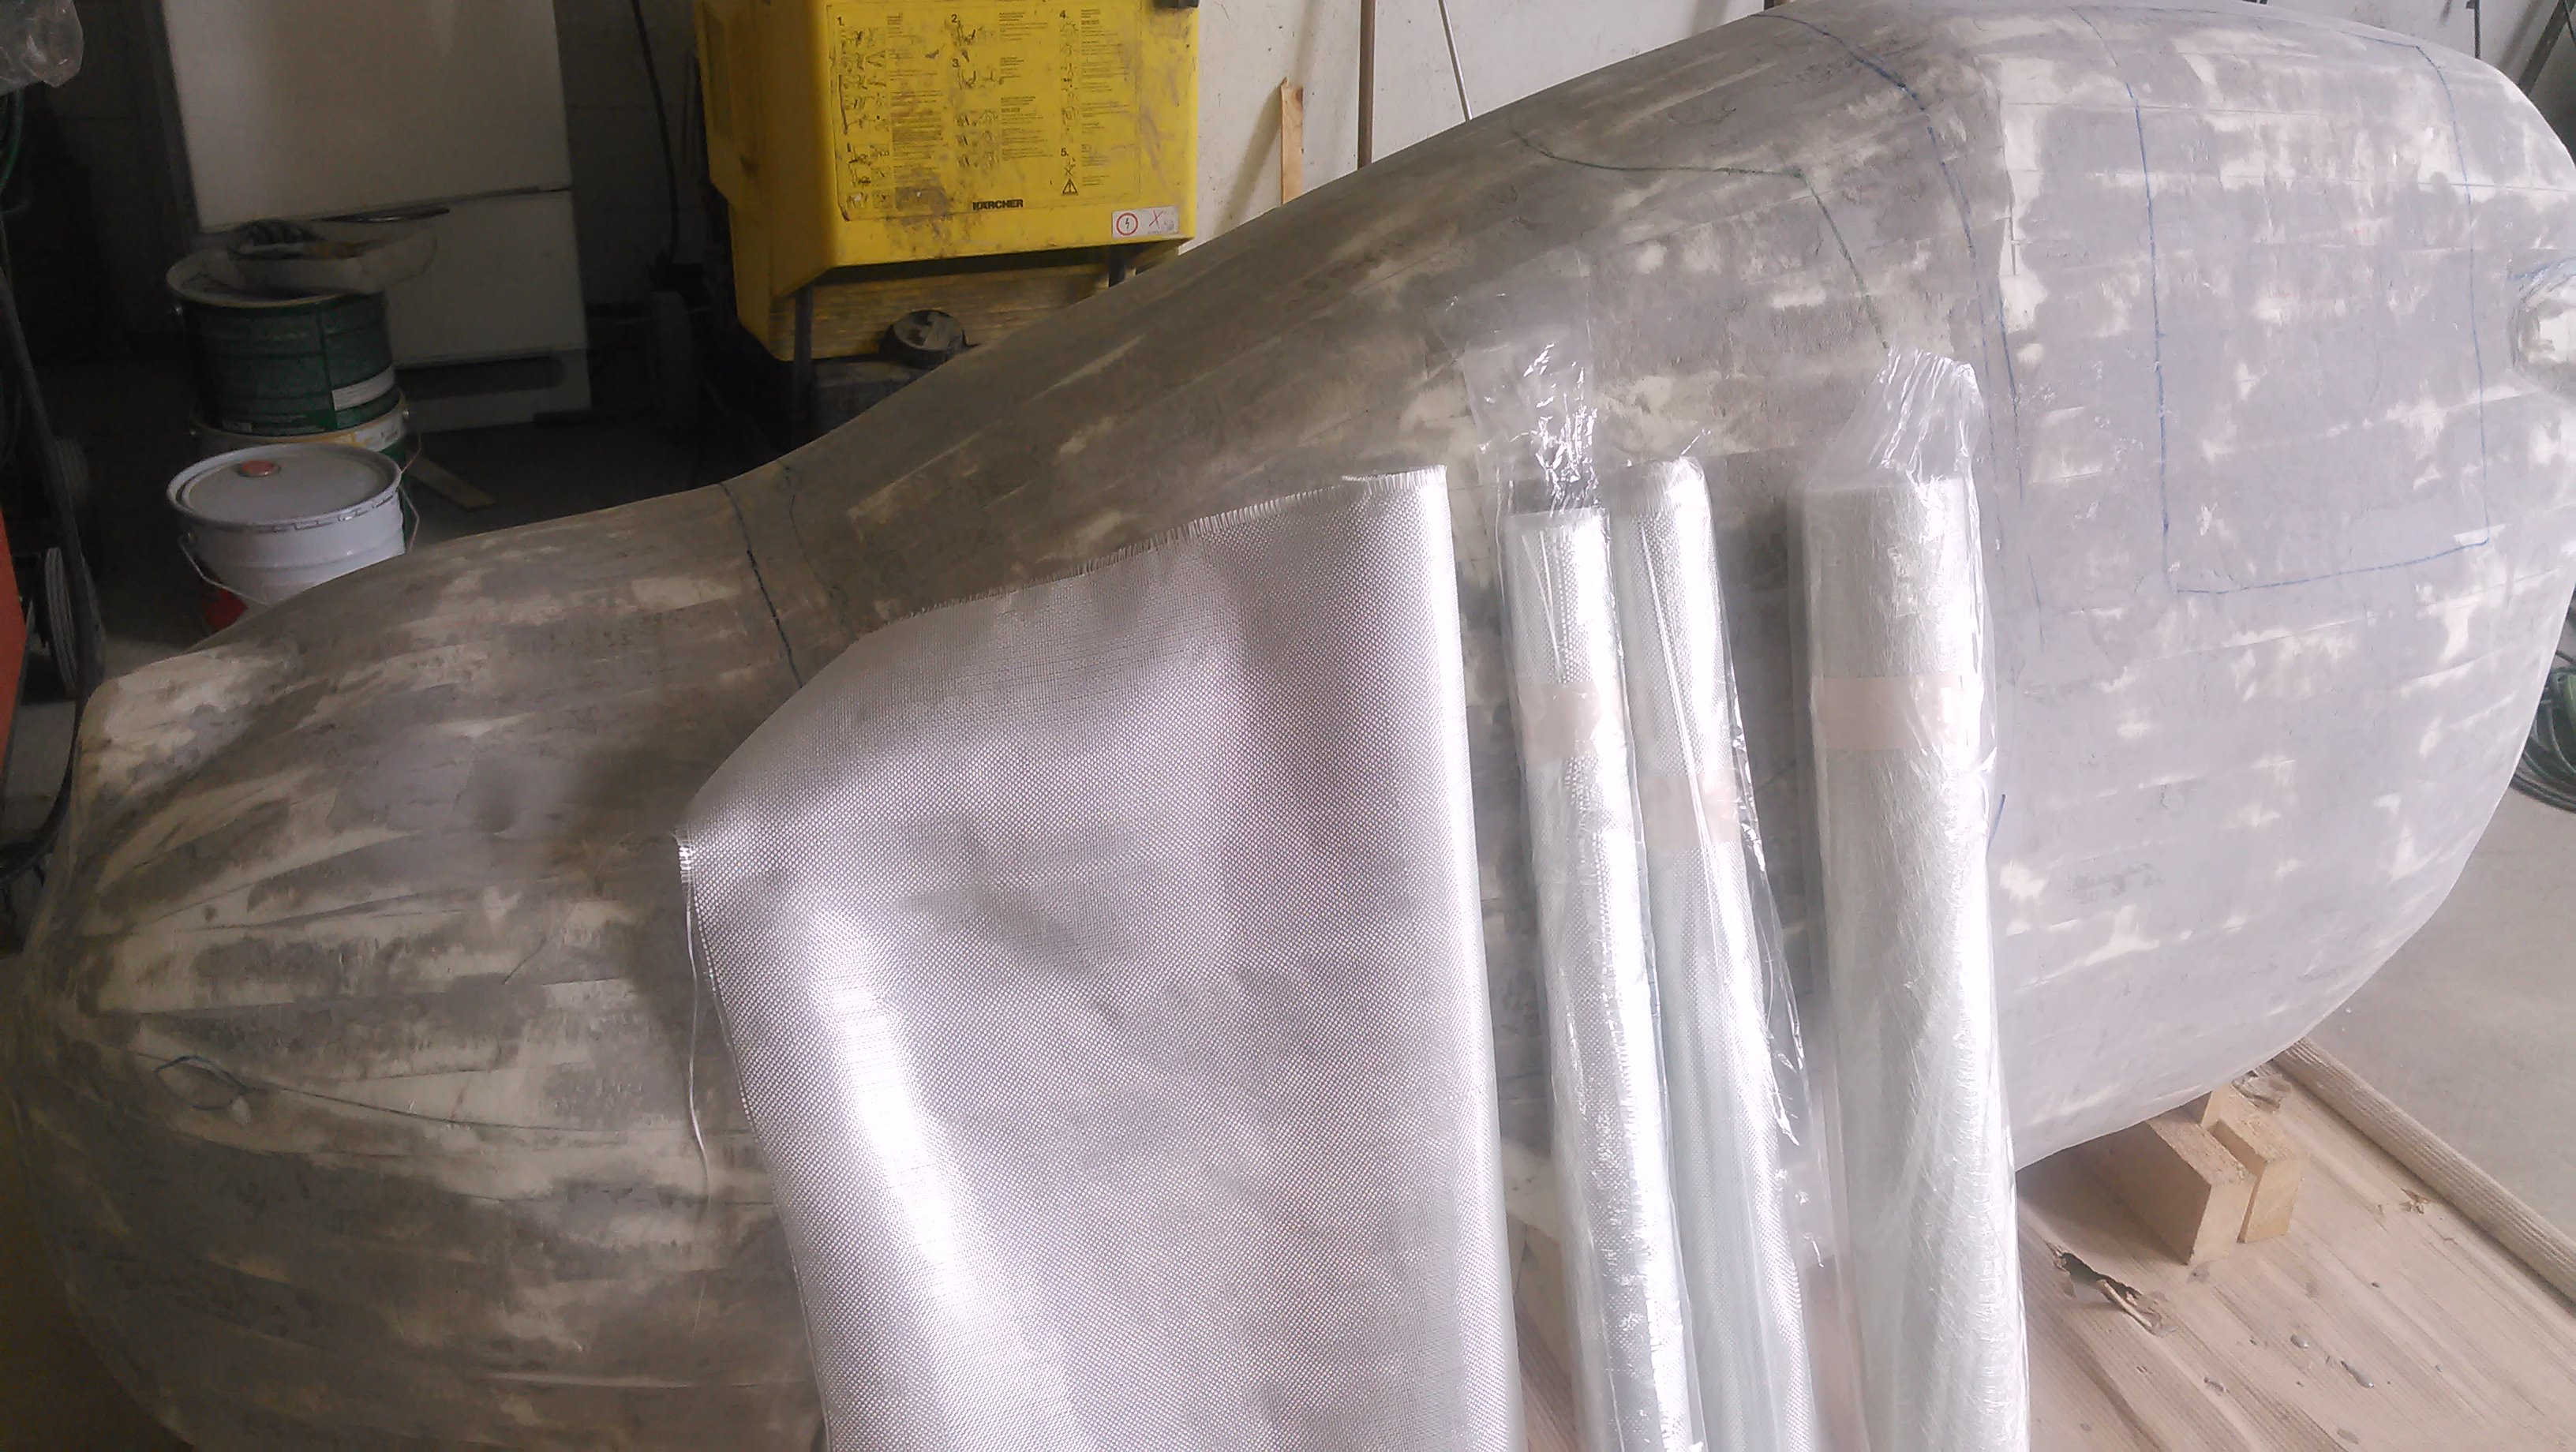
Body GLASSED!
I used a spray glue to attach the glass fibre fabric firmly to the body.
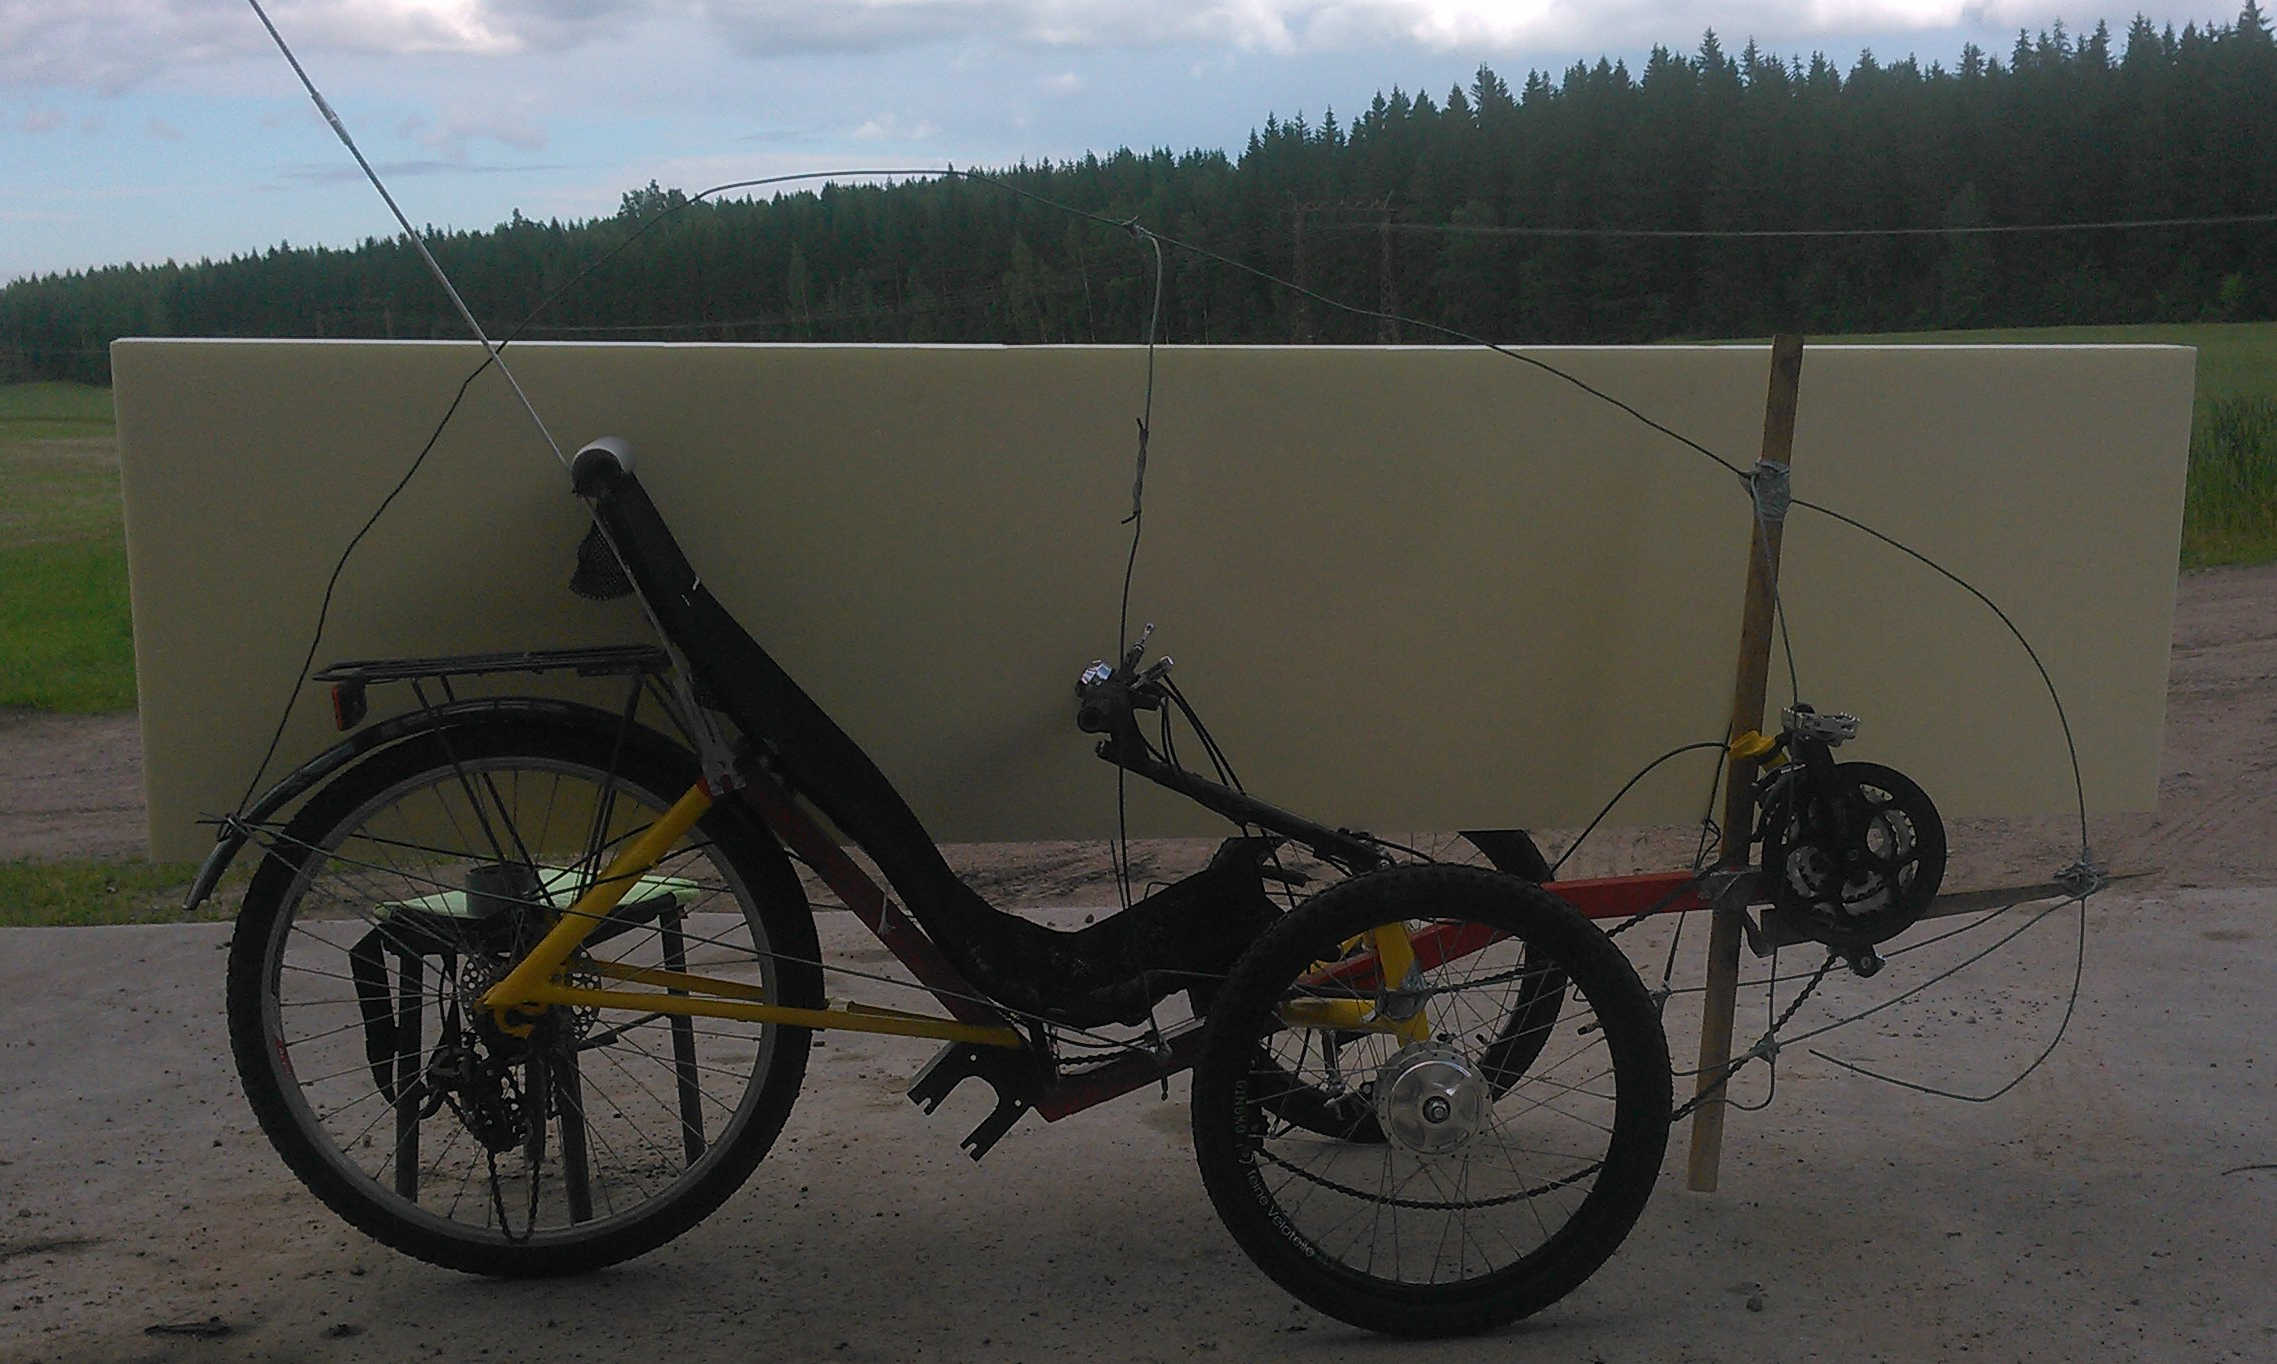
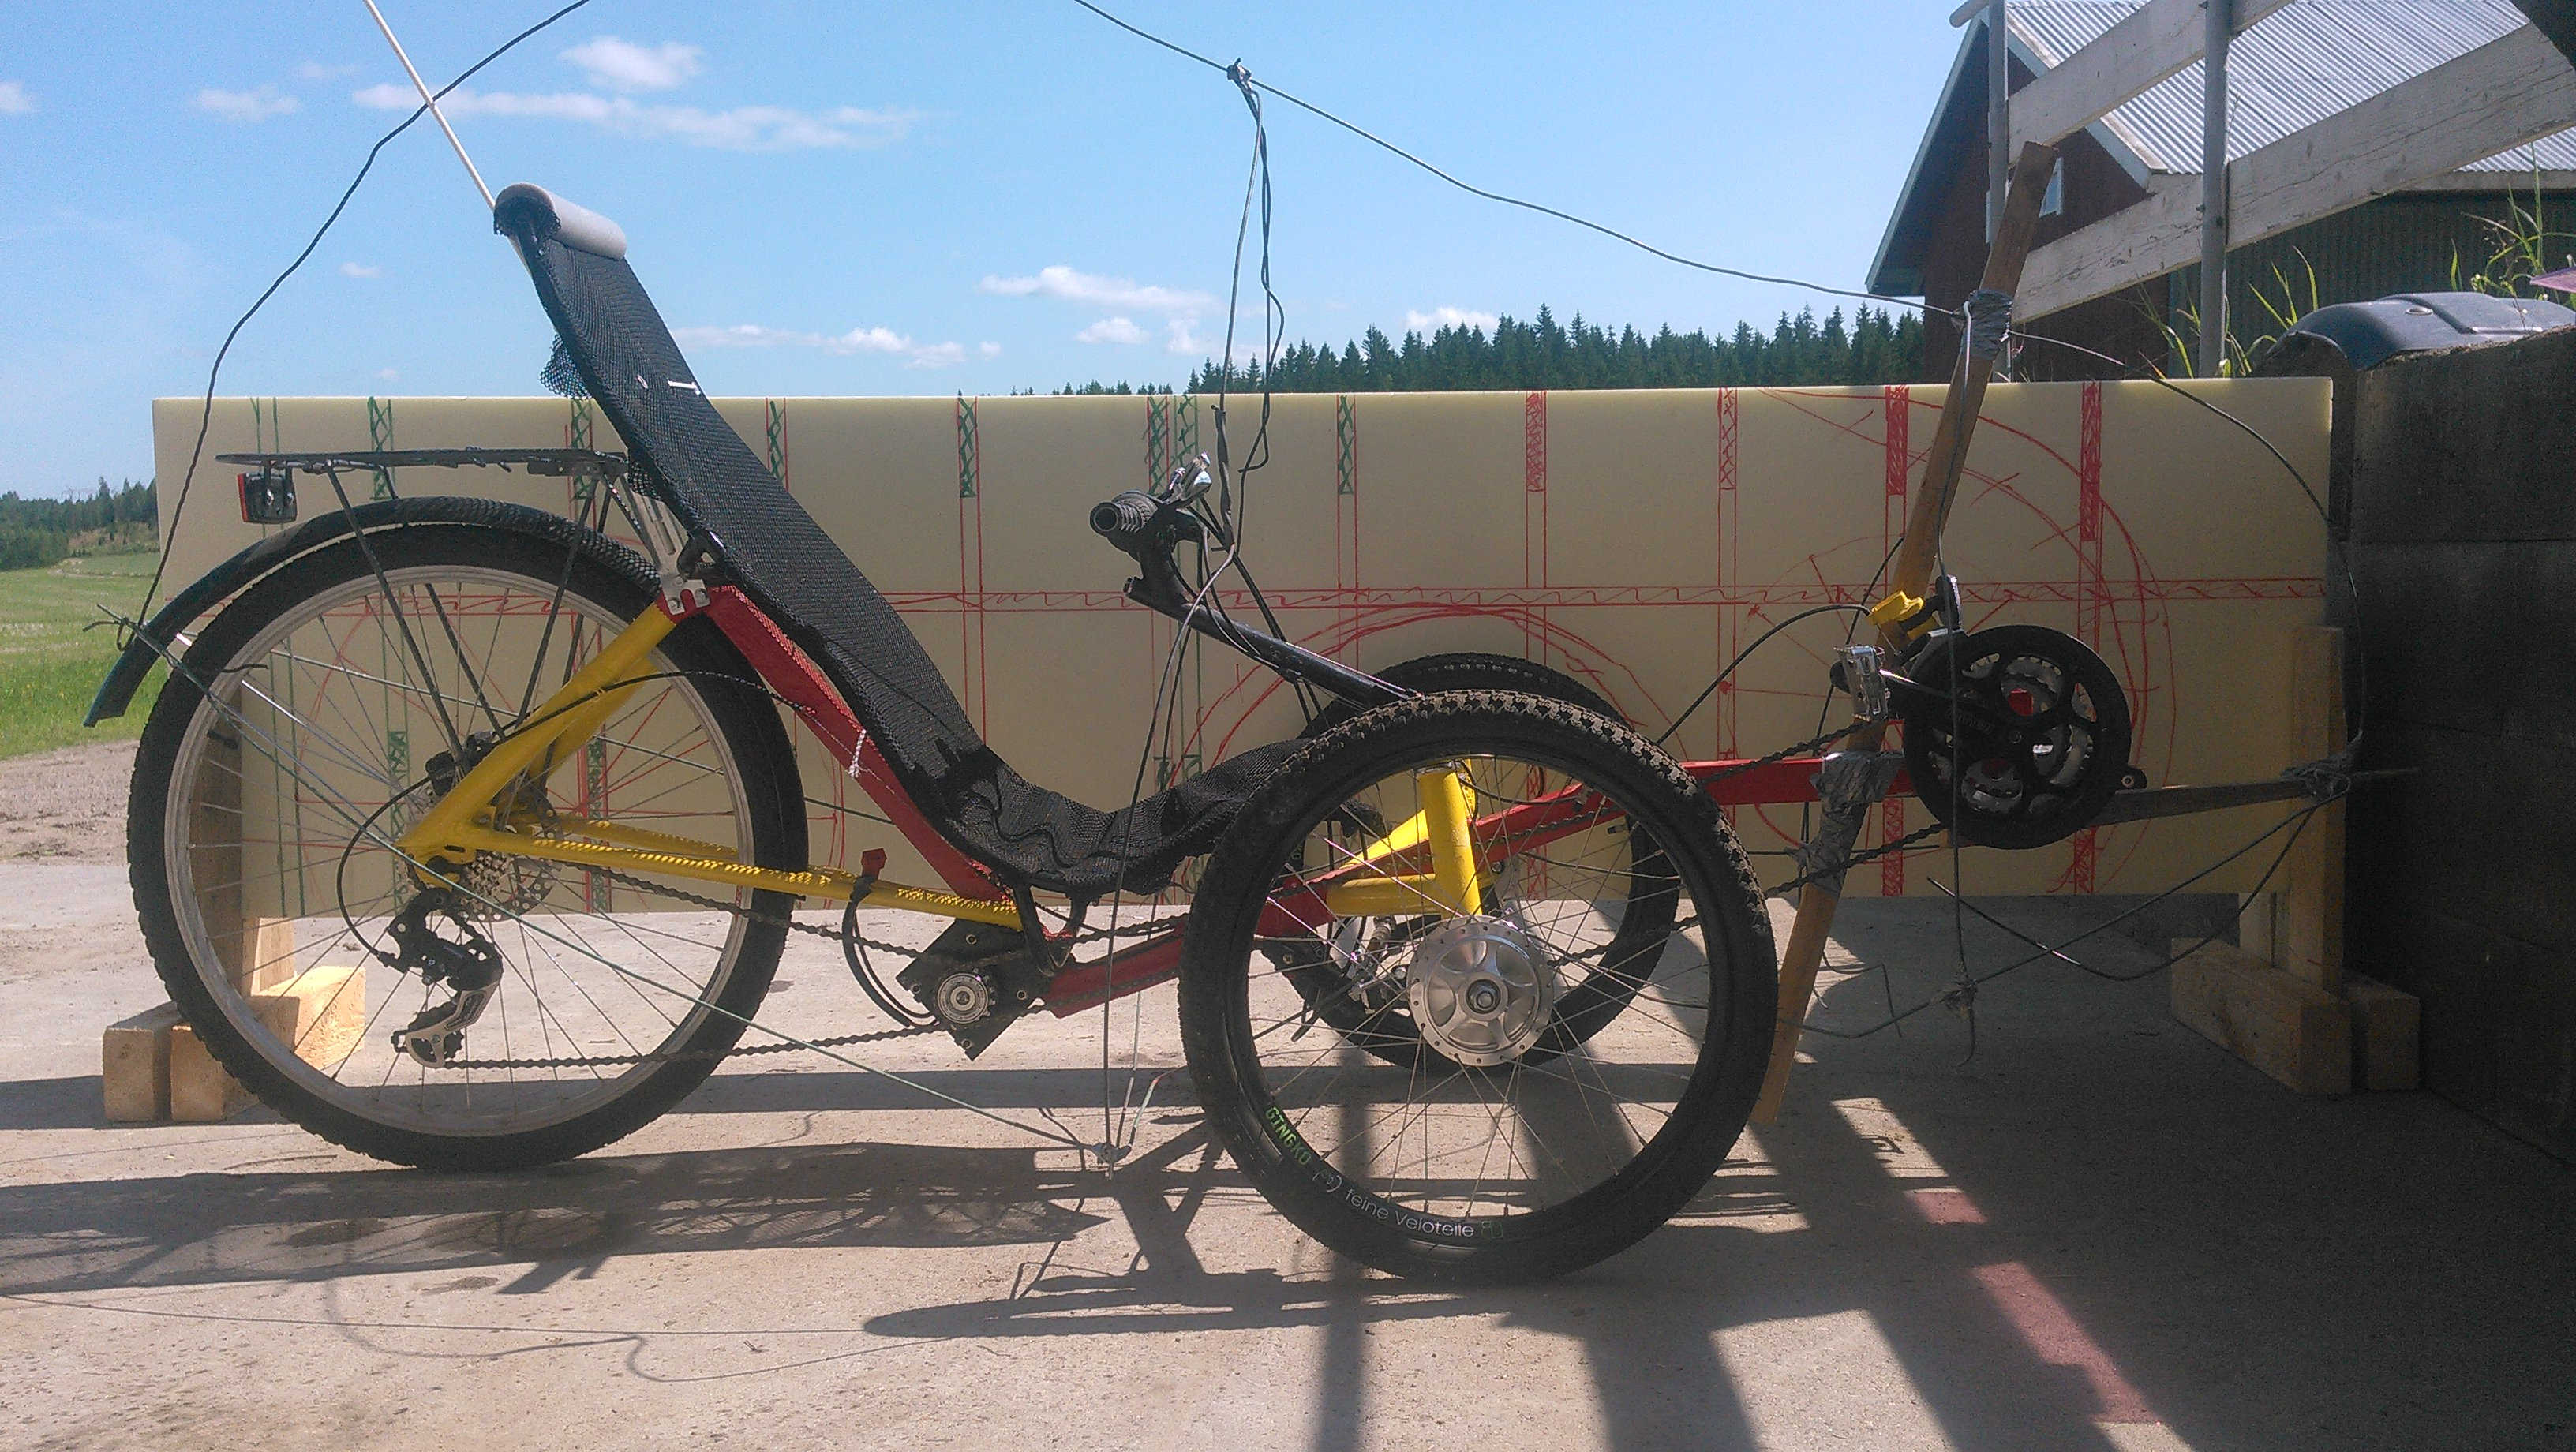
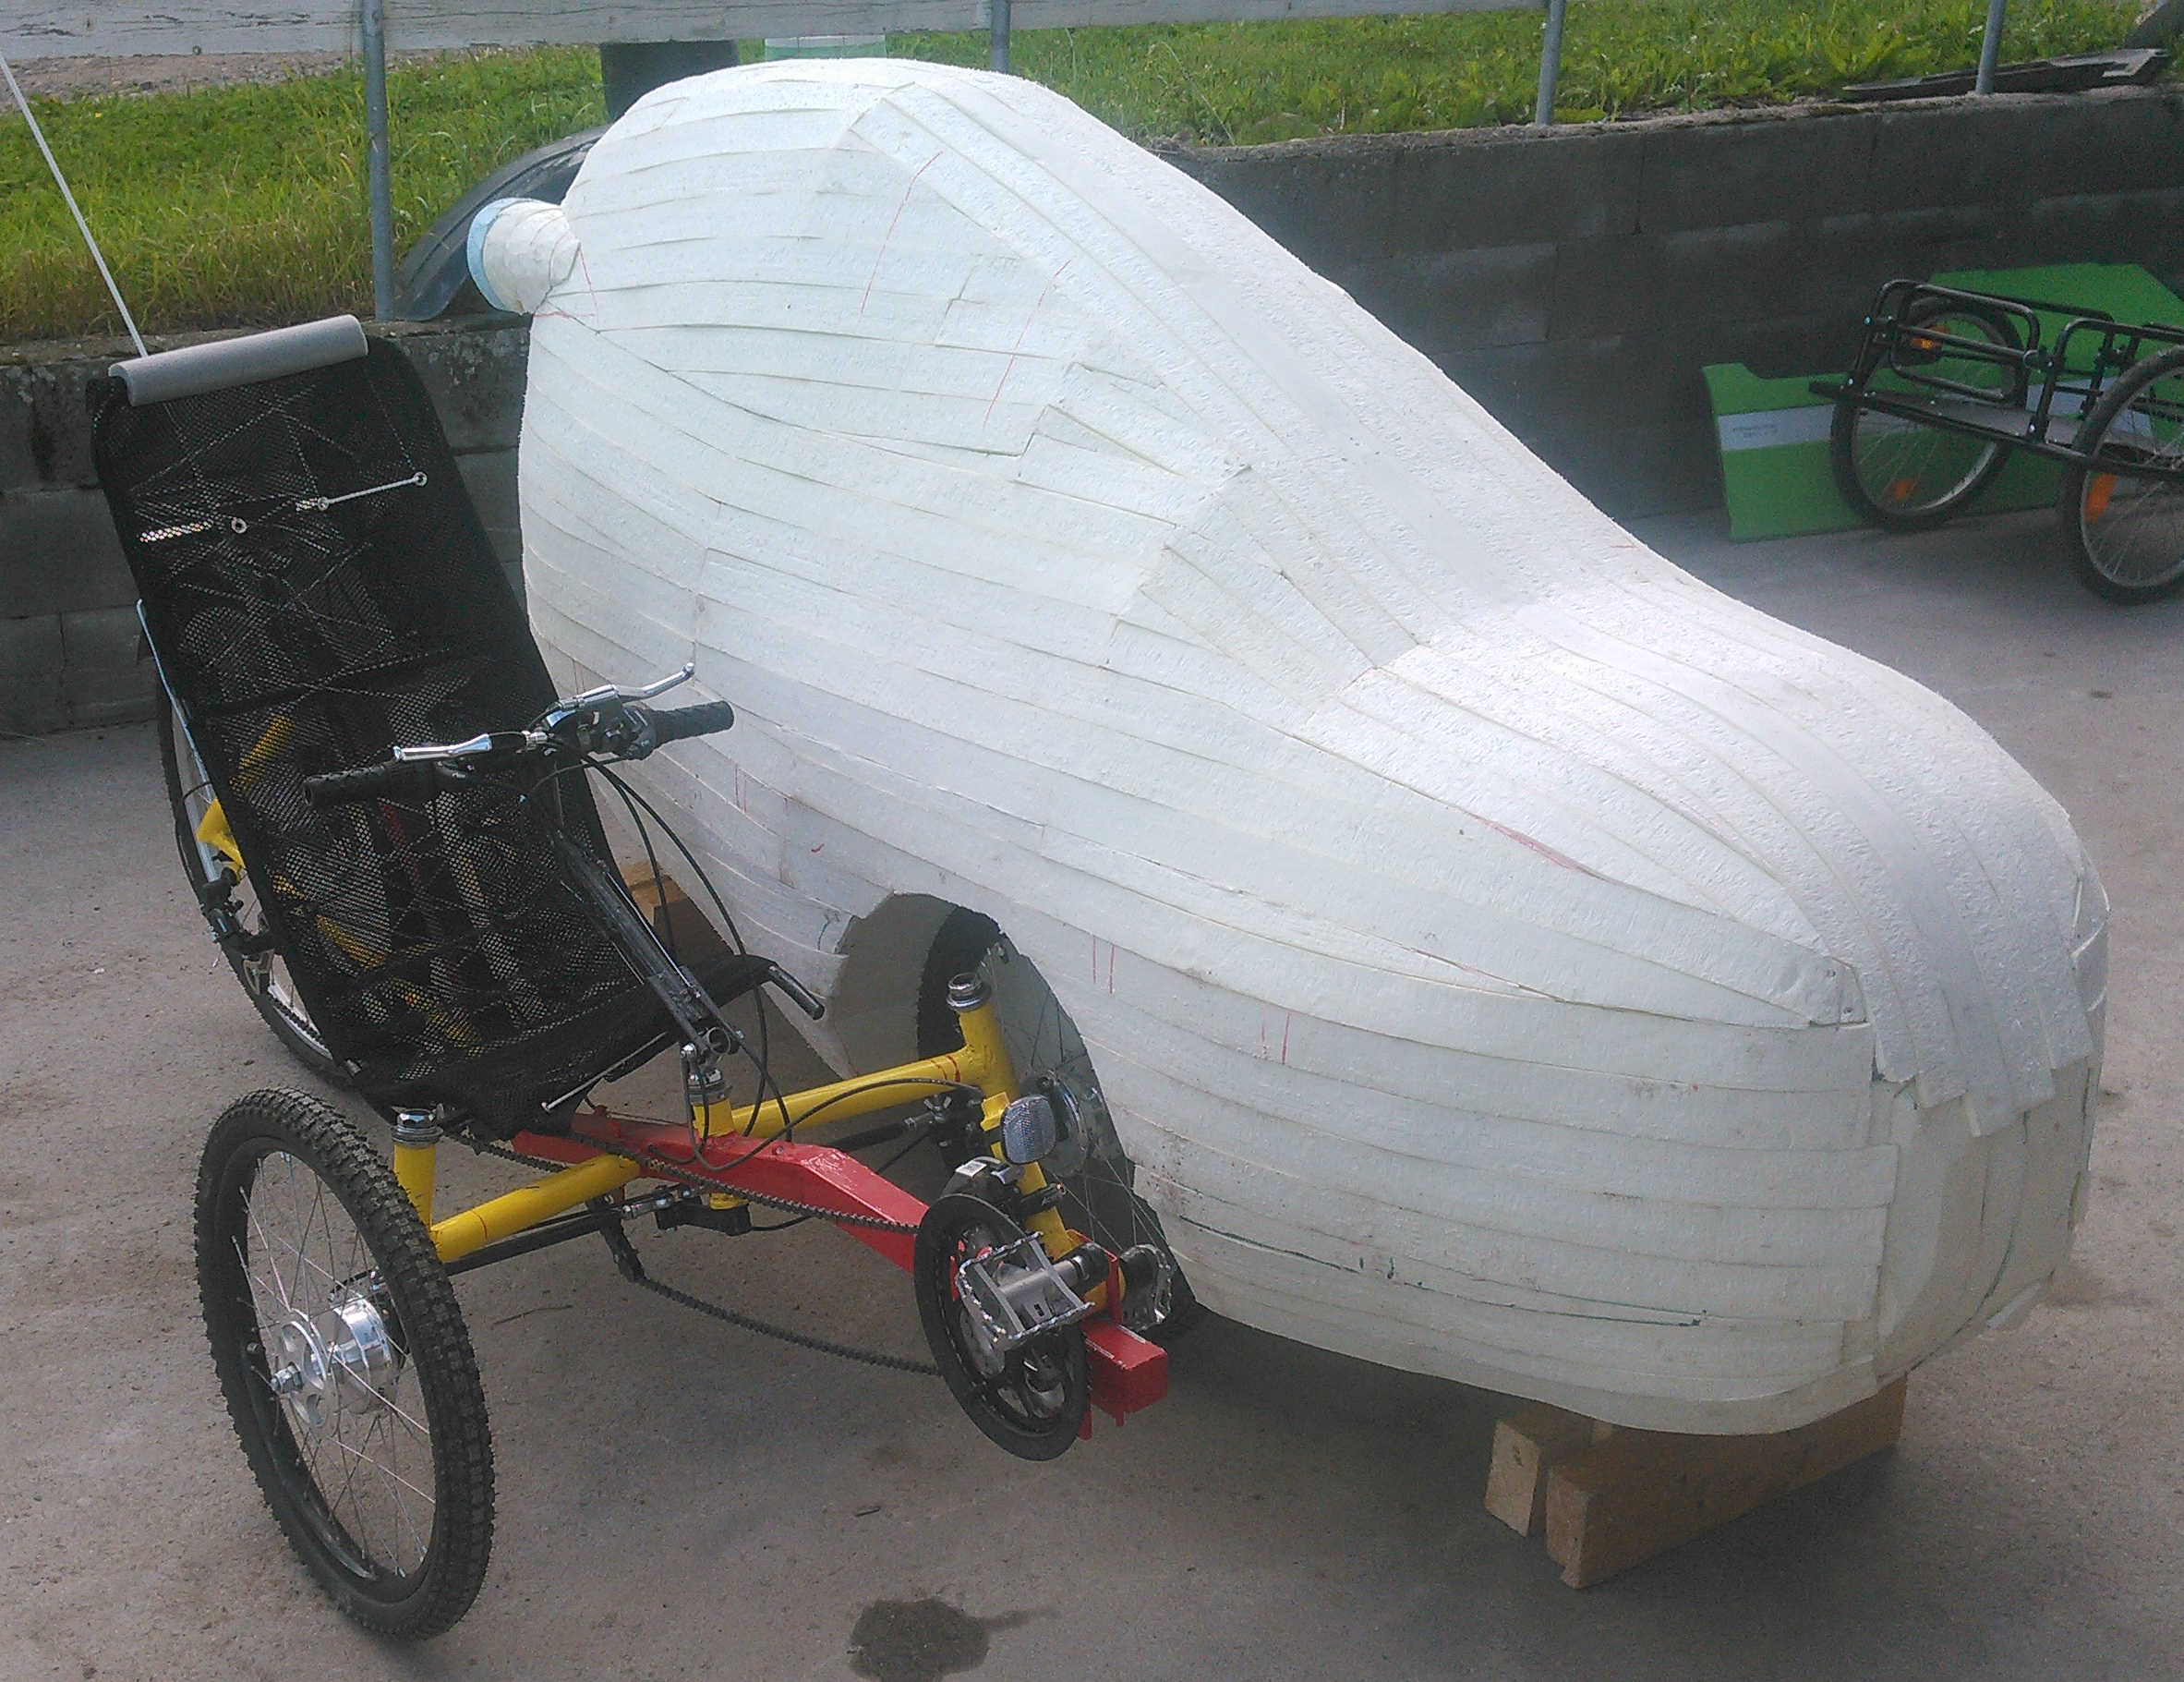
Fits like a GLOVE!
After epoxying two layers of glass fibre cloth it was time to remove inner skeleton and try how the fairing sits on the frame. Gladly, no major modifications were needed.
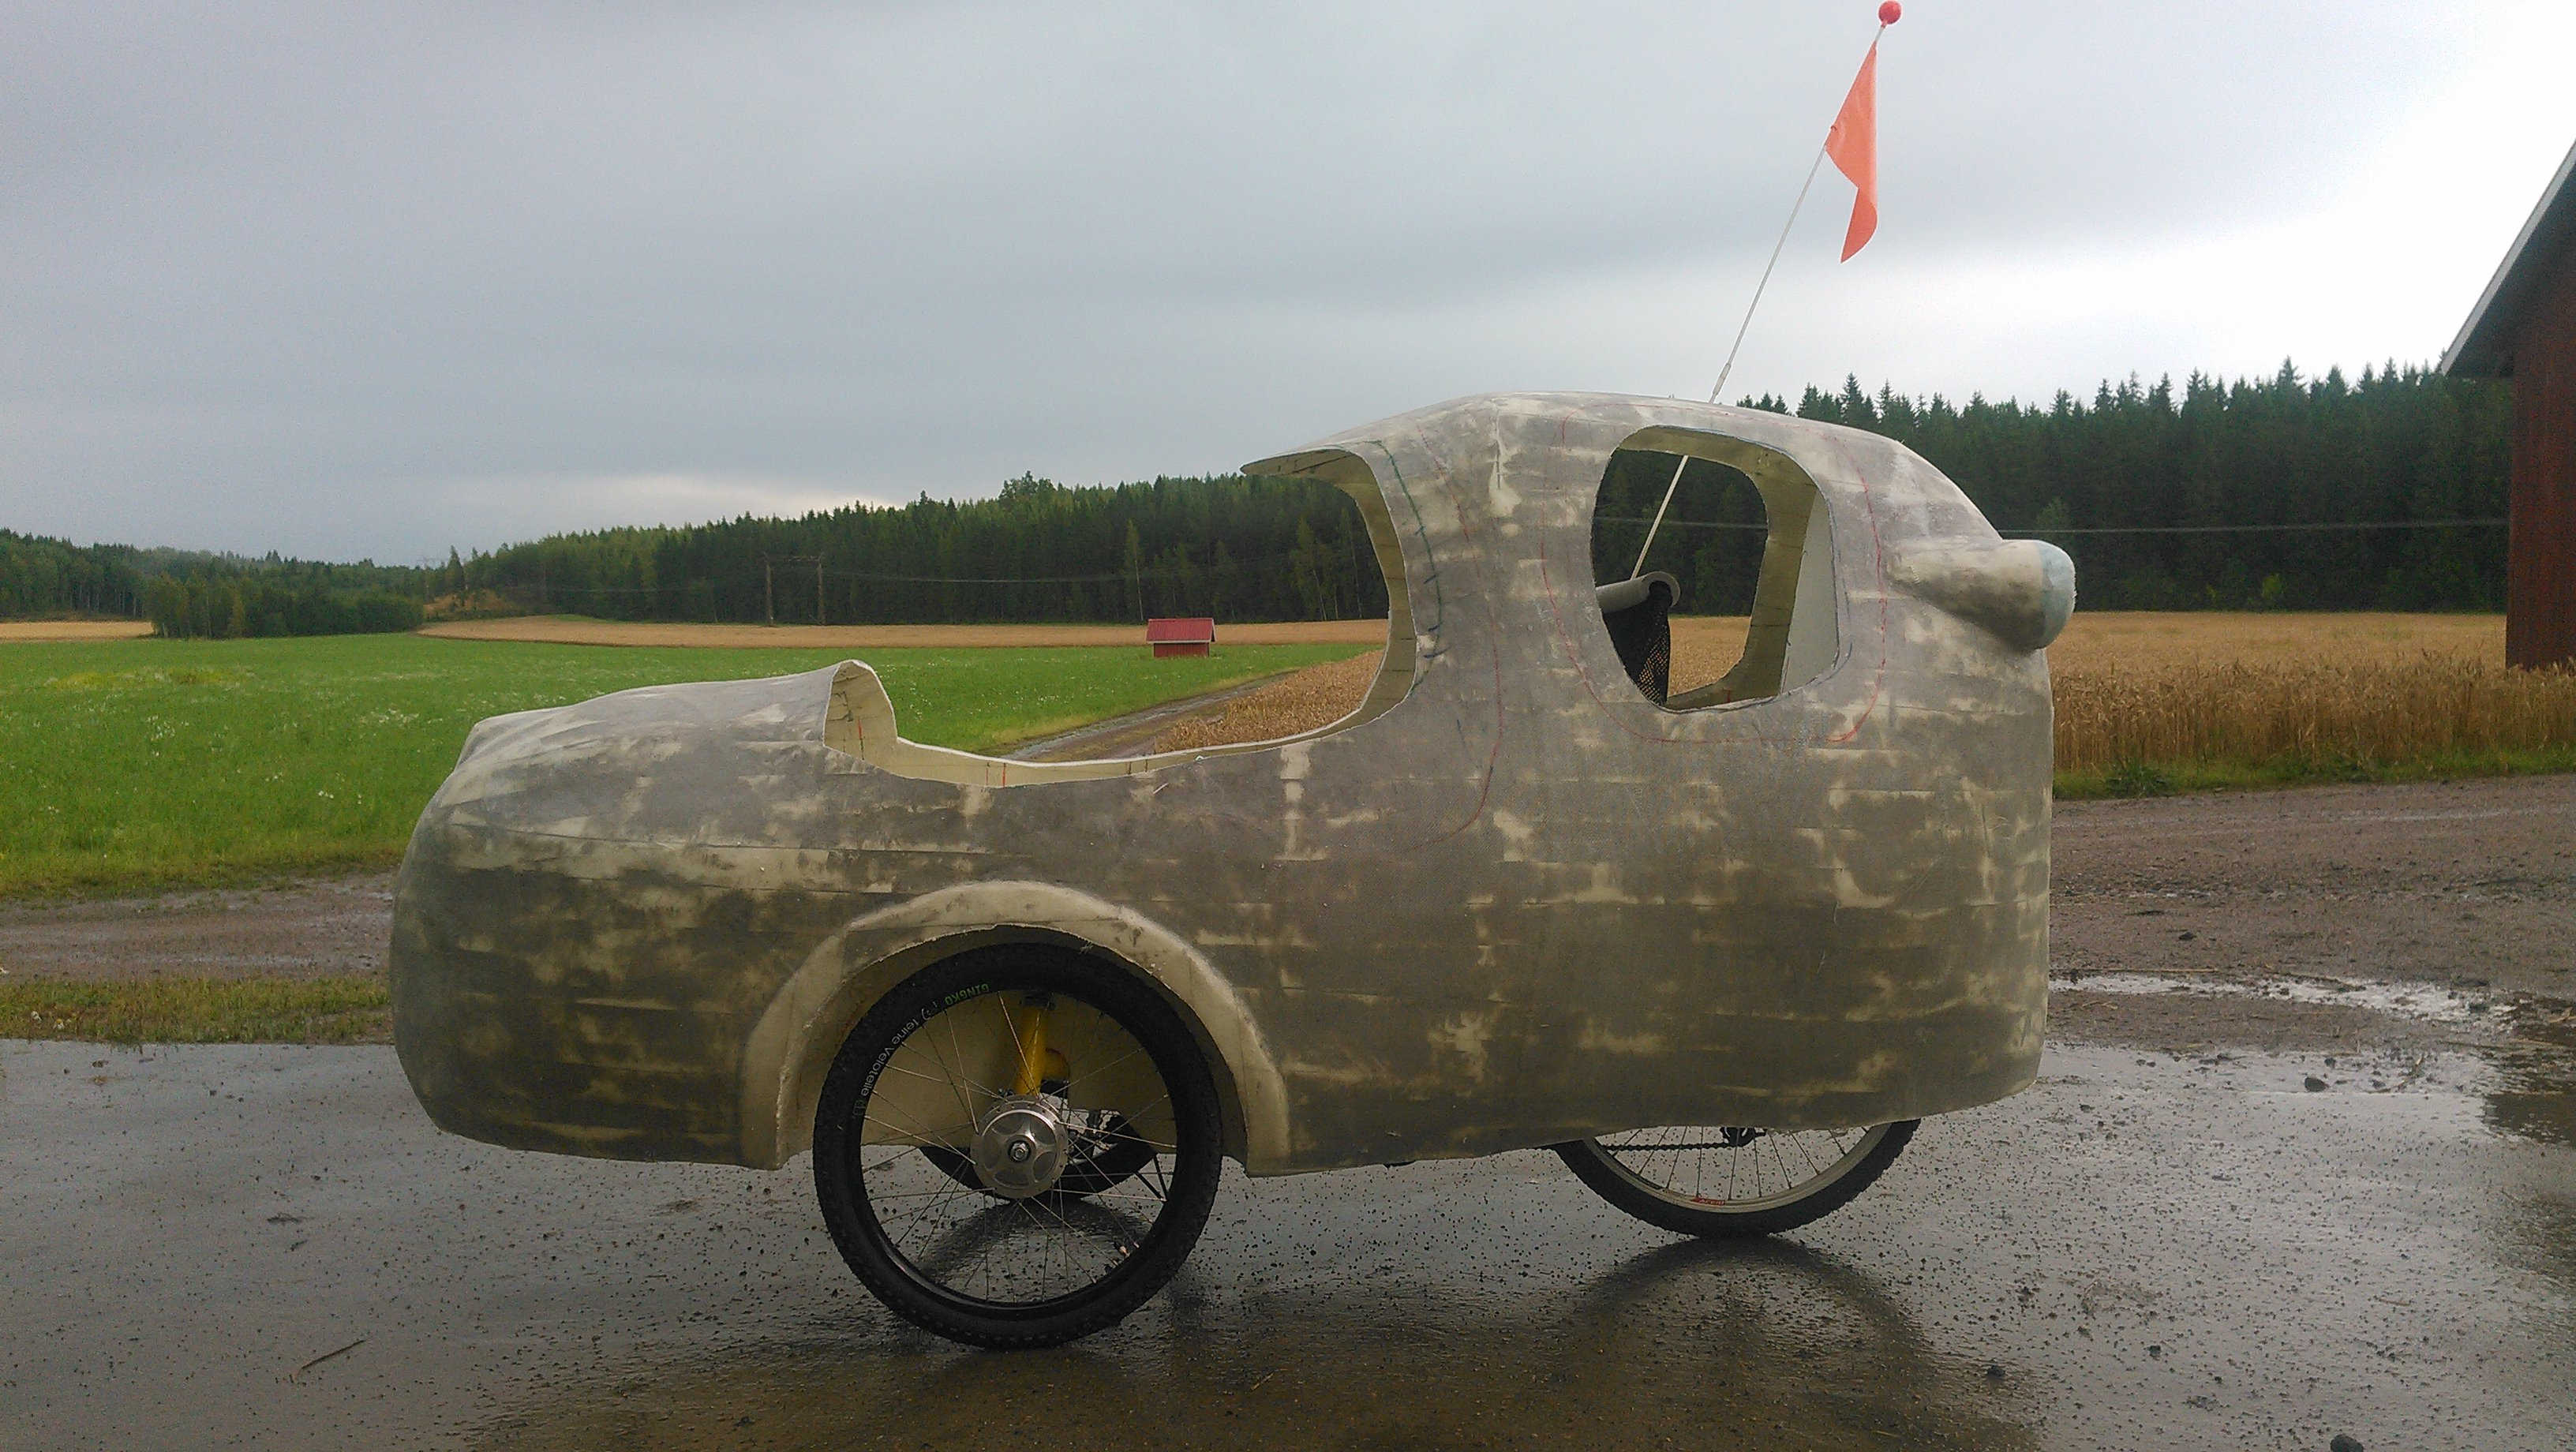
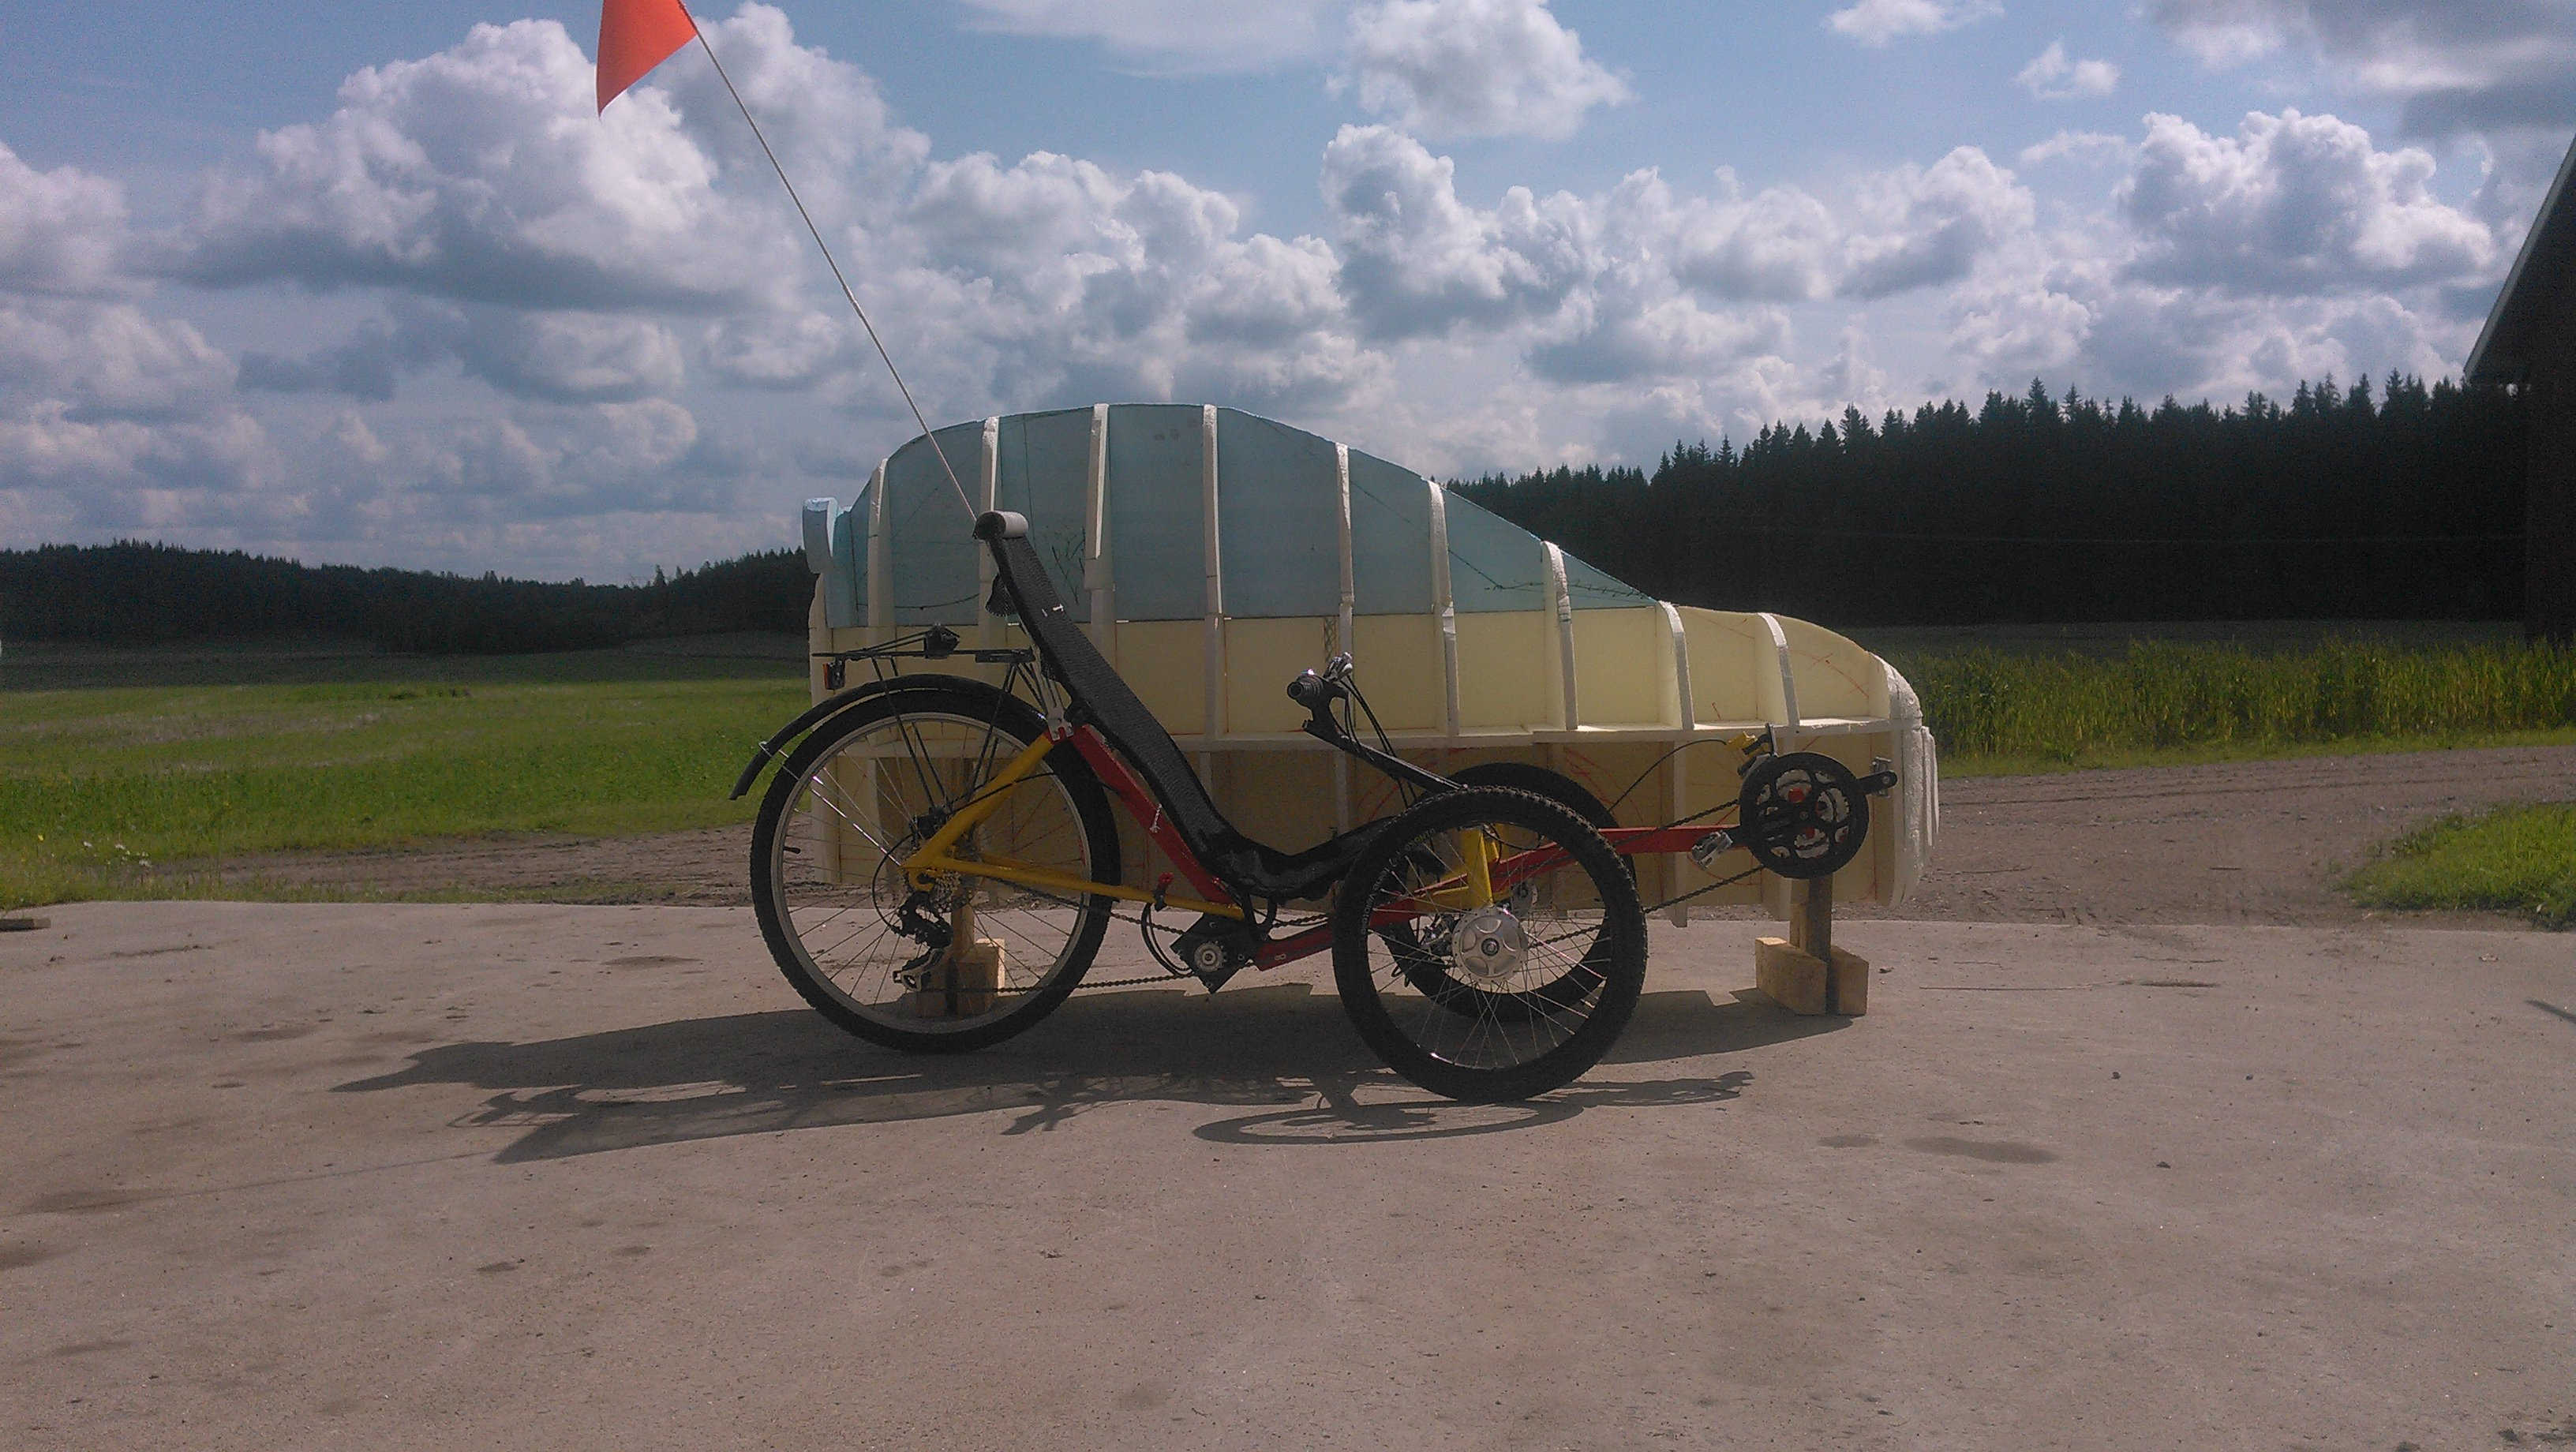
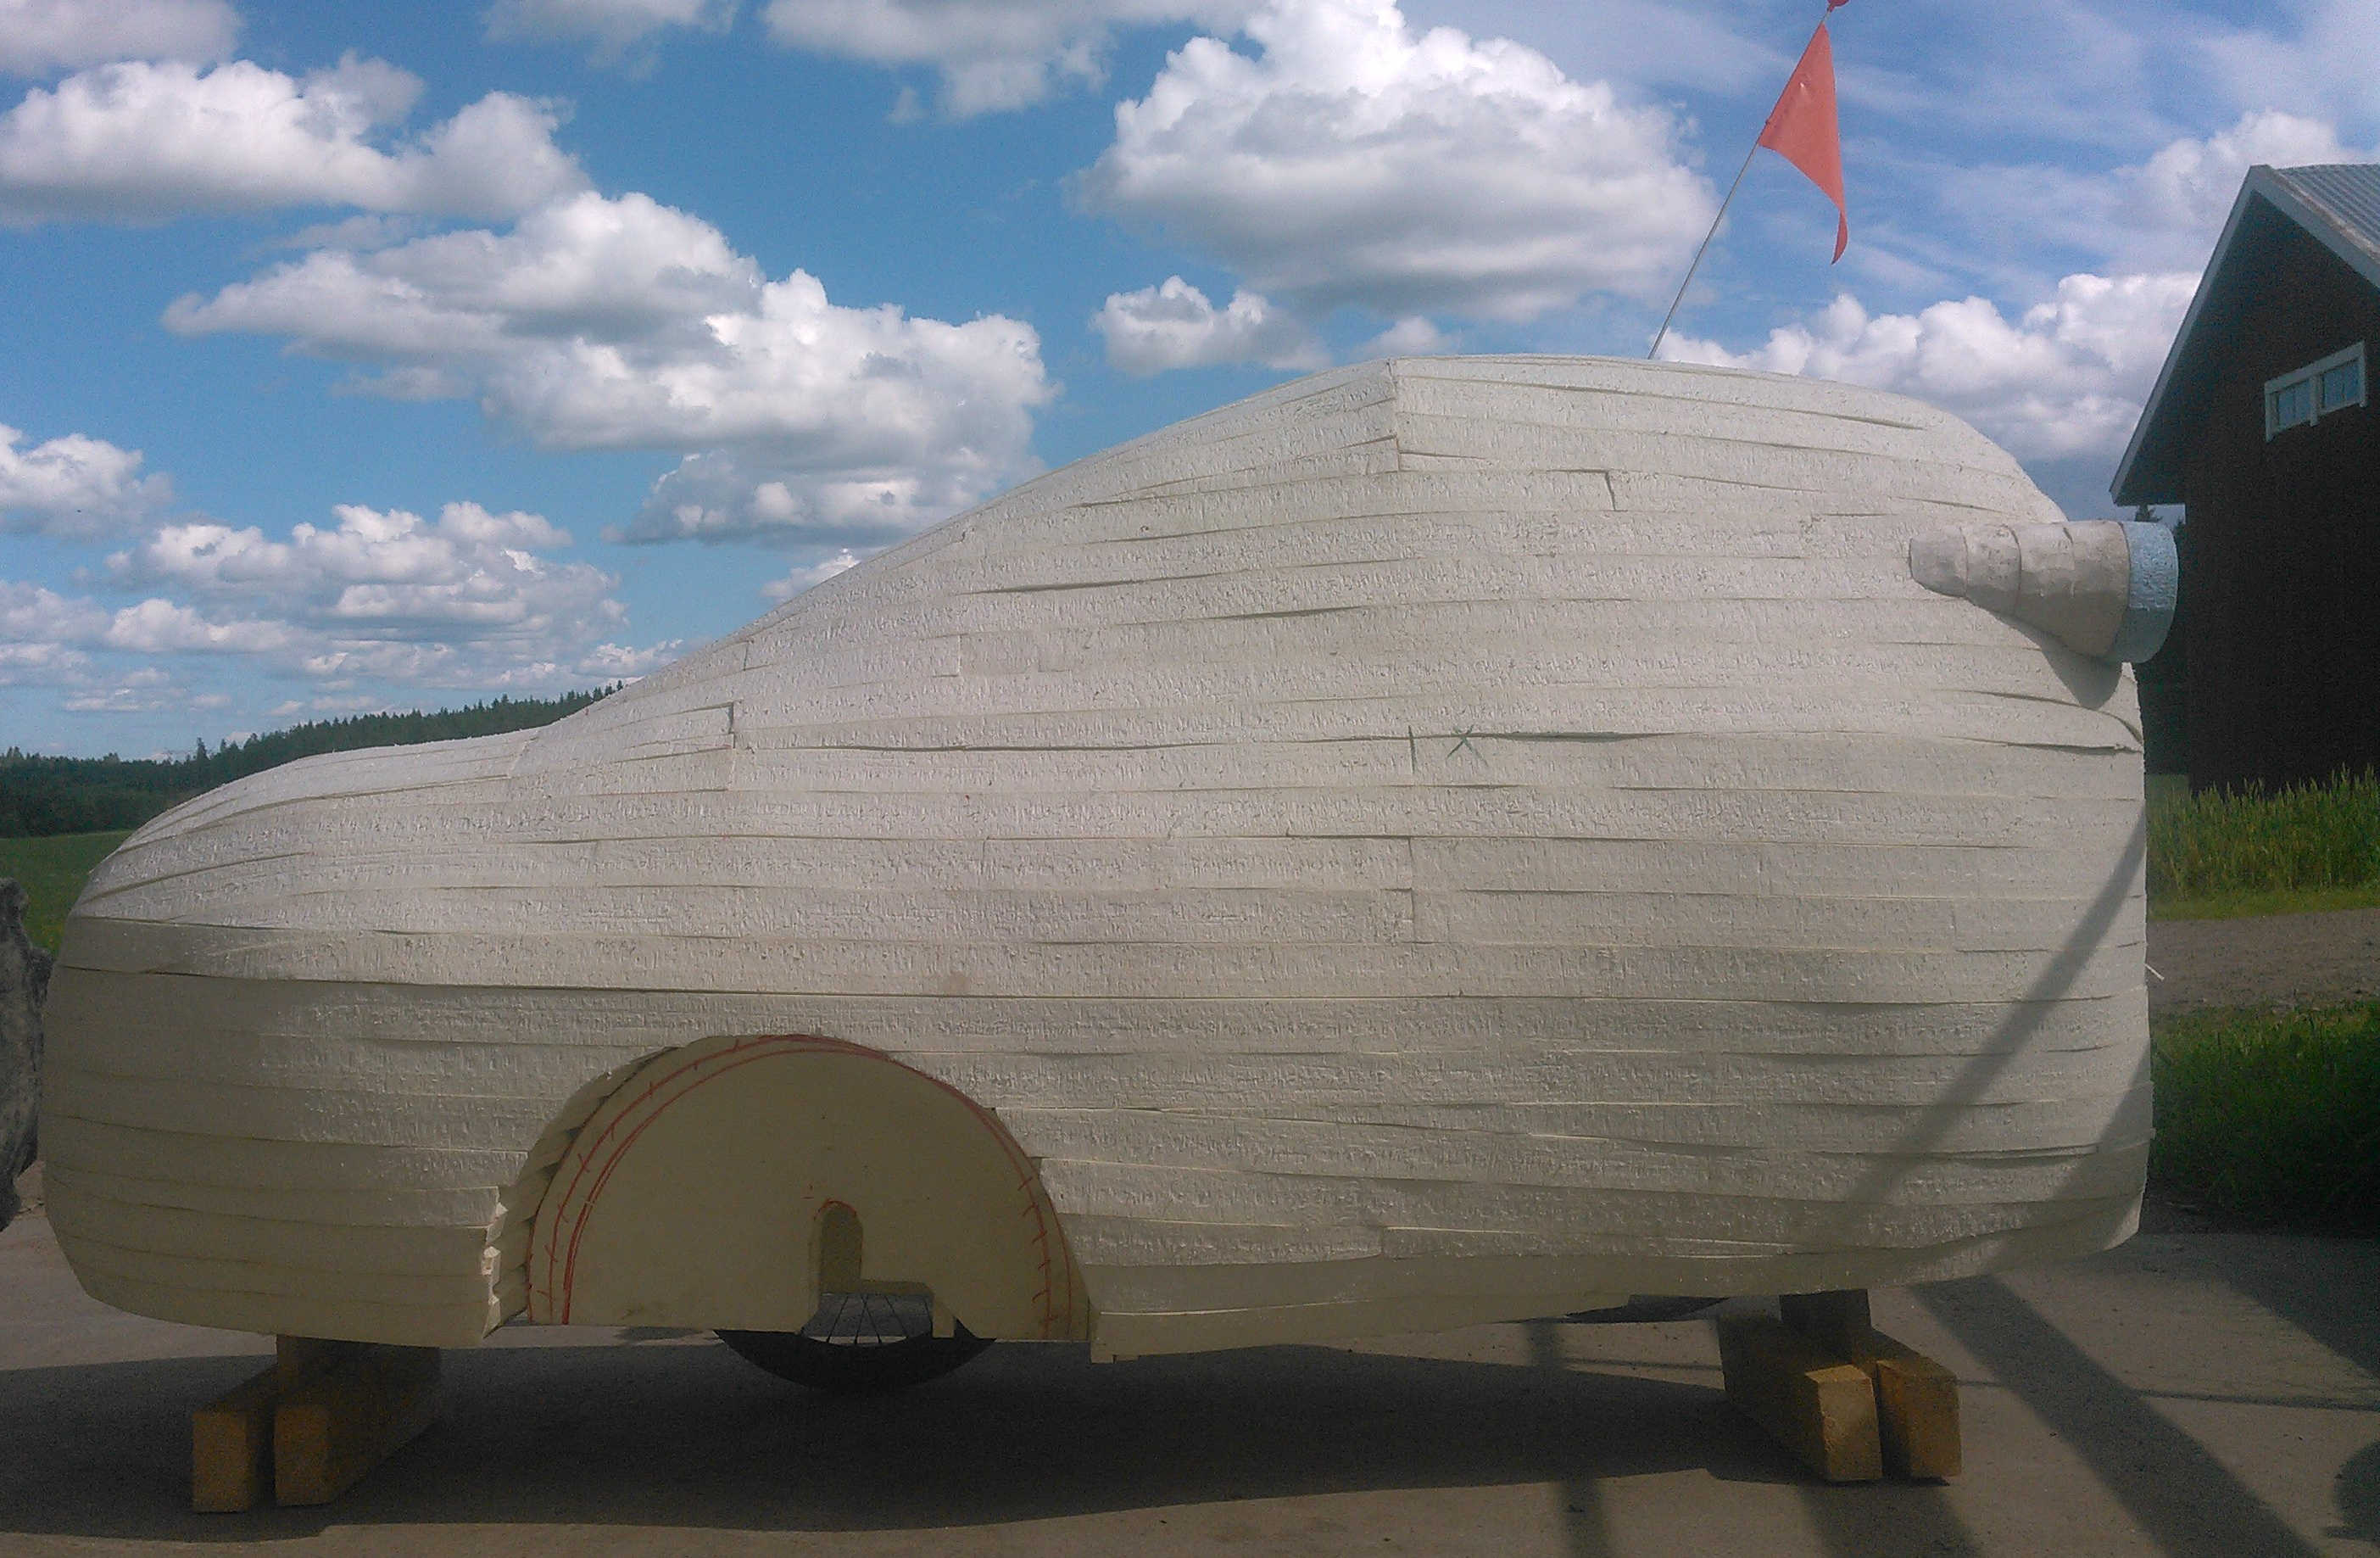
Final FORM!
Well maybe not the mirrors..
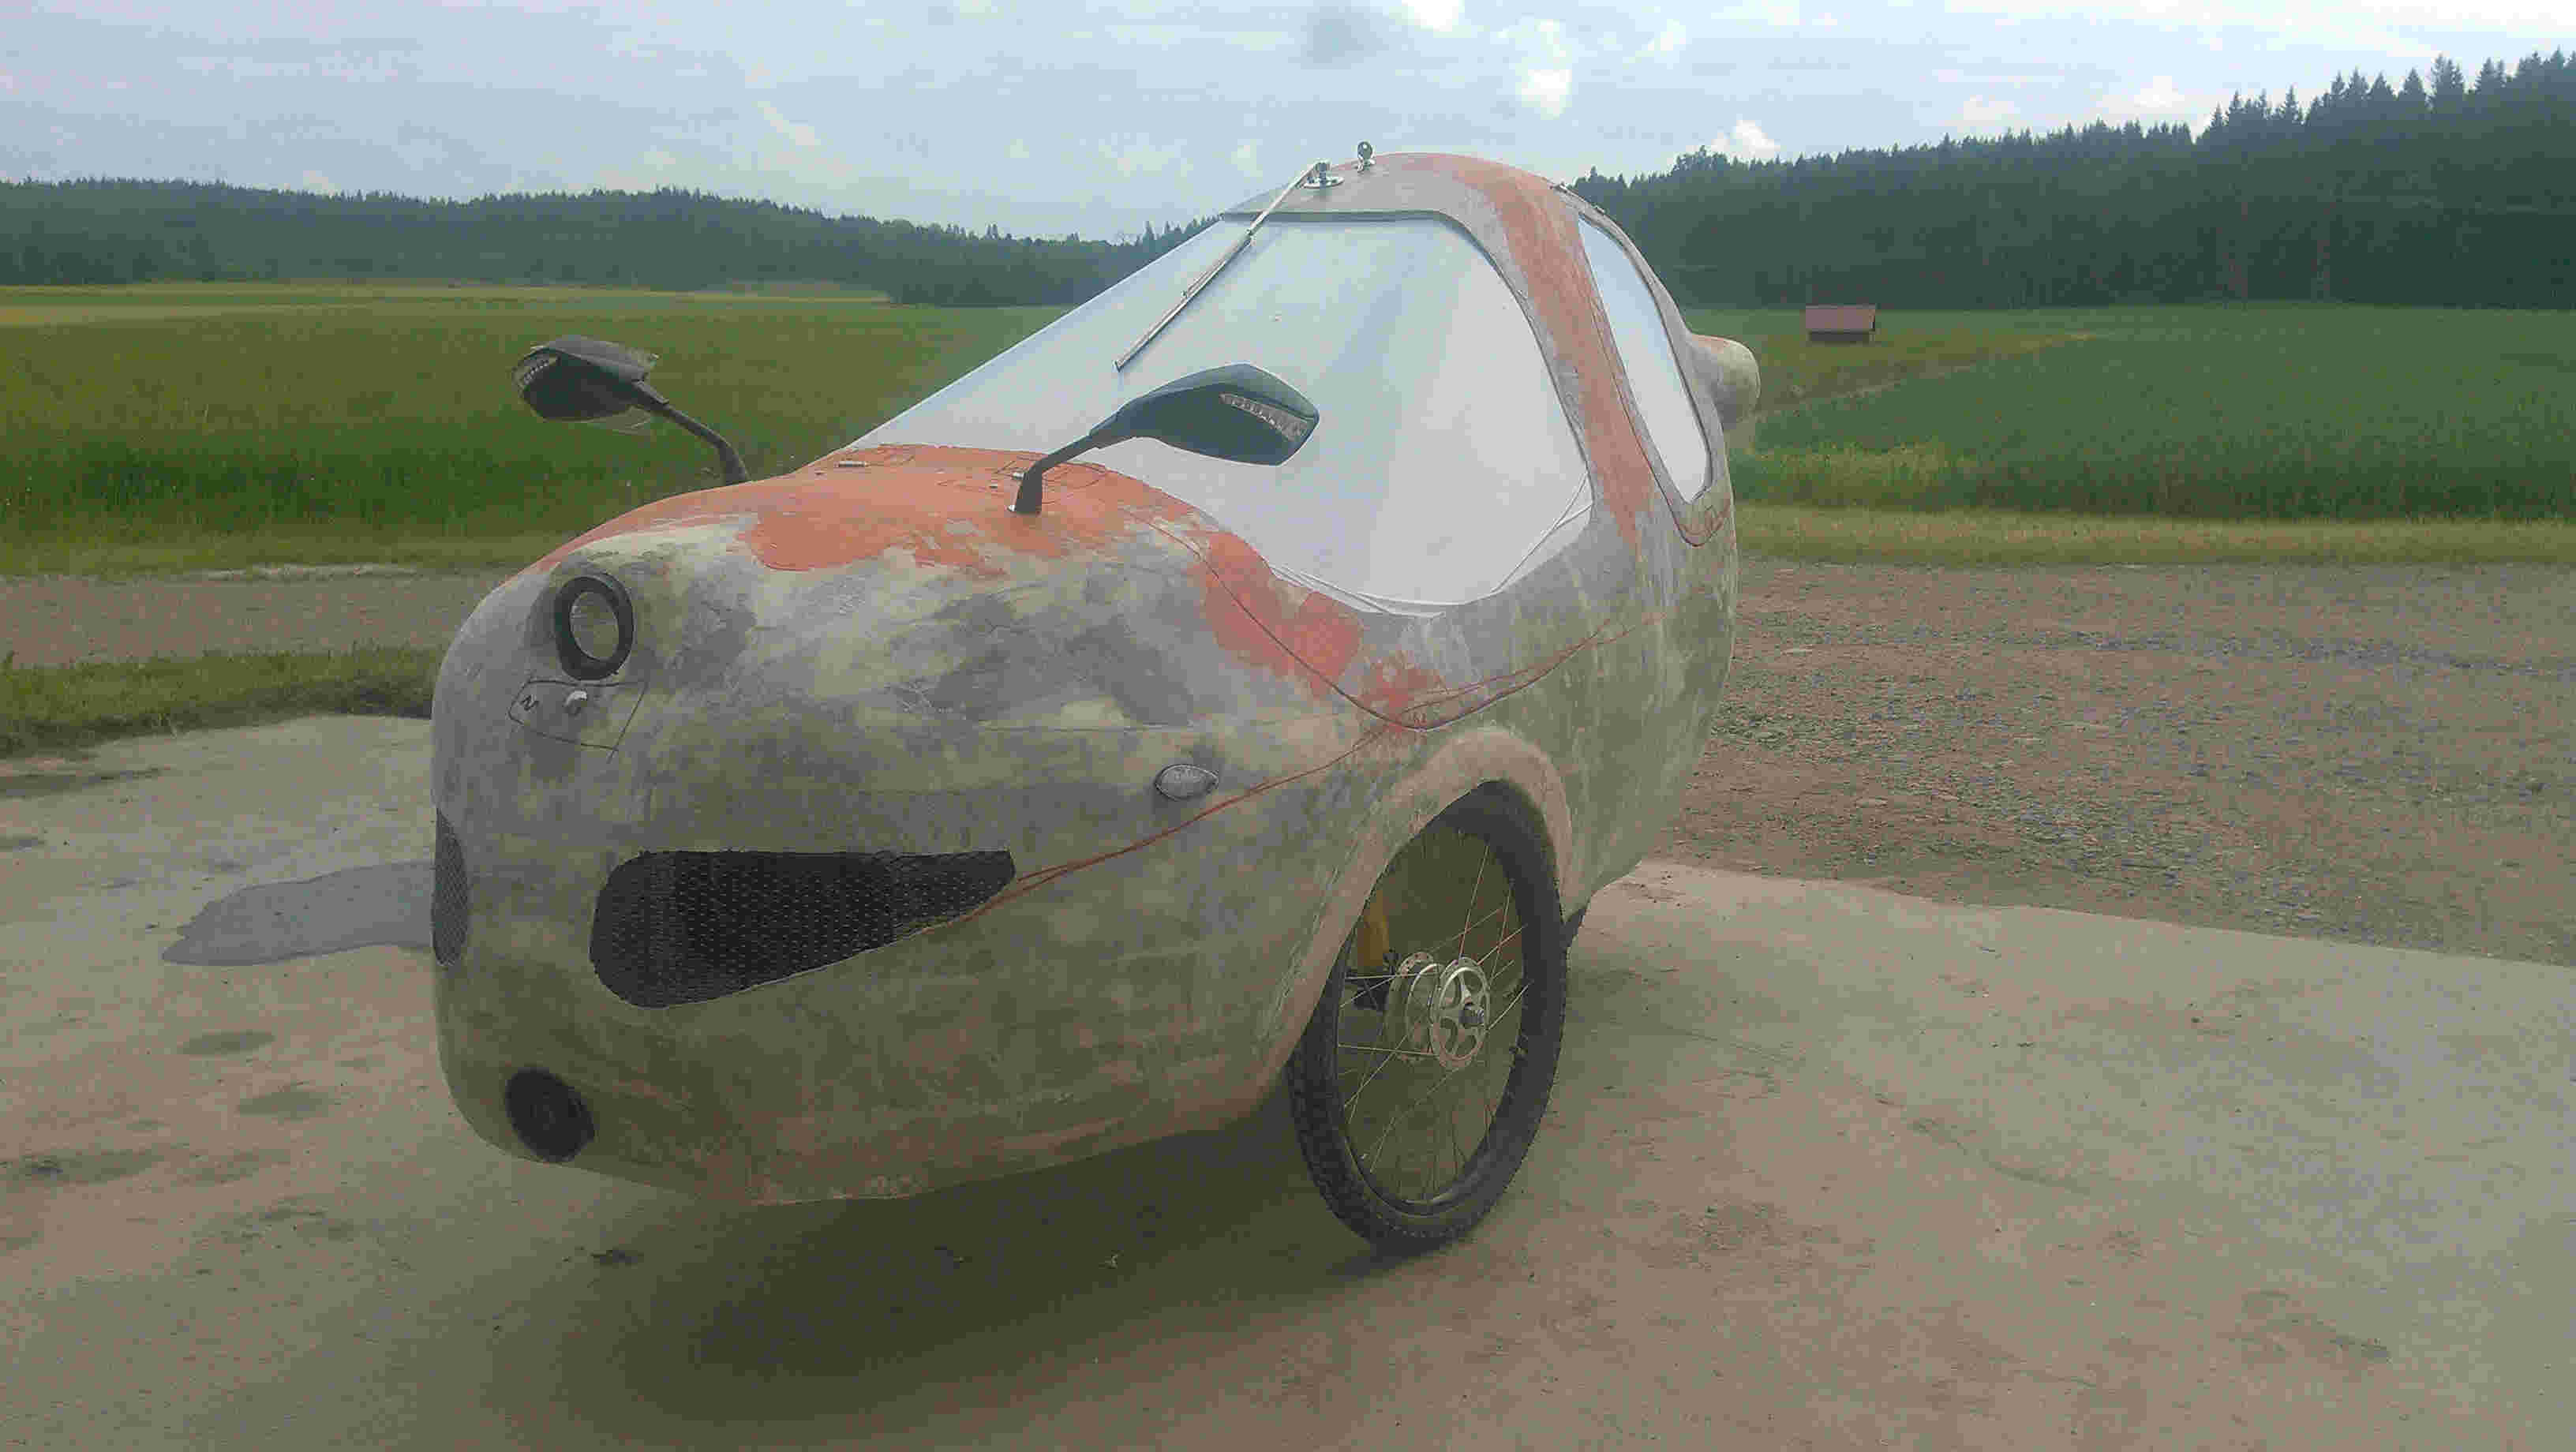
Looks like a FISH!
Funny form appears.
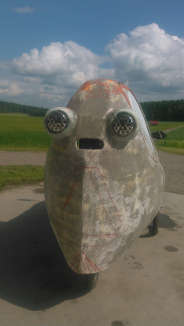
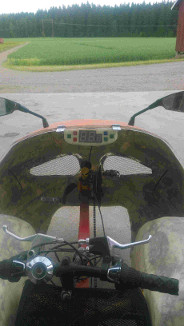
Dashboard LEDS!
Would this be informative enough?
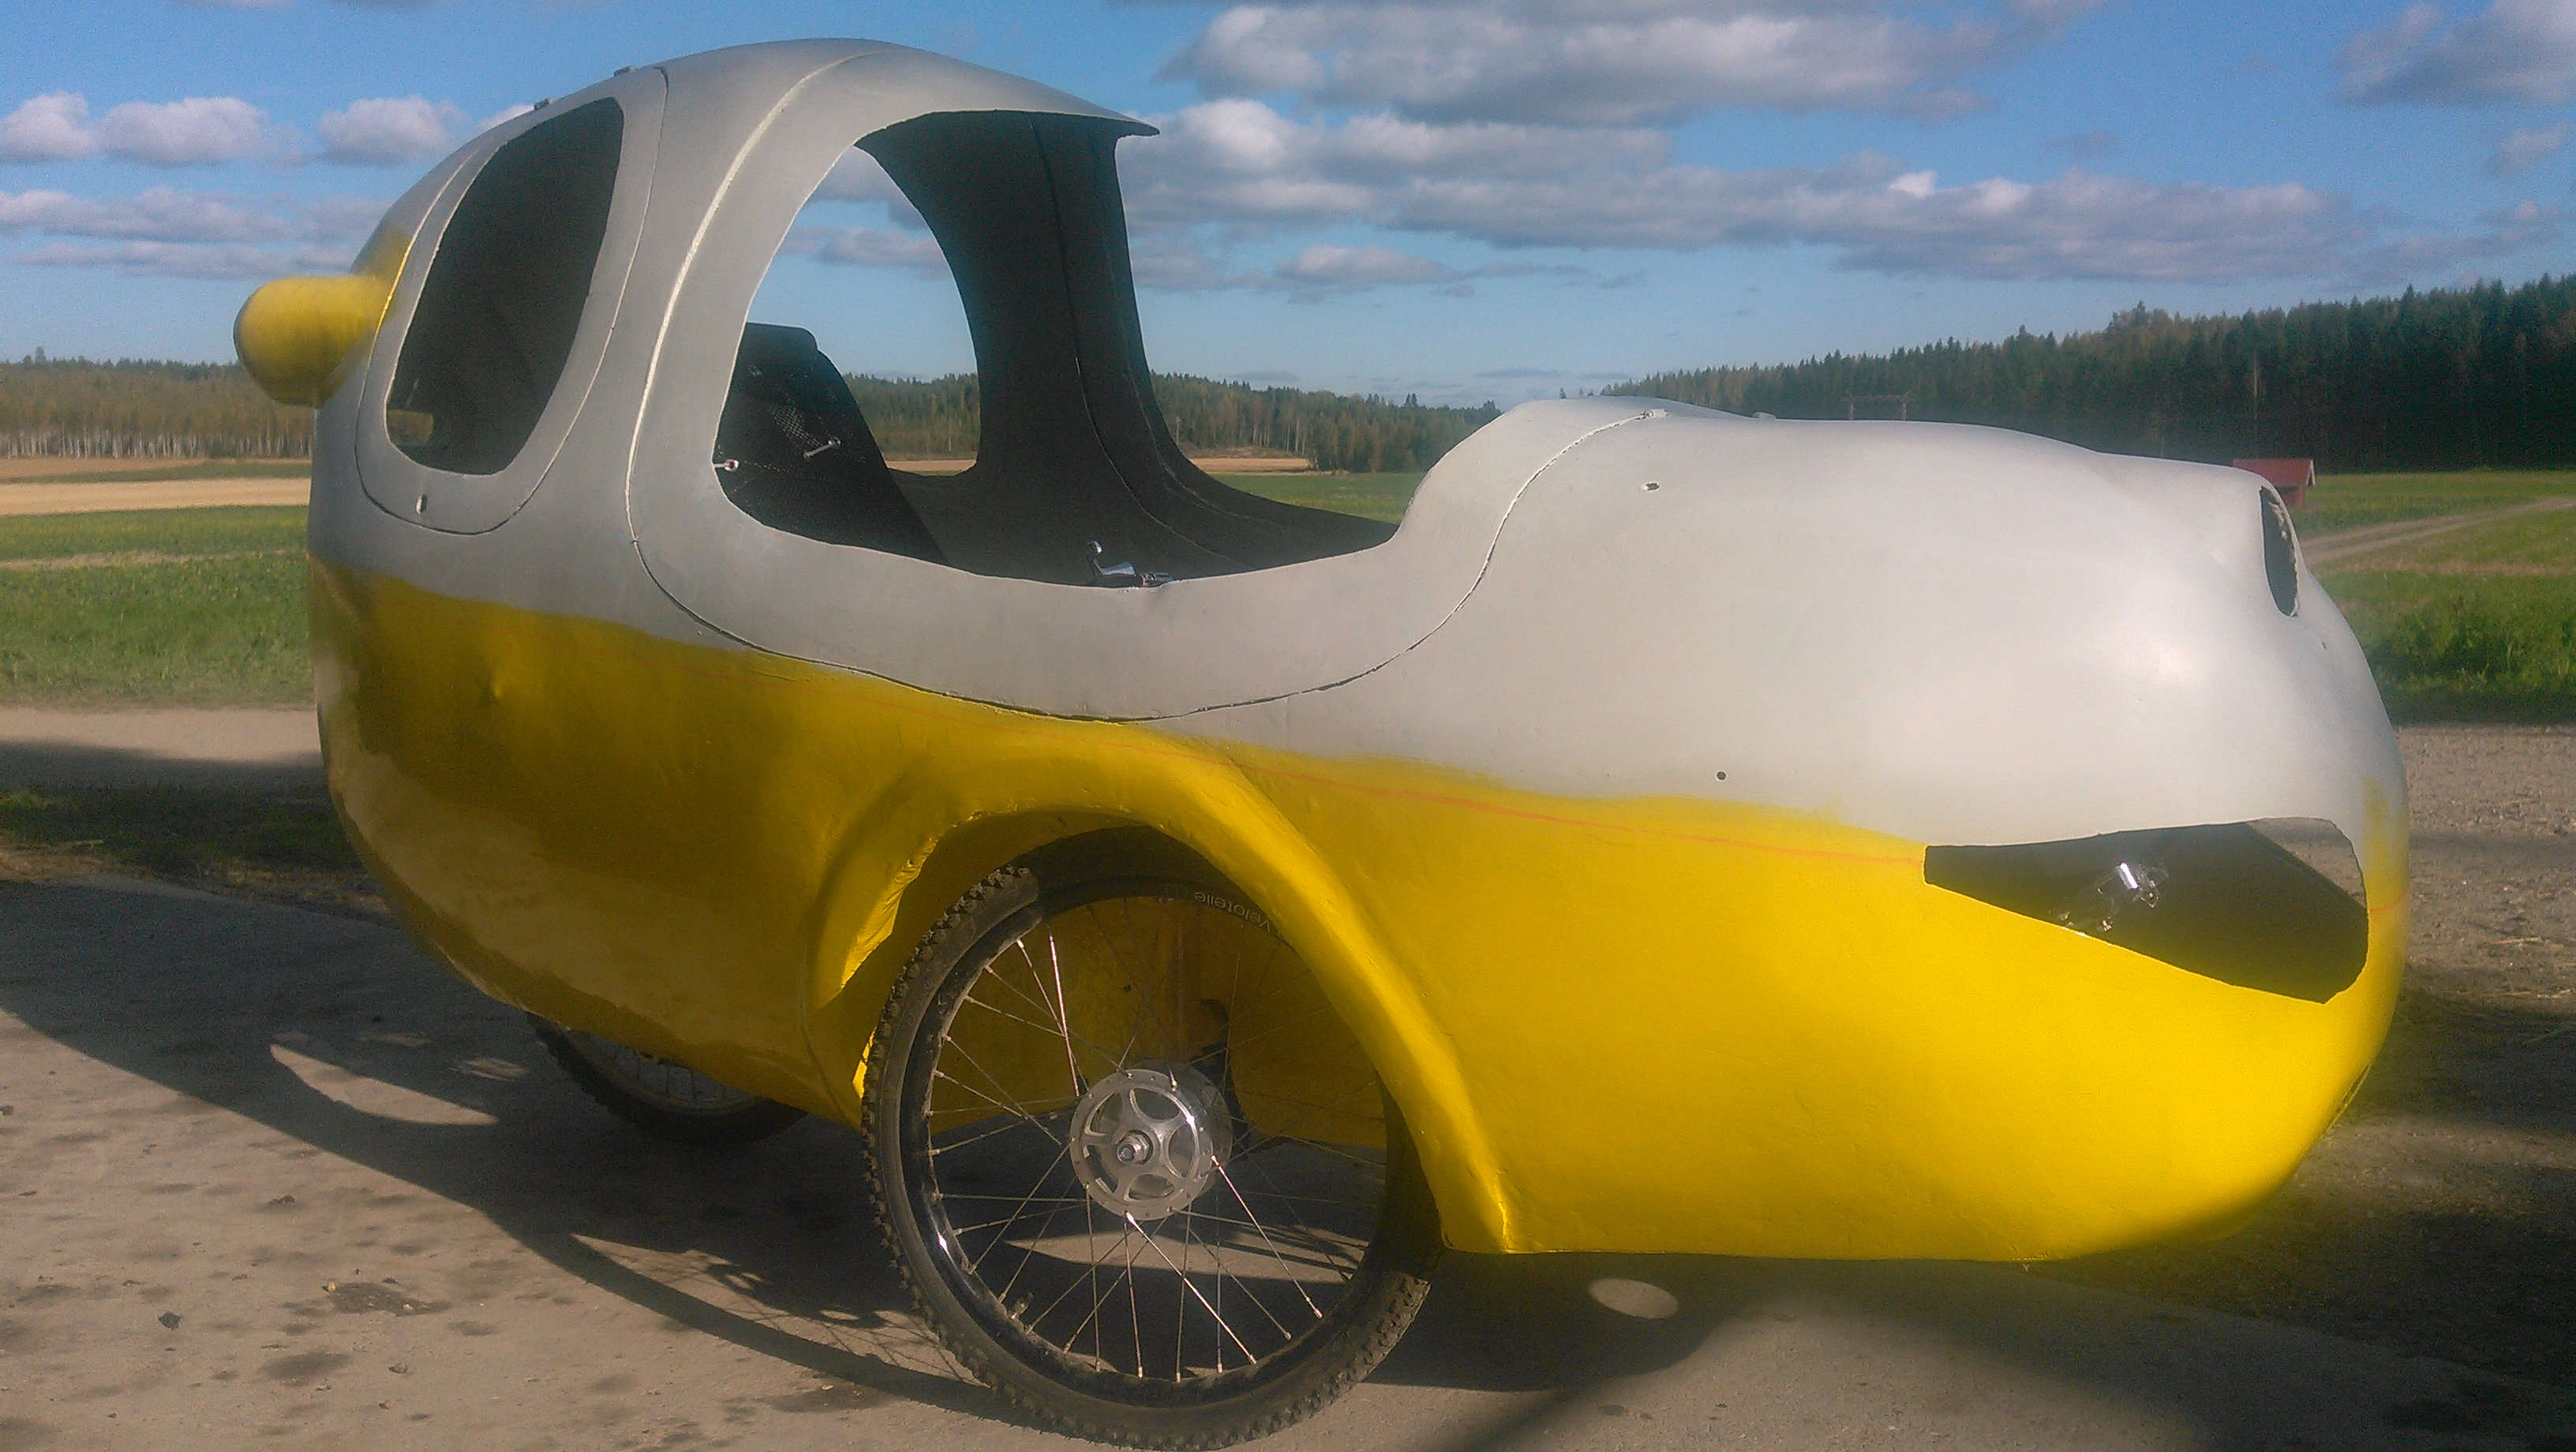
Yellow color ROCKS!
Unfinished but already looking great.
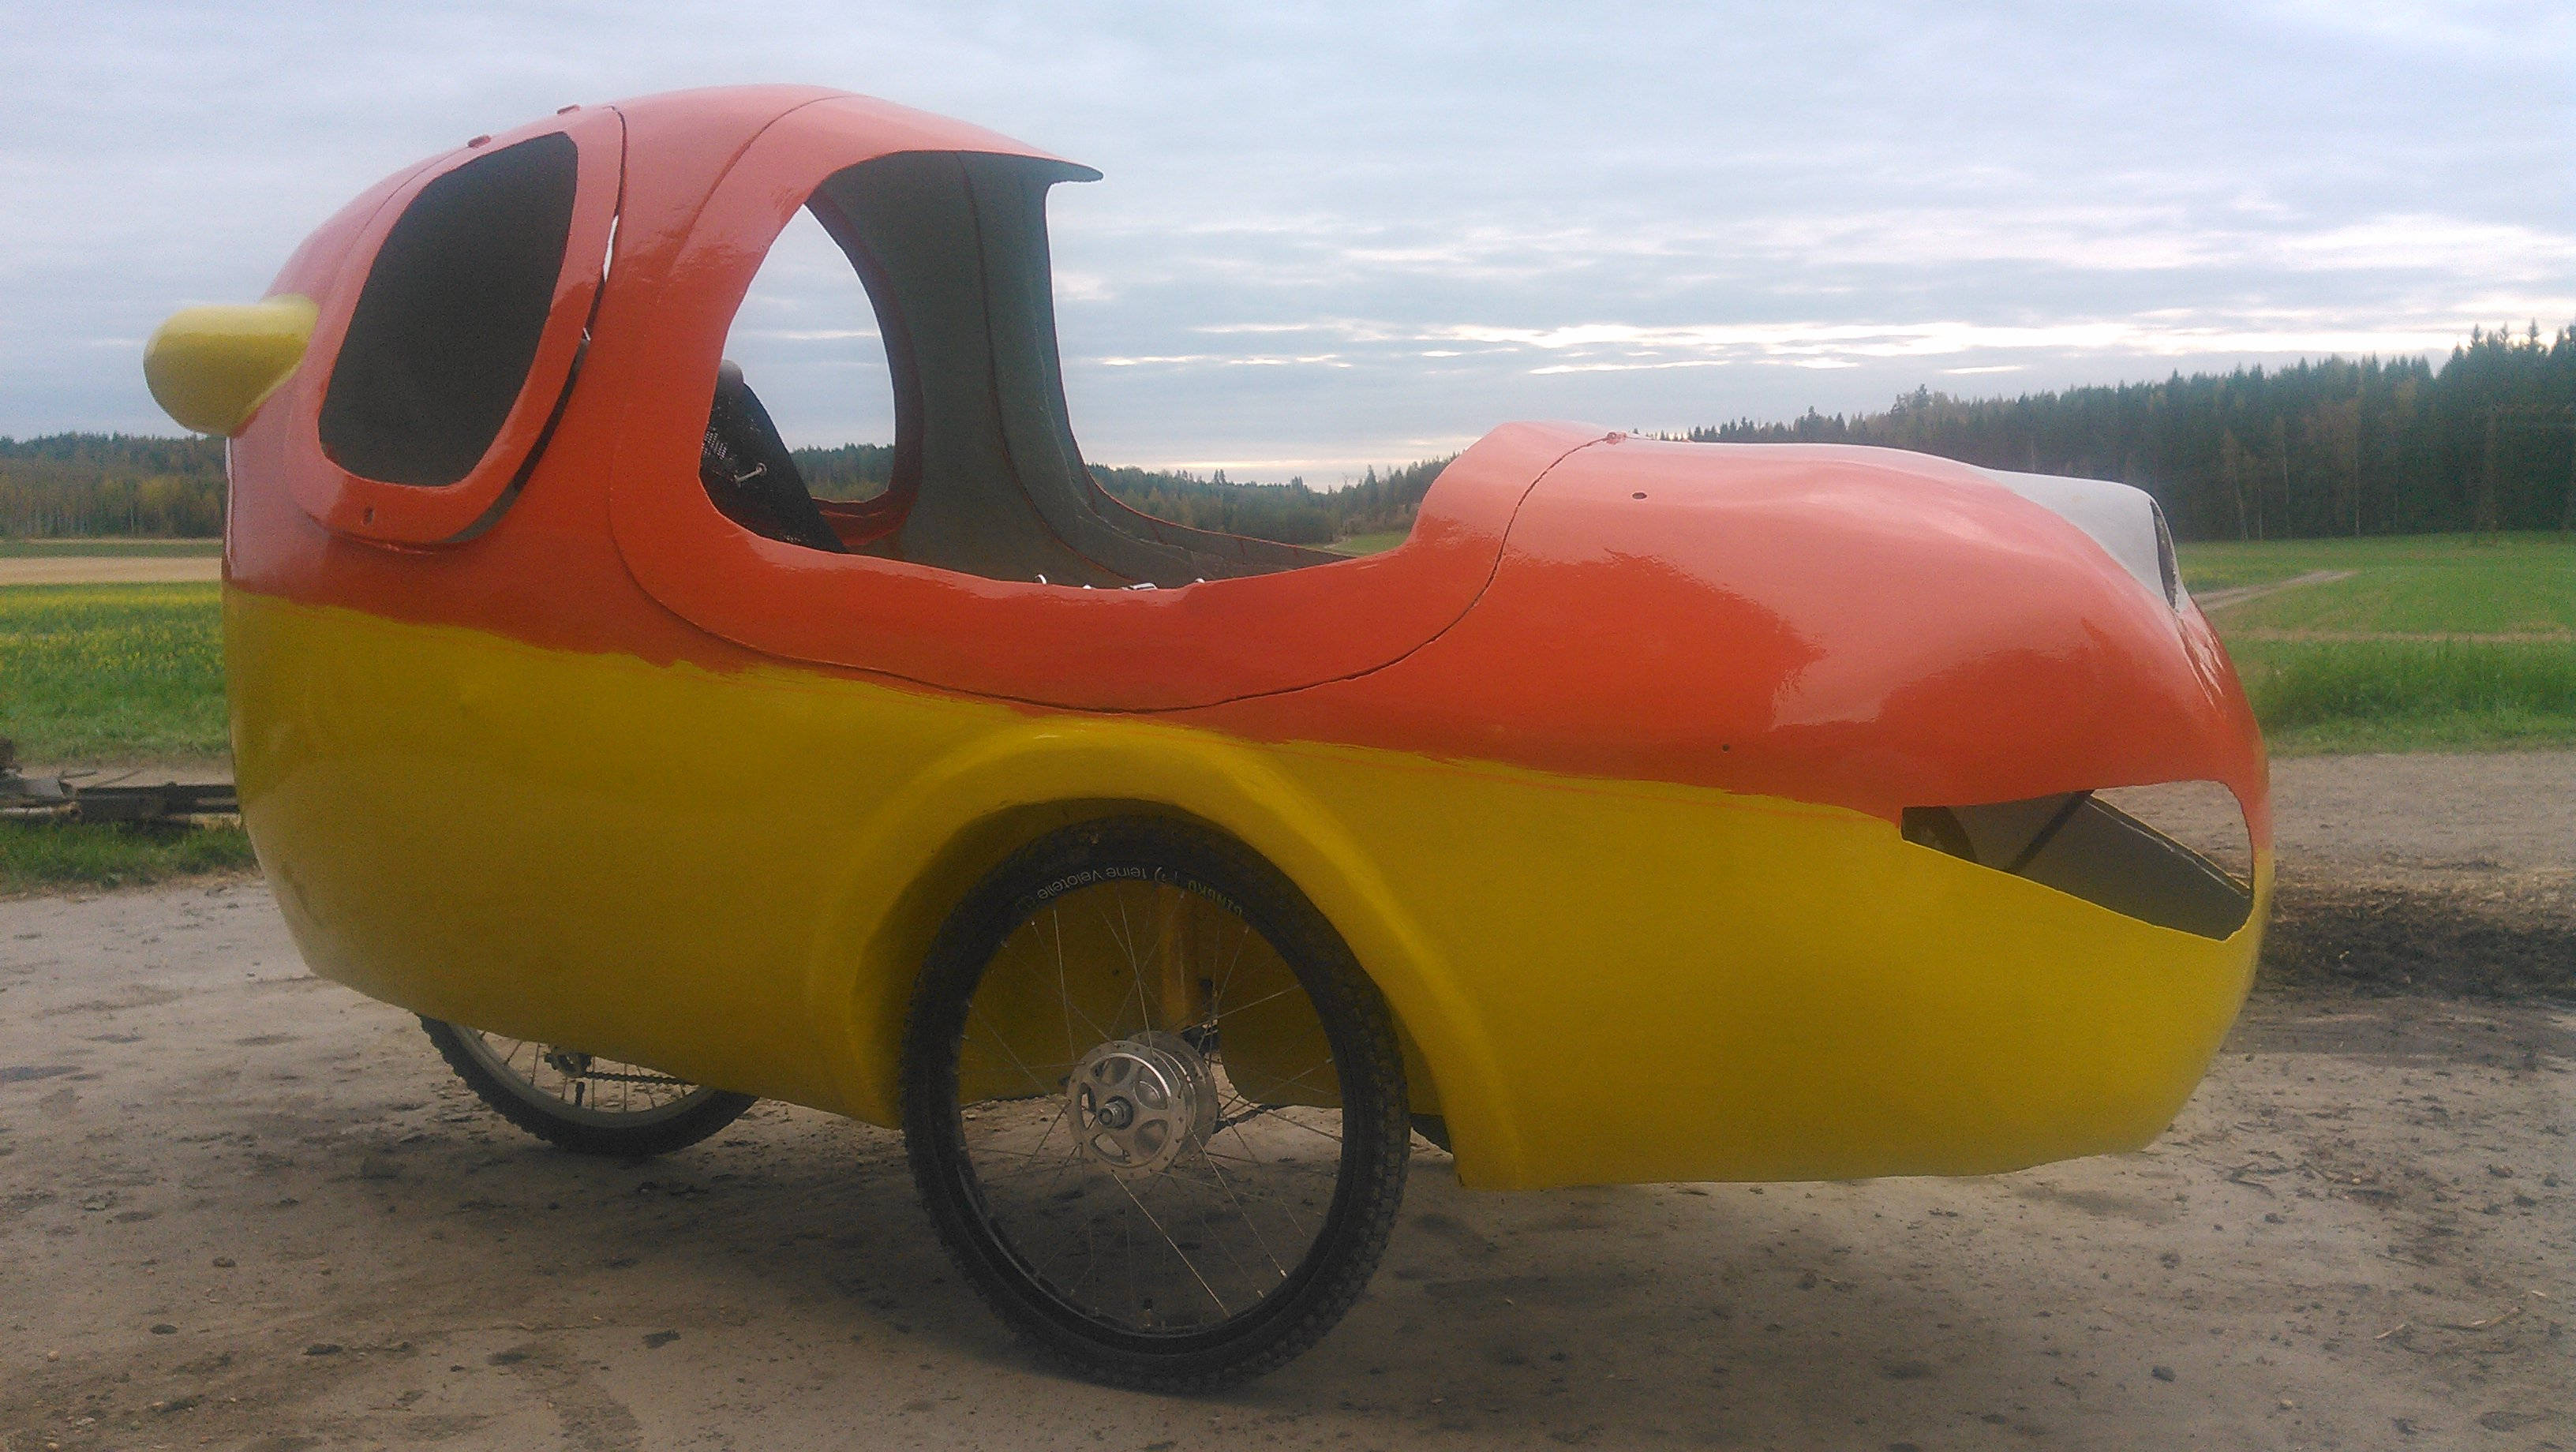
Colors LOCKED!
Perhaps this is visible enough?