Recumbent Tricycle Project
For more comfortable rides.
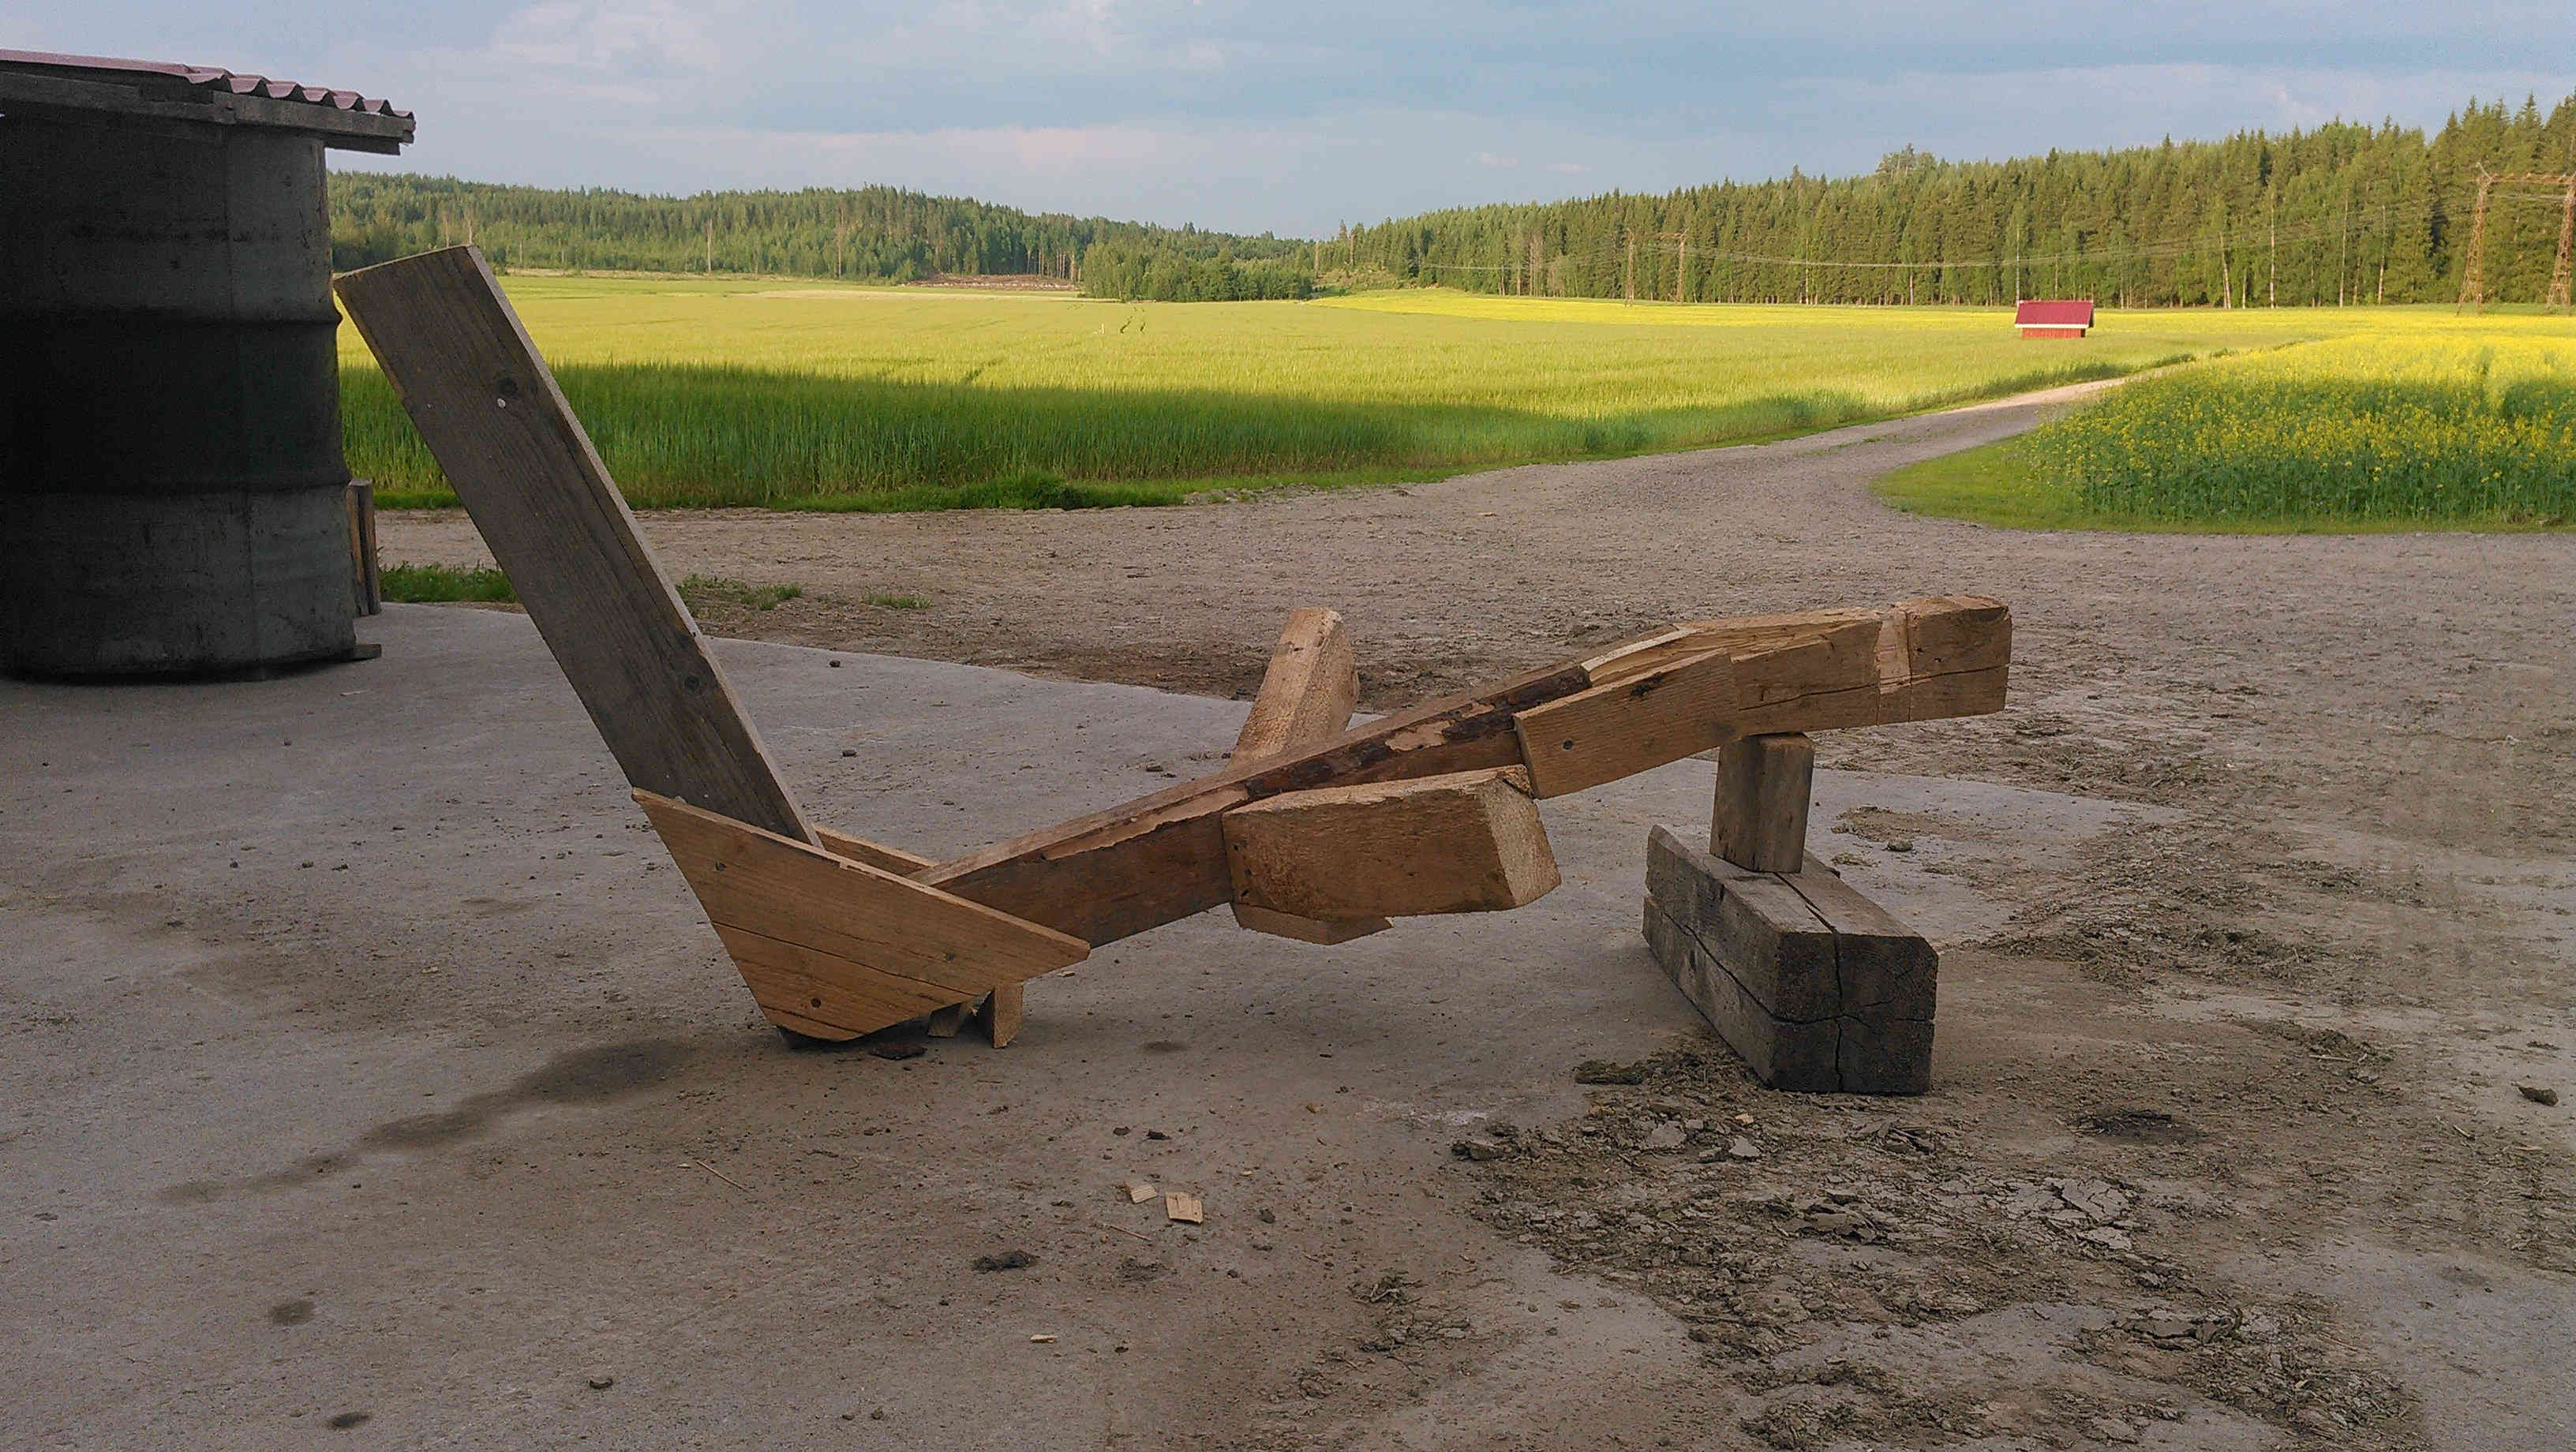
Start of the project: a welding stand.
First I build a welding stand to support the steel frame and to study dimensions and angles.
It started forming: see for yourself.
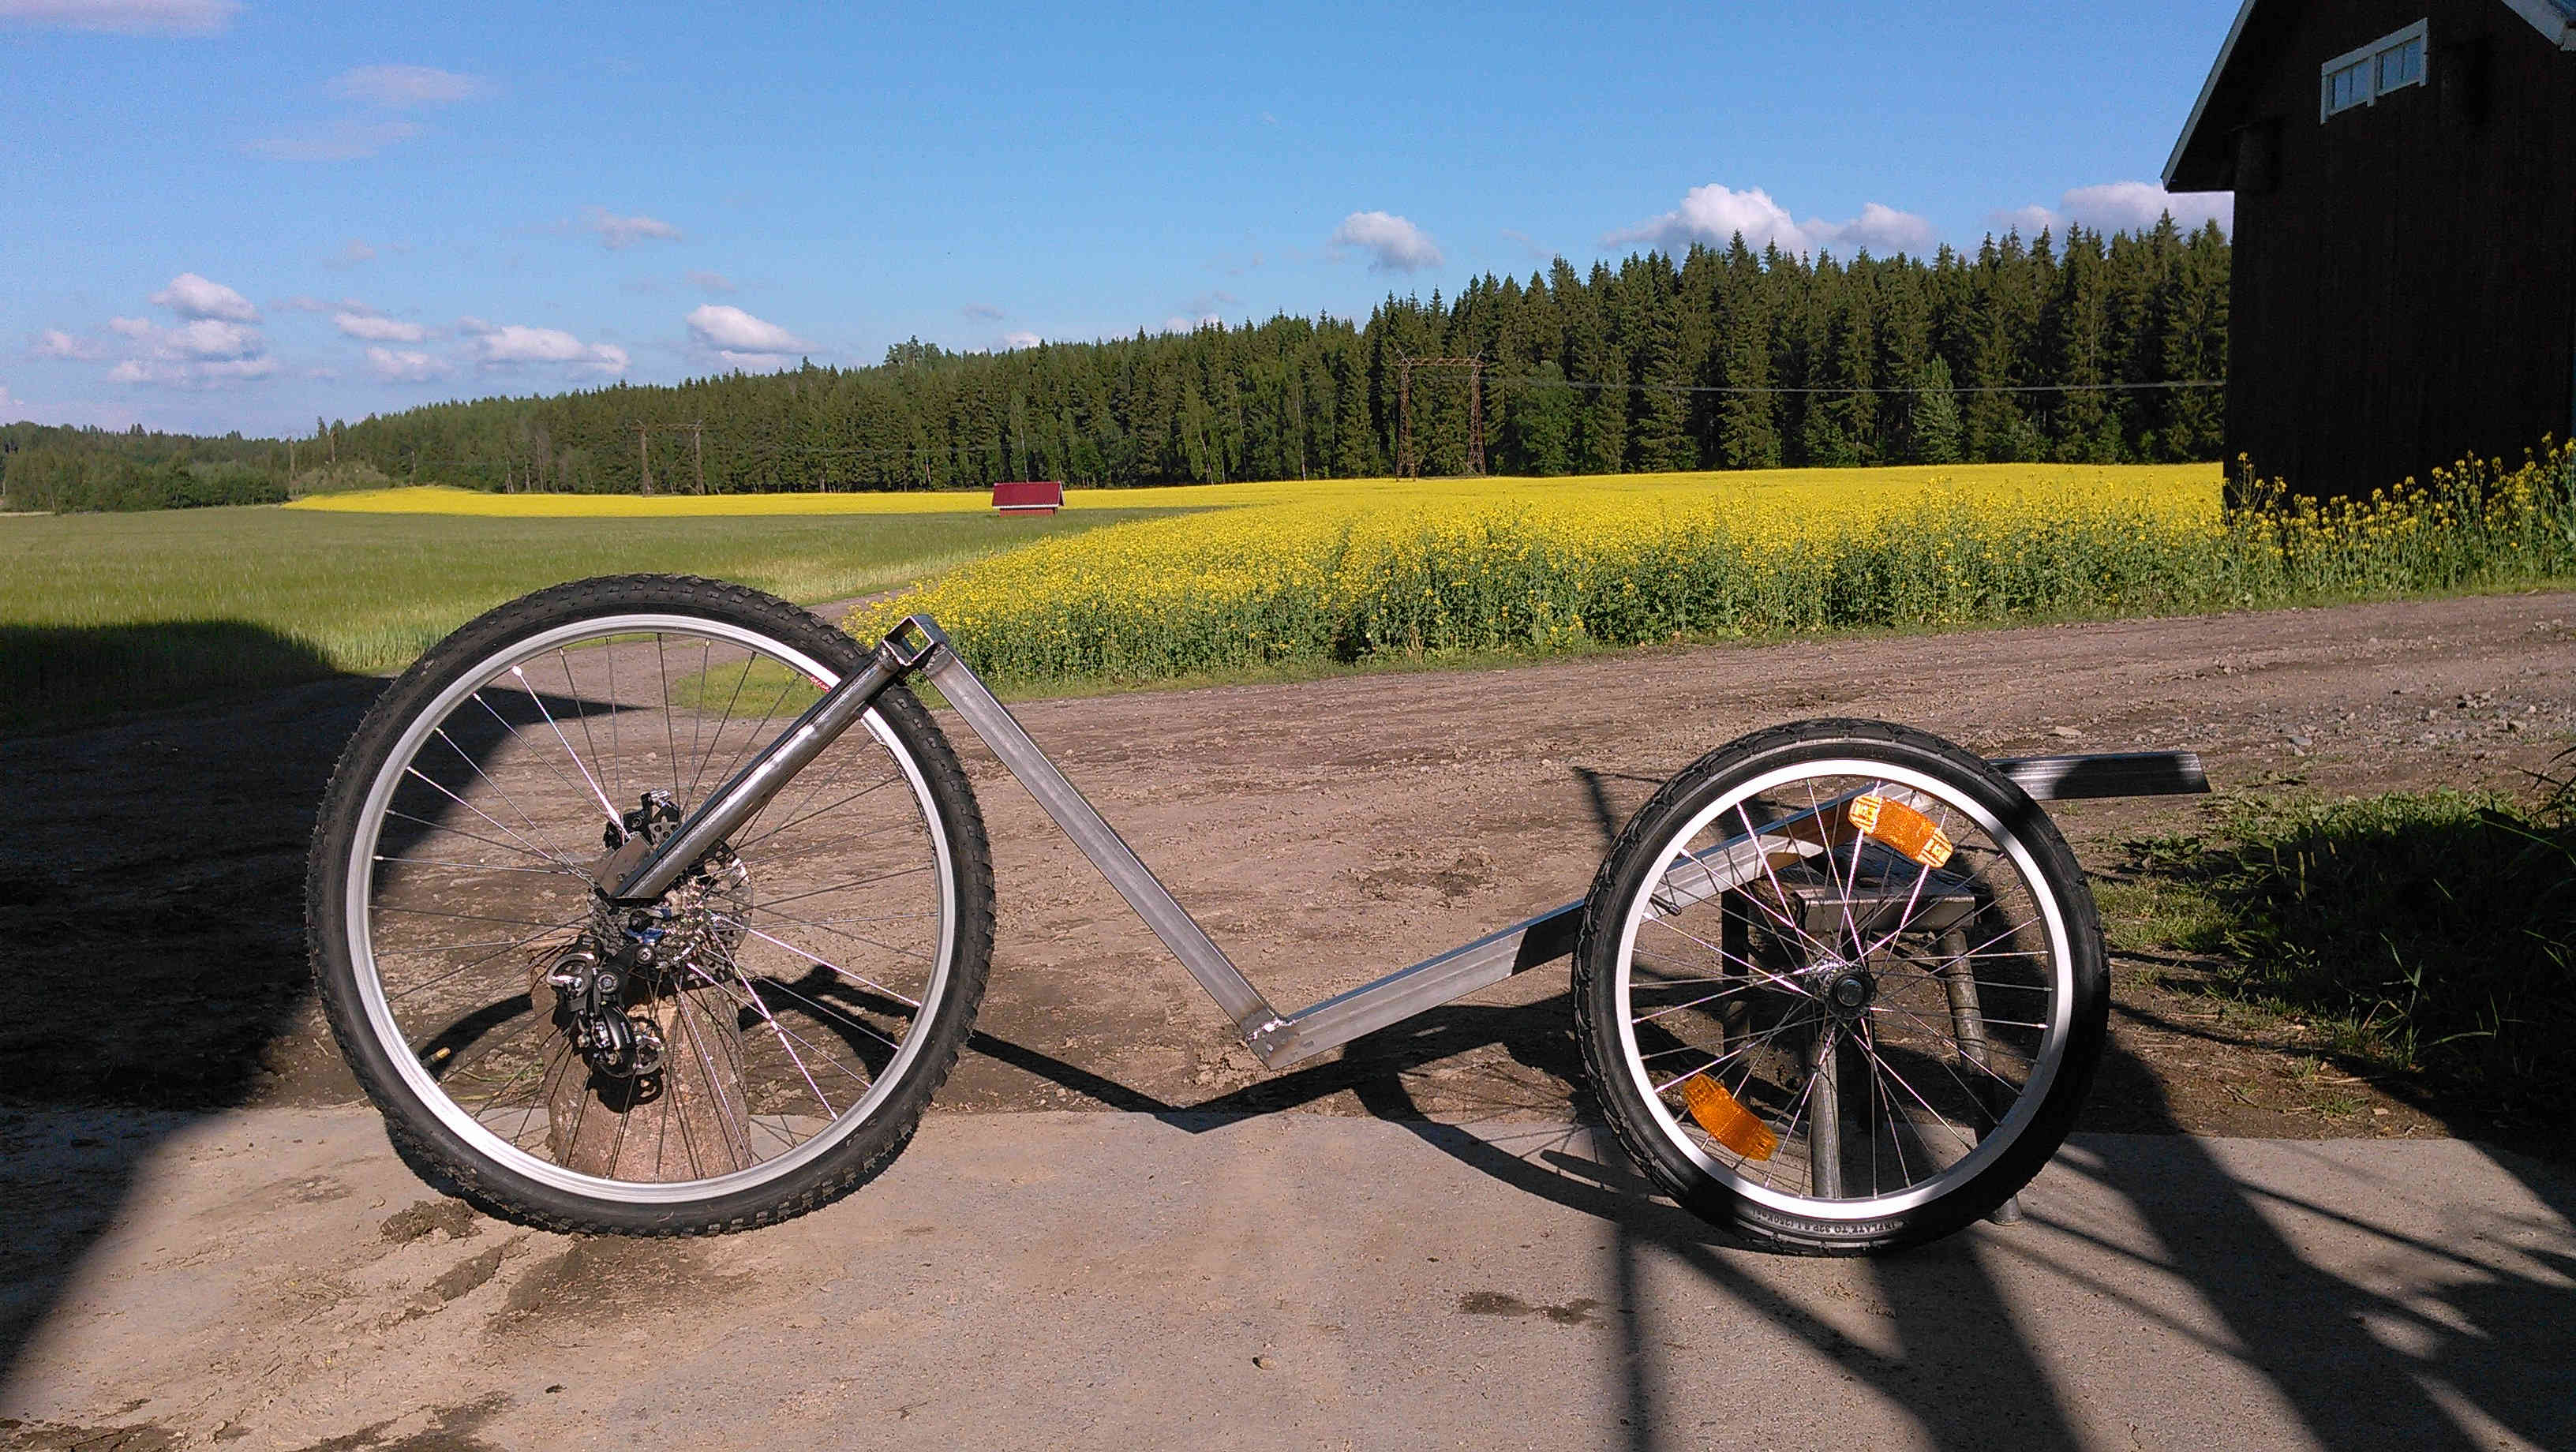
I think that the first angle of the frame pipe was most important. It defined the drive position and length of the tricycle.
The rear fork: ready to be welded.
It was rather difficult to get everything in correct position and angle.
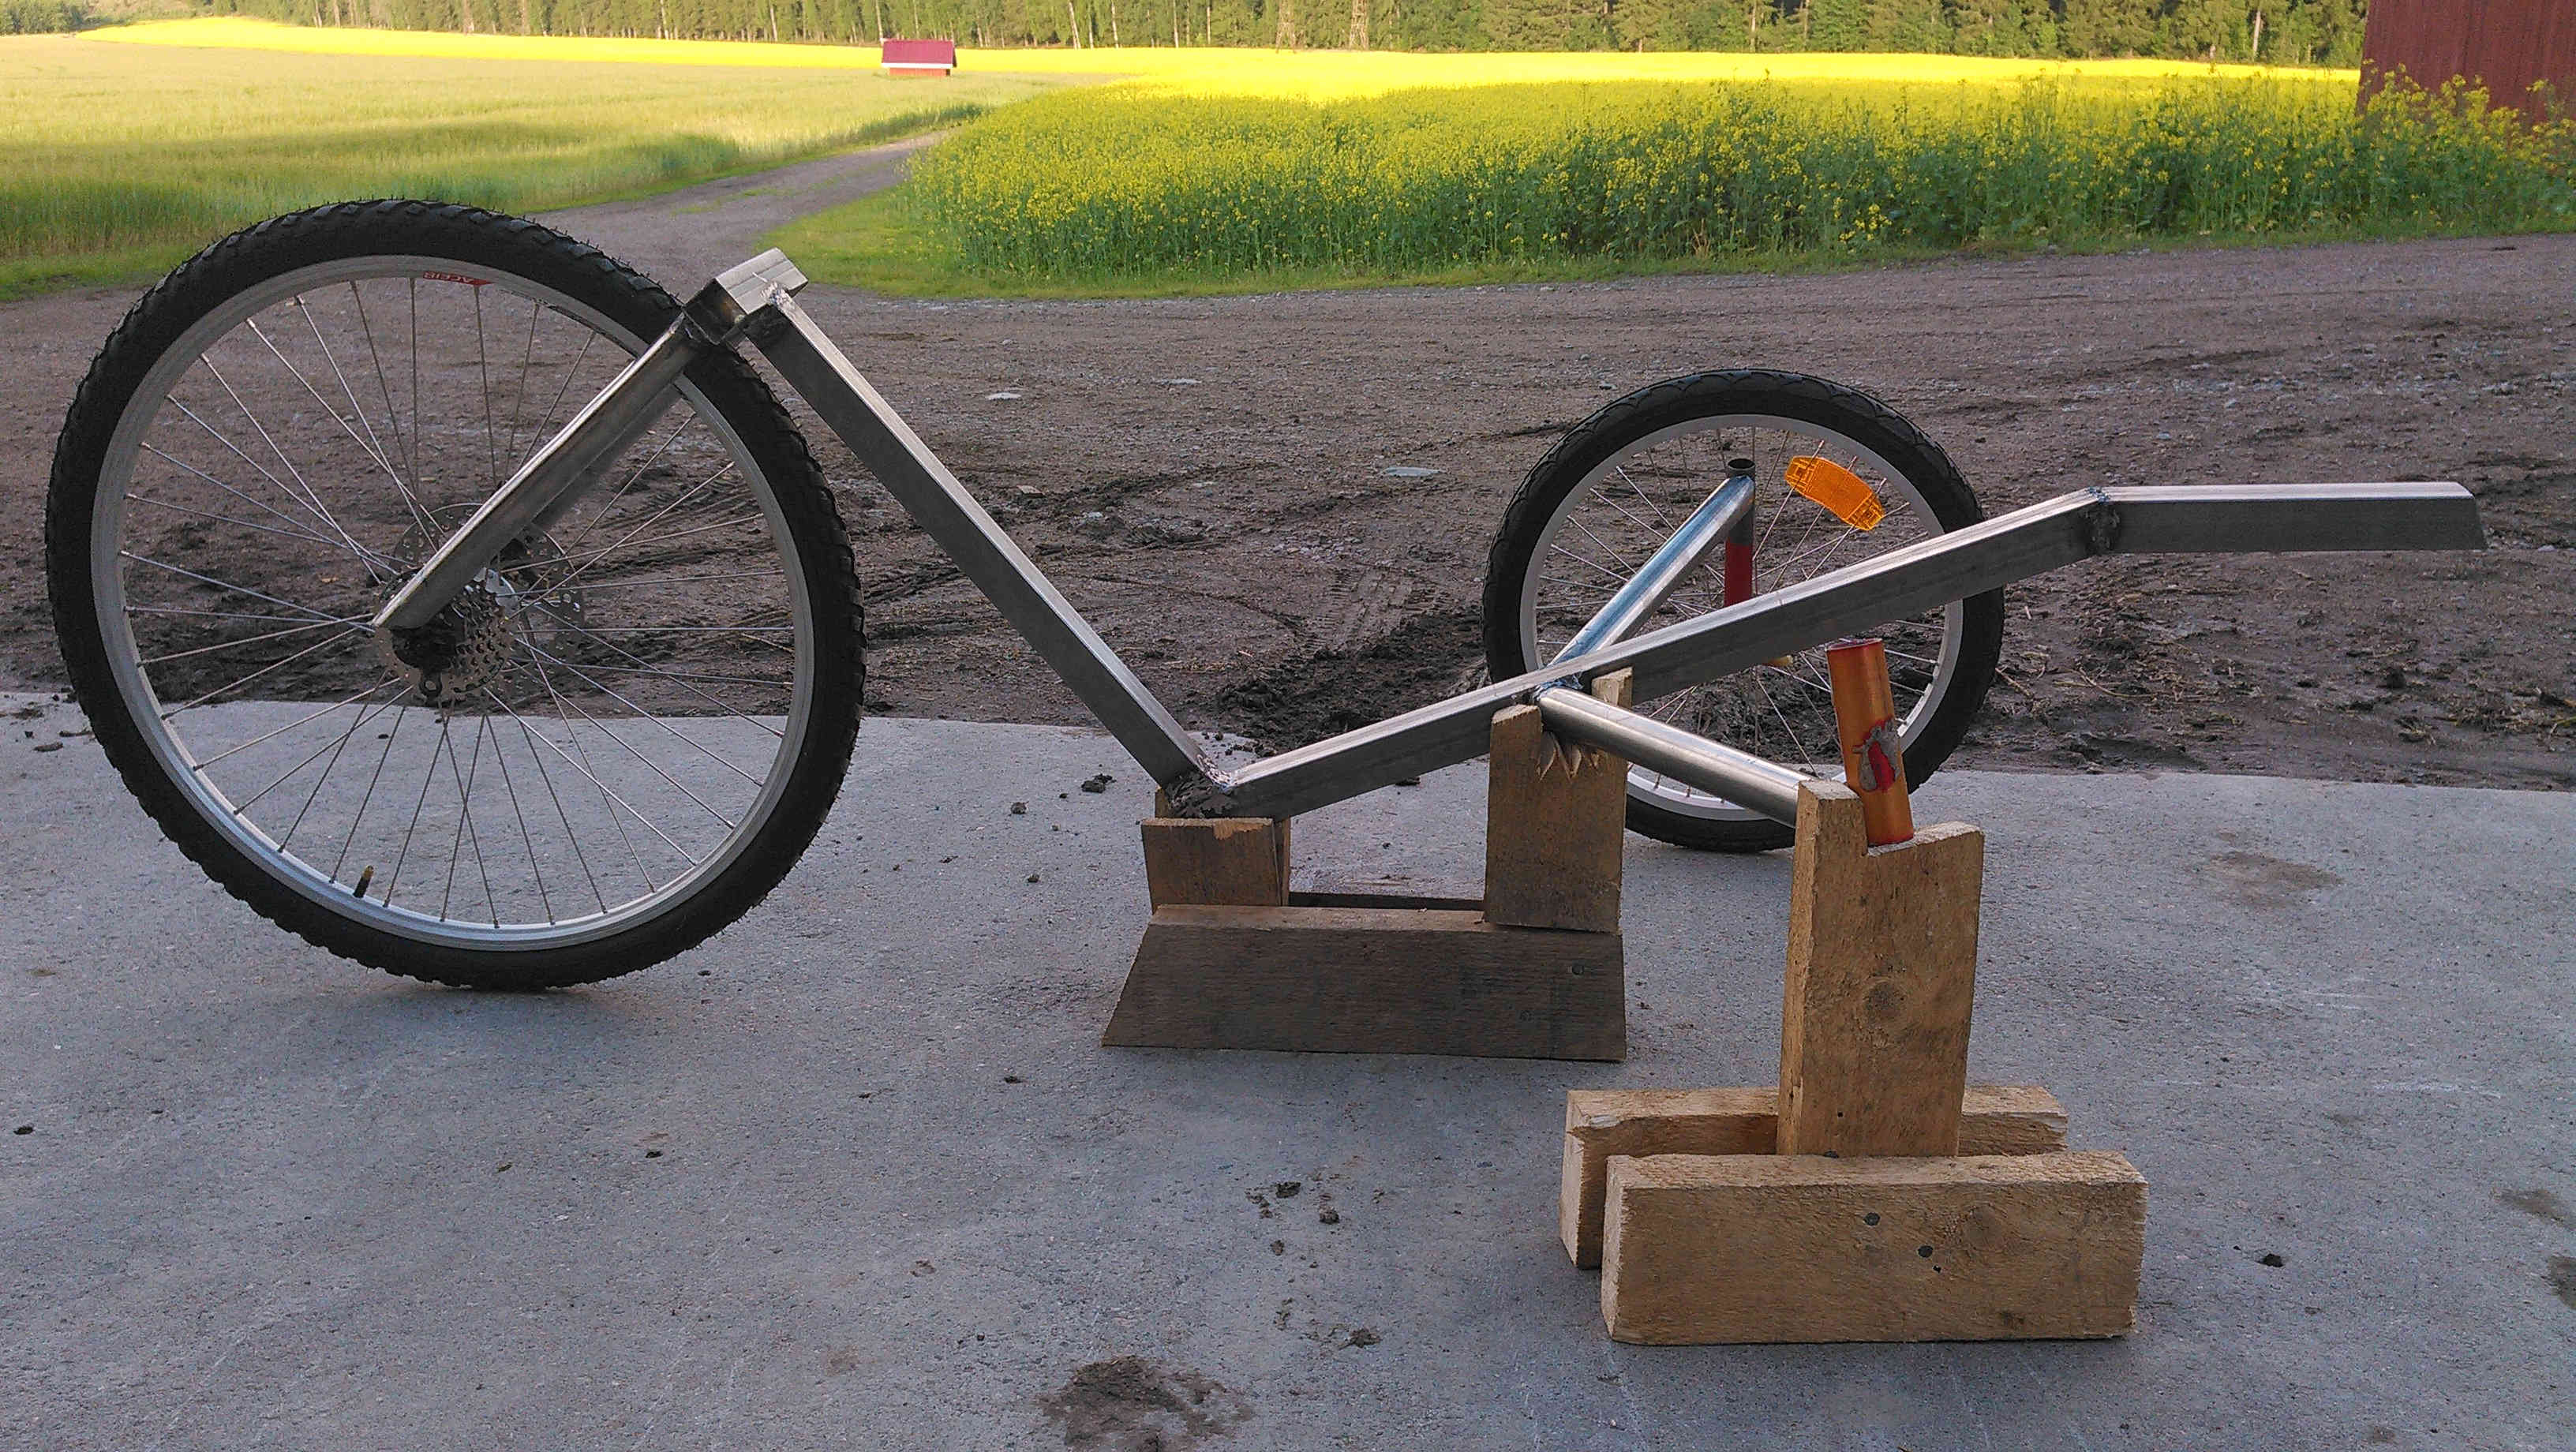
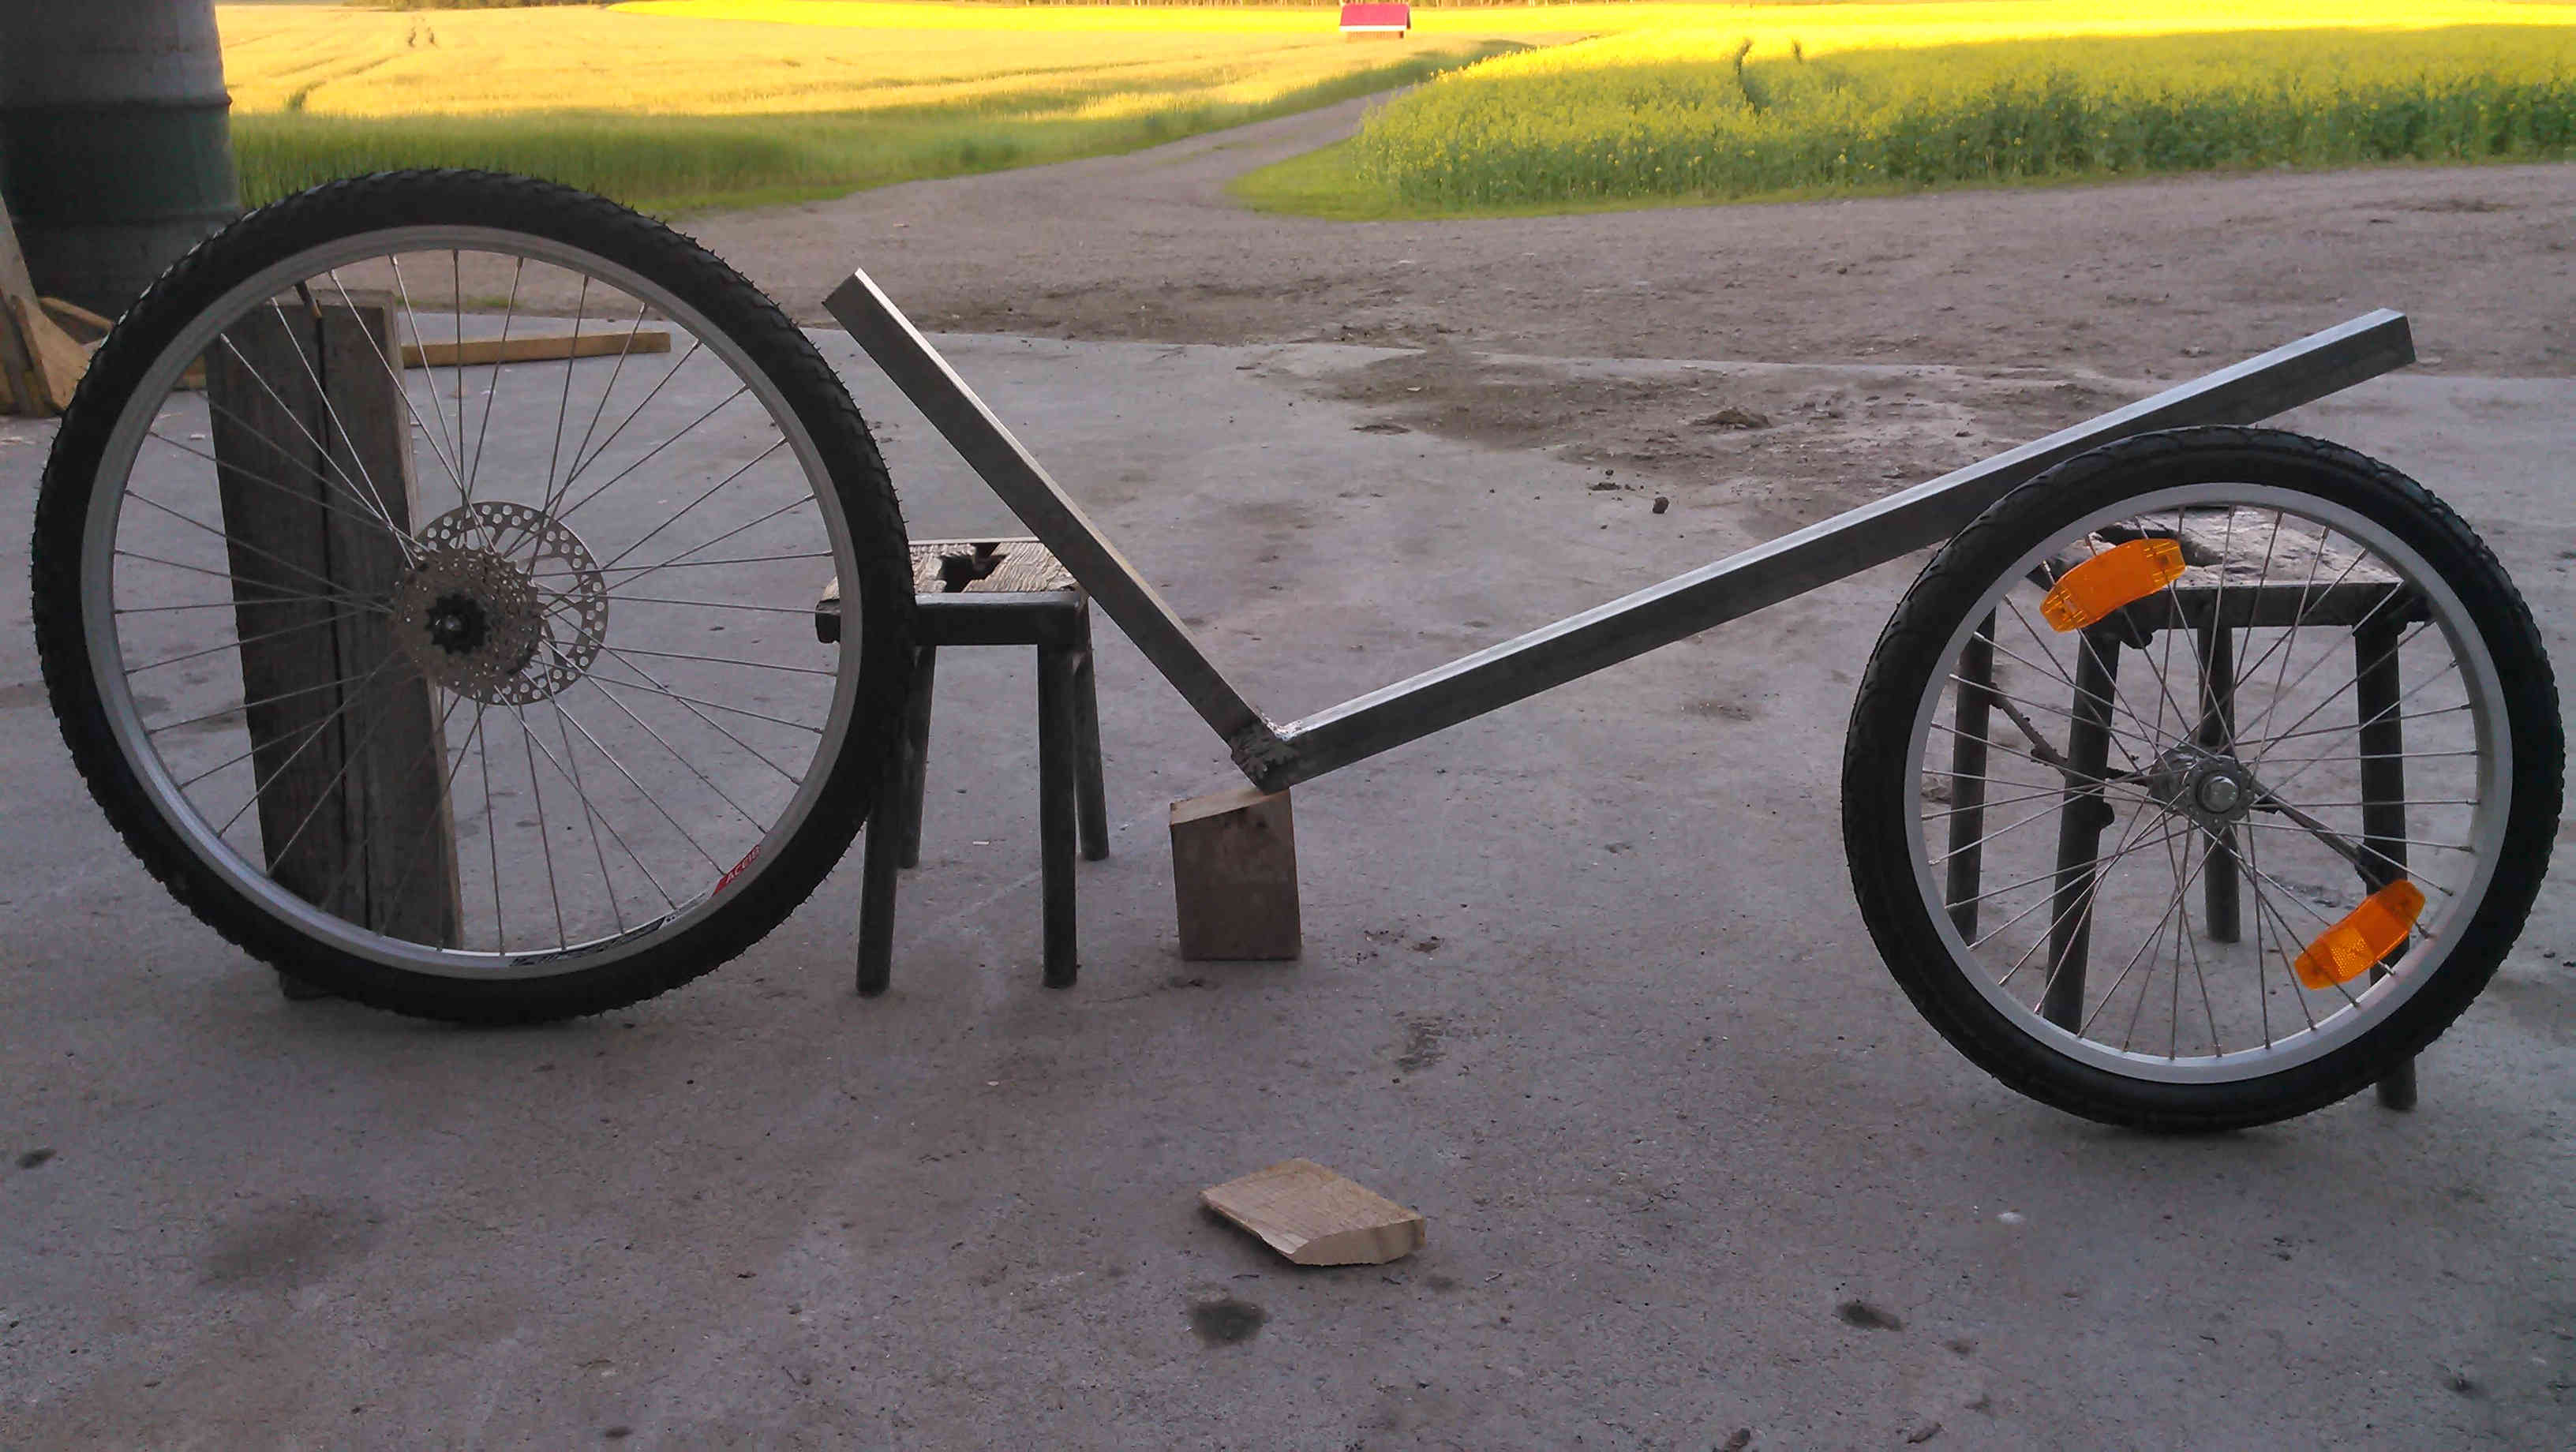
More welding stands: several angles to worry.
I had to study several angles which affect the driveability of the vehicle.
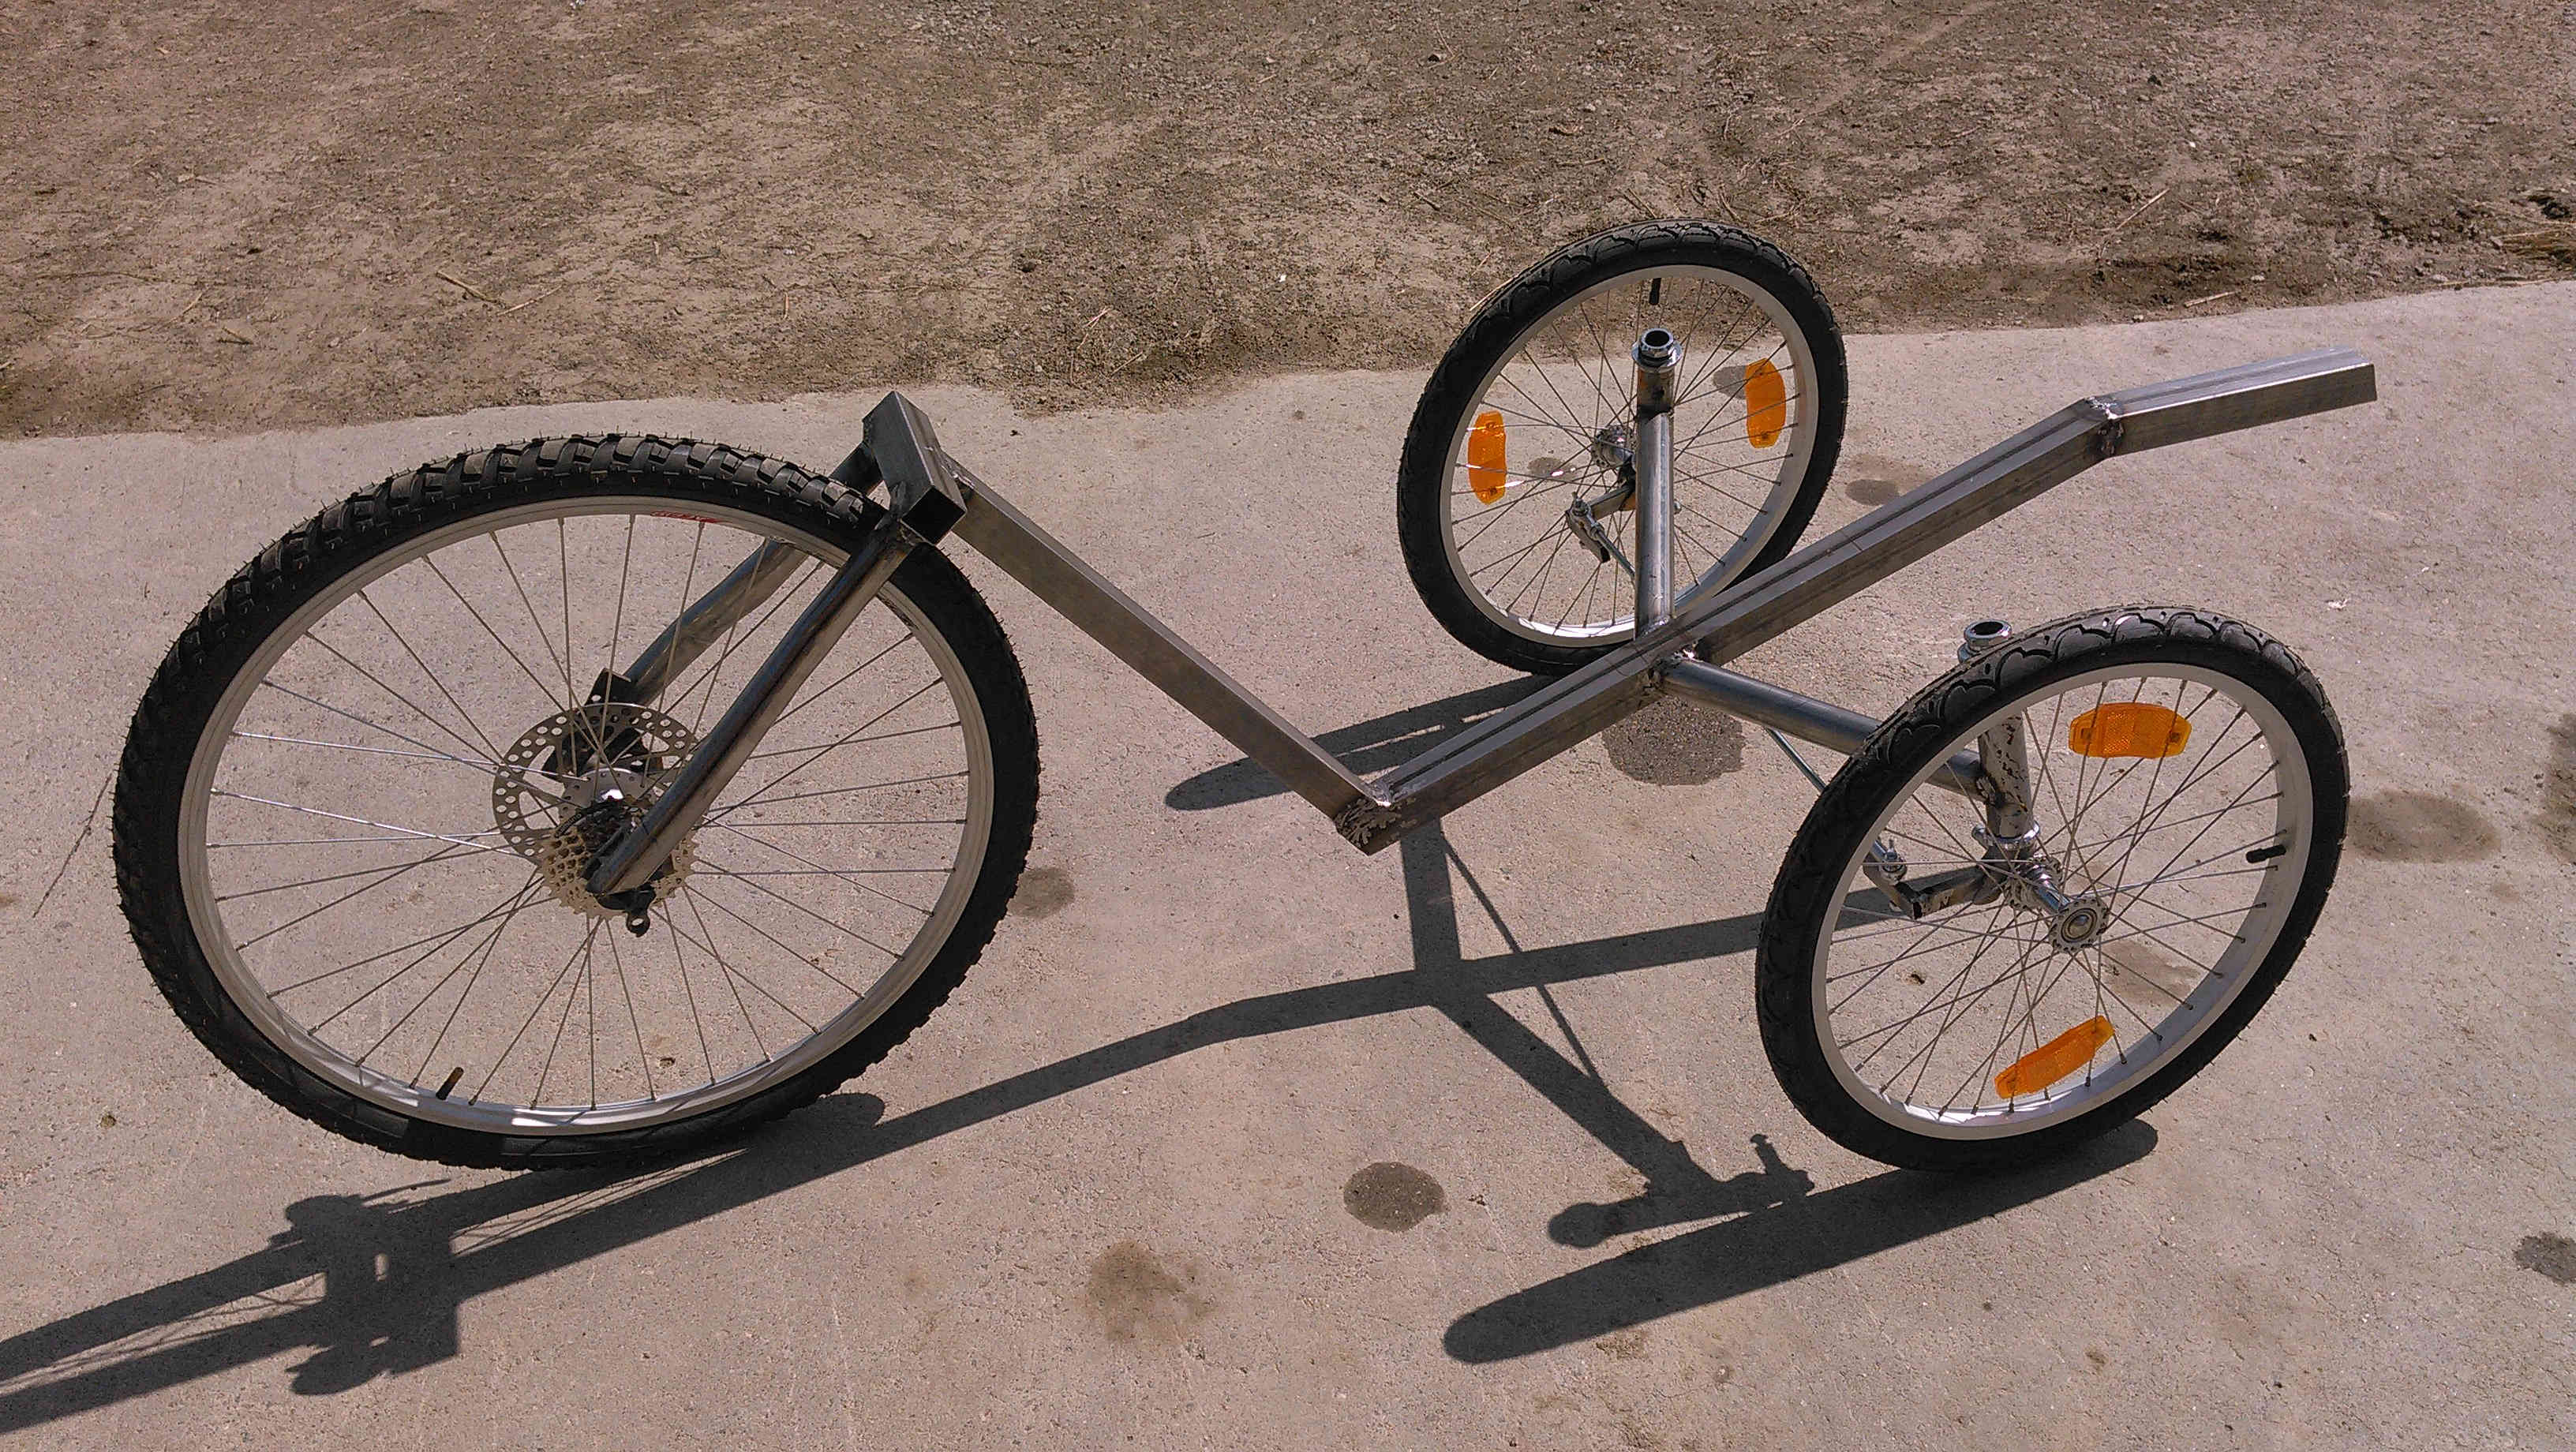
Finally! It stands on its own wheels.
Getting the vehicle rolling on its wheels felt really nice.
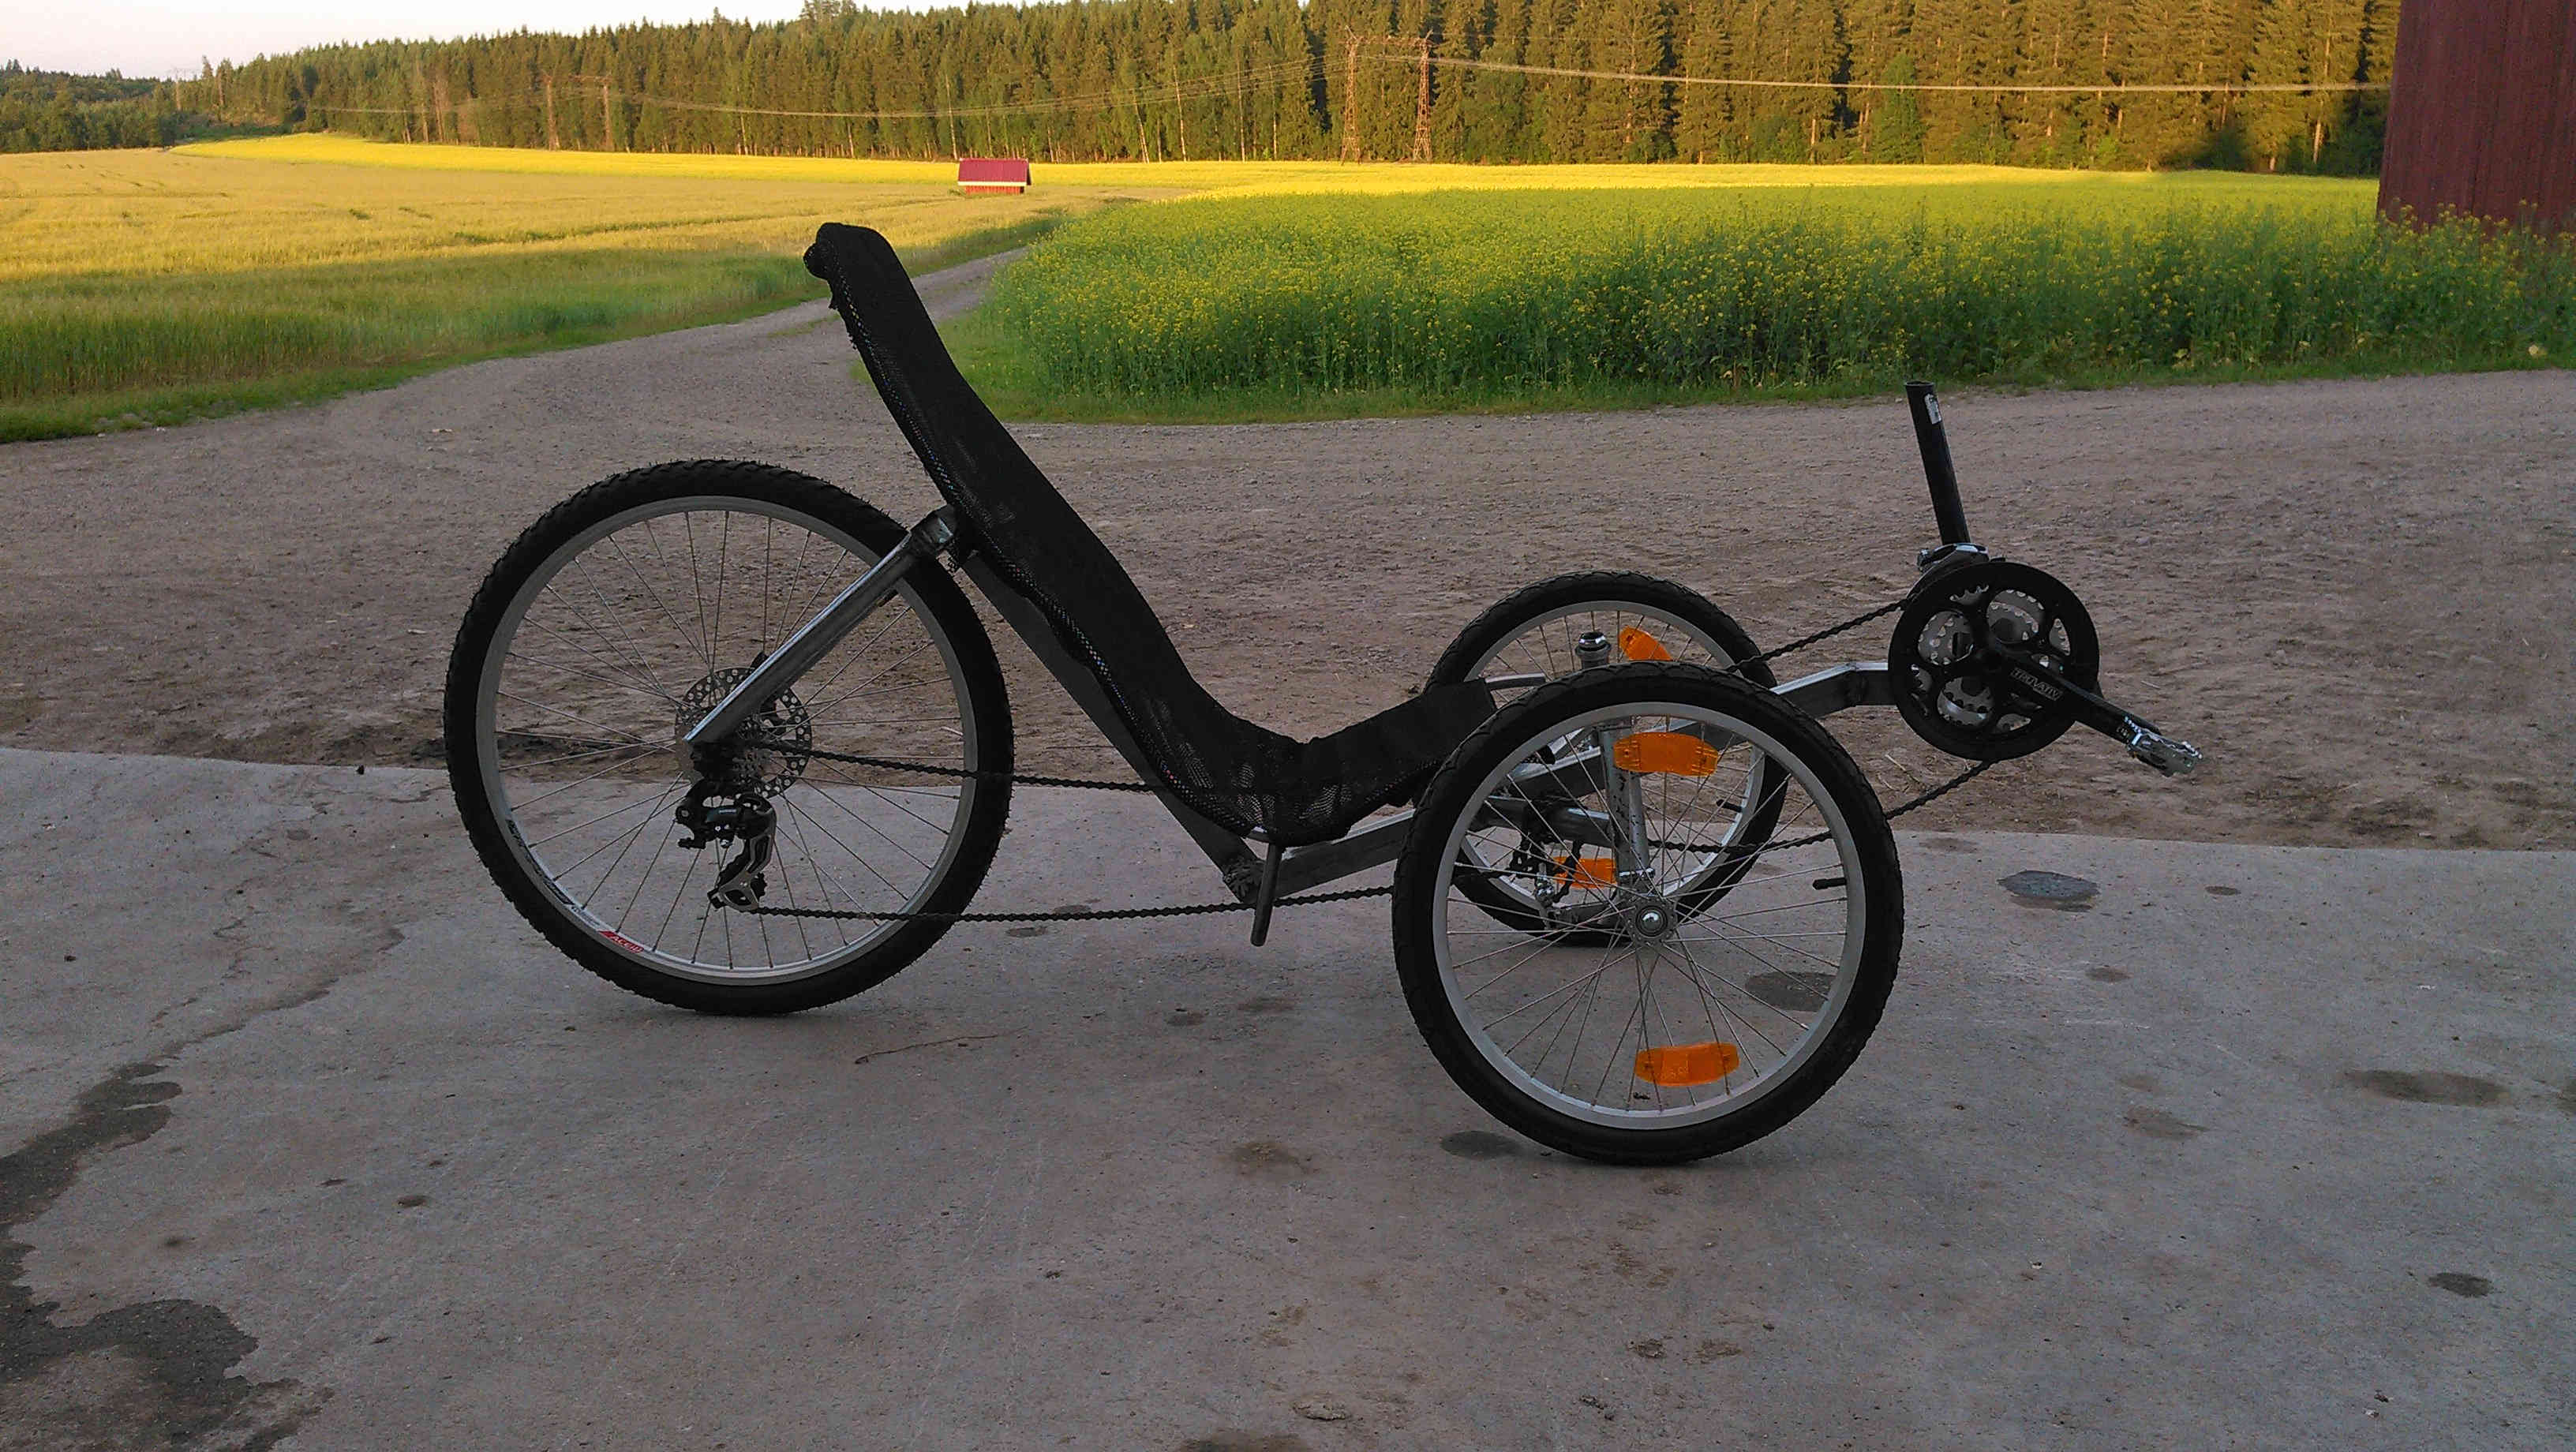
Now some seat suspension
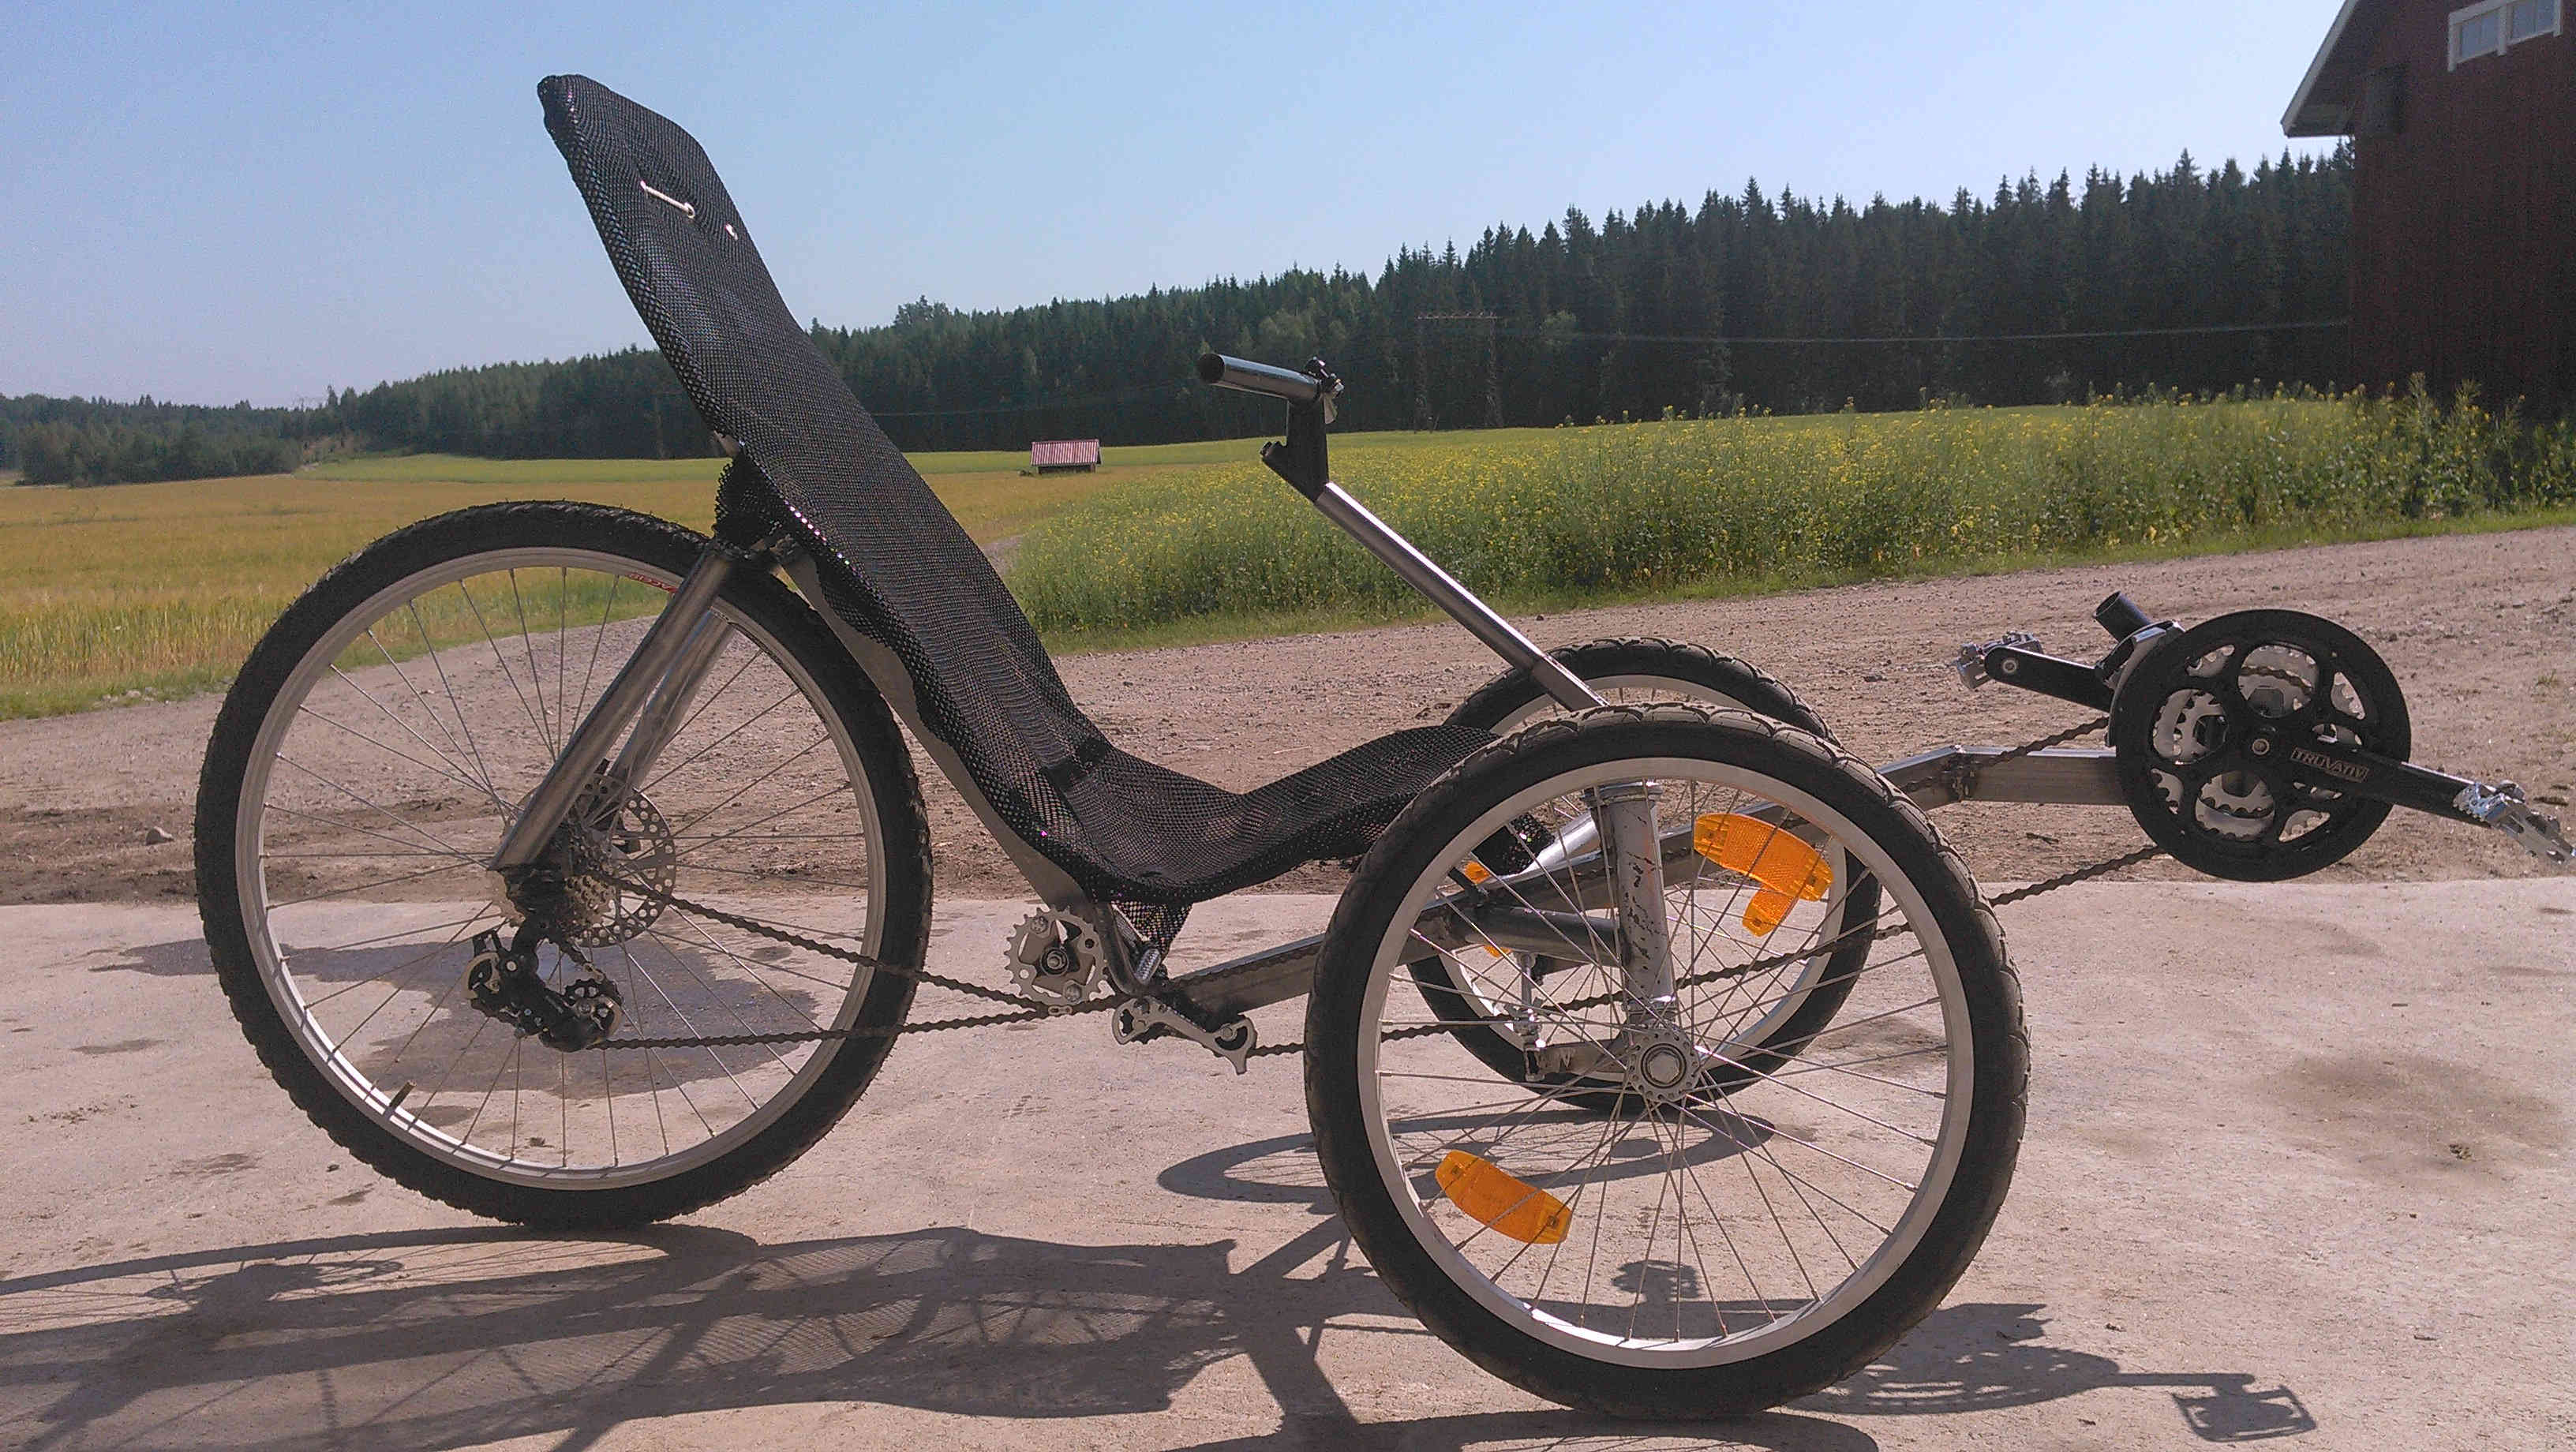
I decided to build also the seat by myself. I found some nice net fabric and sail rings. However, I had to design the tools to attach rings to the fabric.
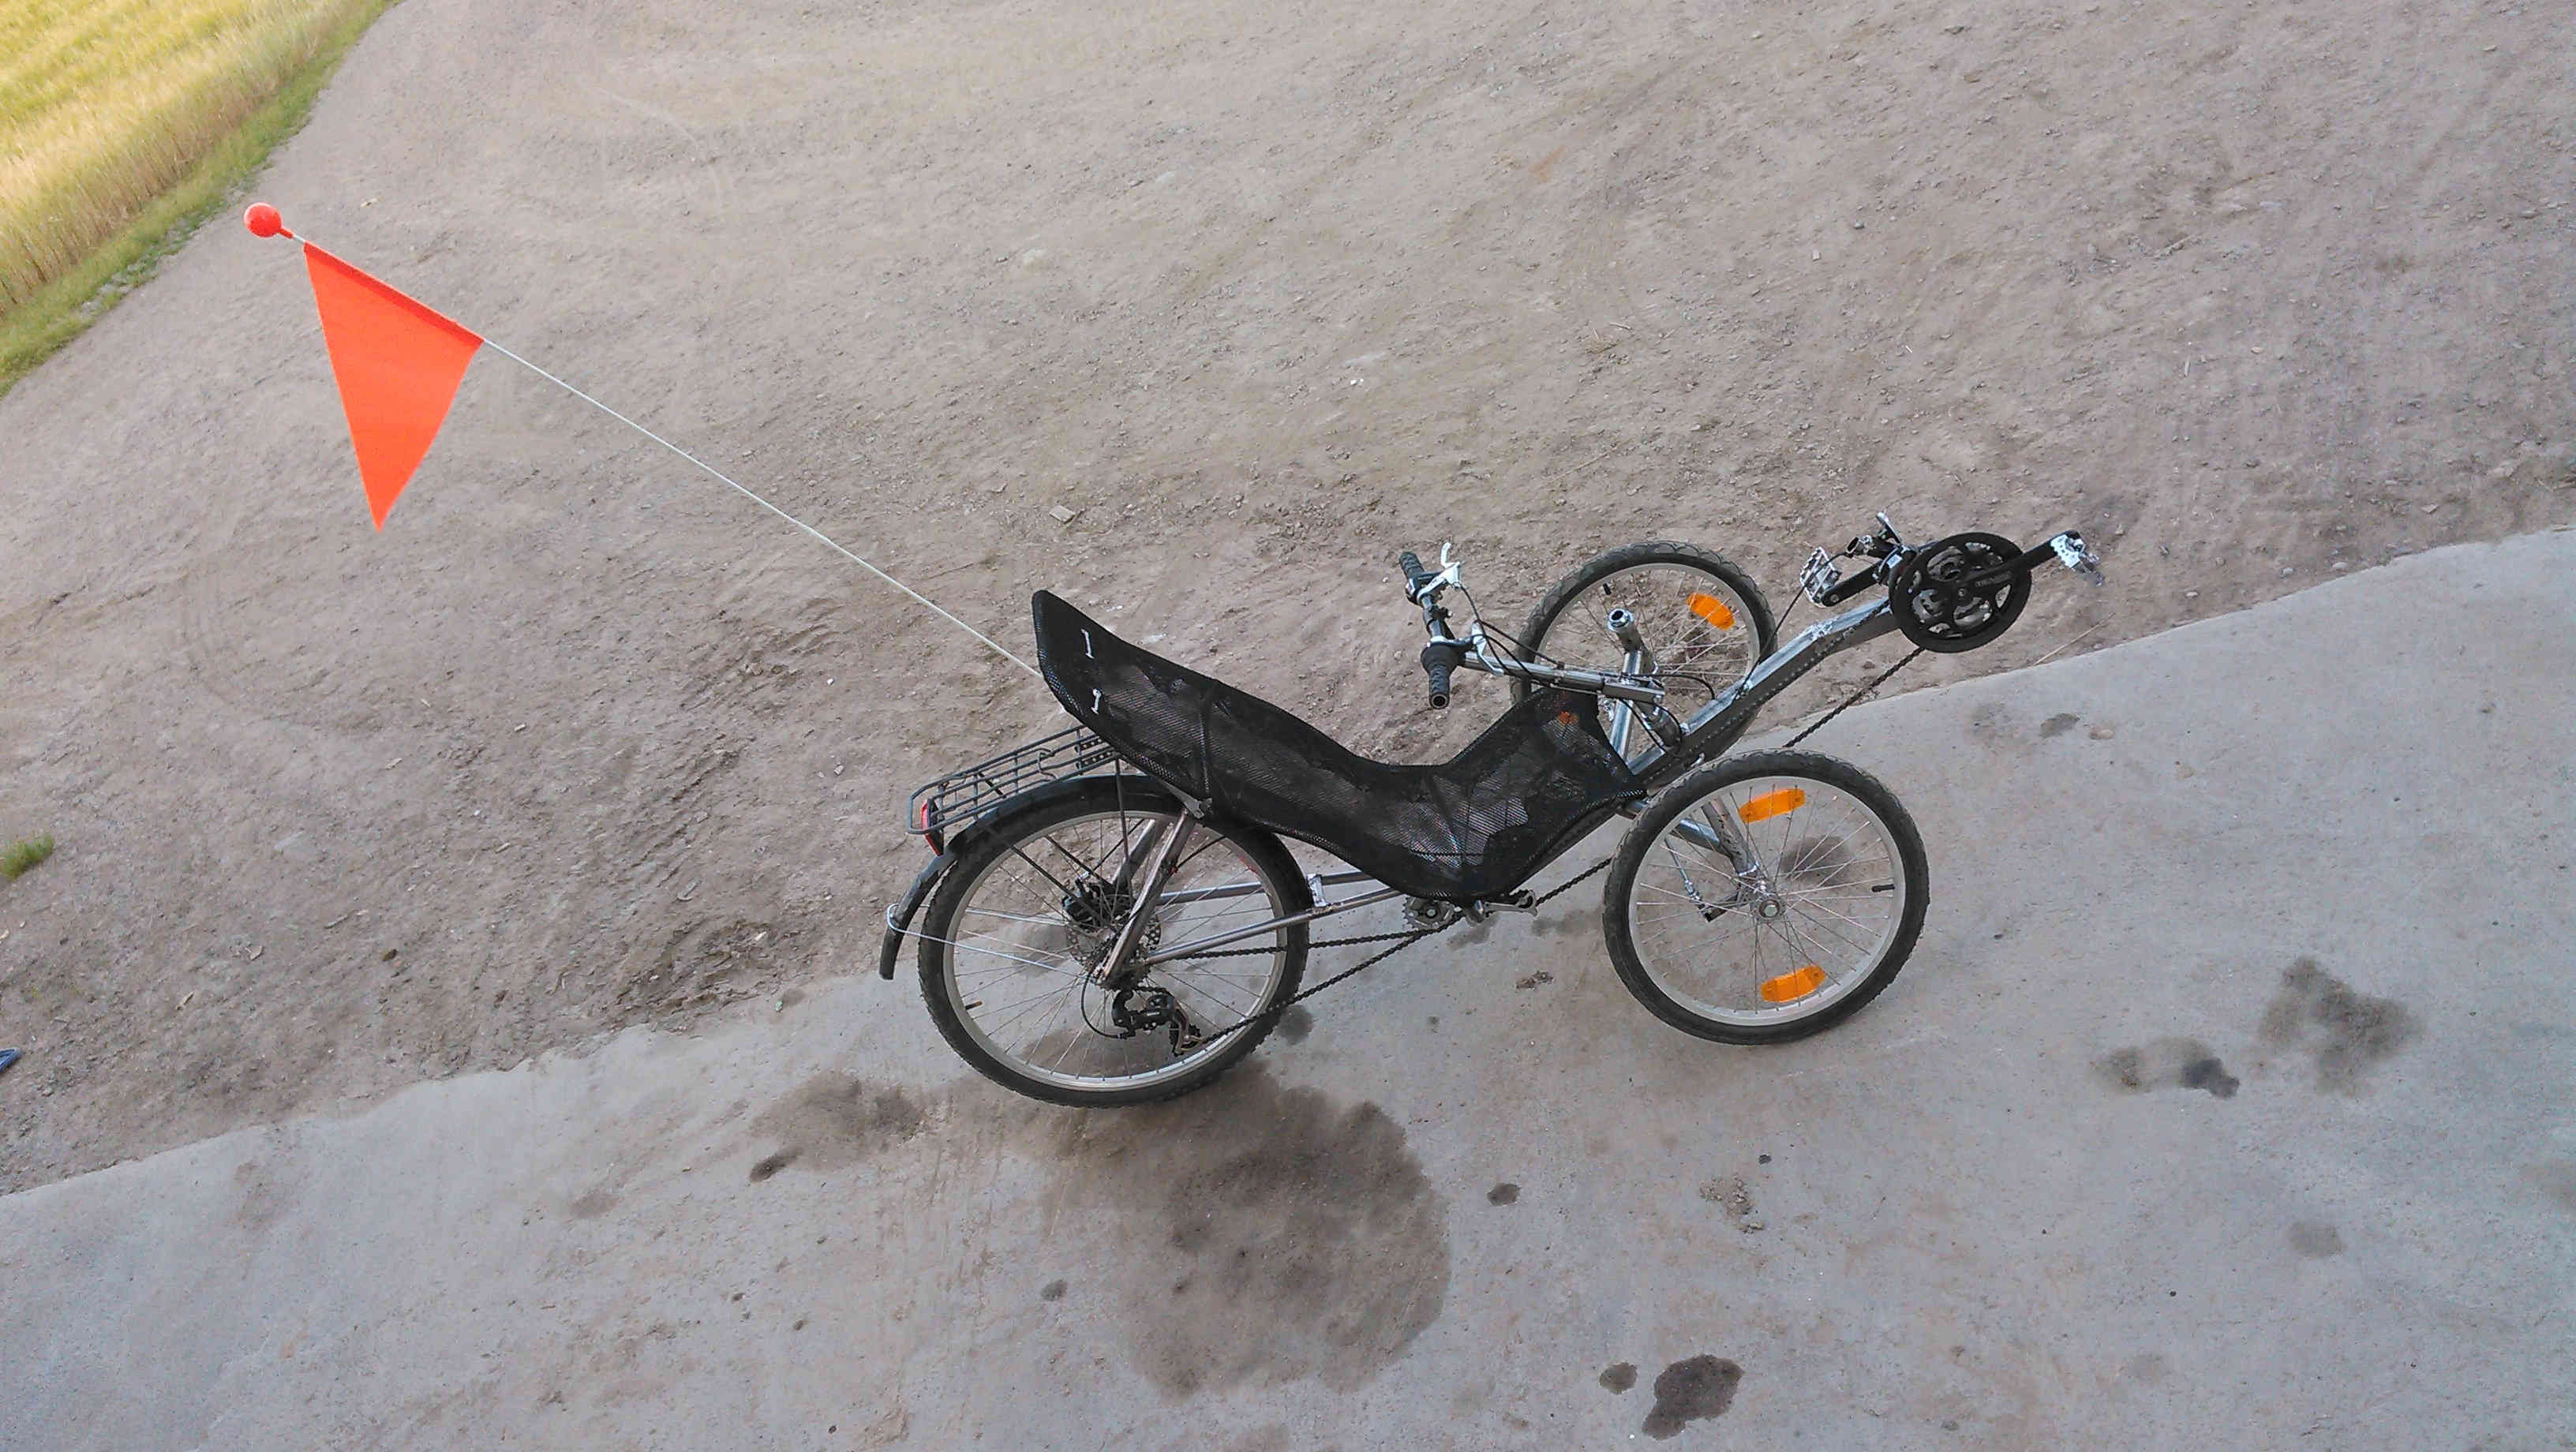
After two weeks: TEST DRIVE!
Fantastic feeling! I can recommend to everyone to overcome your own doubts and try something challenging. I was also surprised how much the driving resembled to the driving of a go-kart. However, the test drive revealed a design flaw and the pedaling forces pulled the rear fork until the wheel squeezed against the frame.
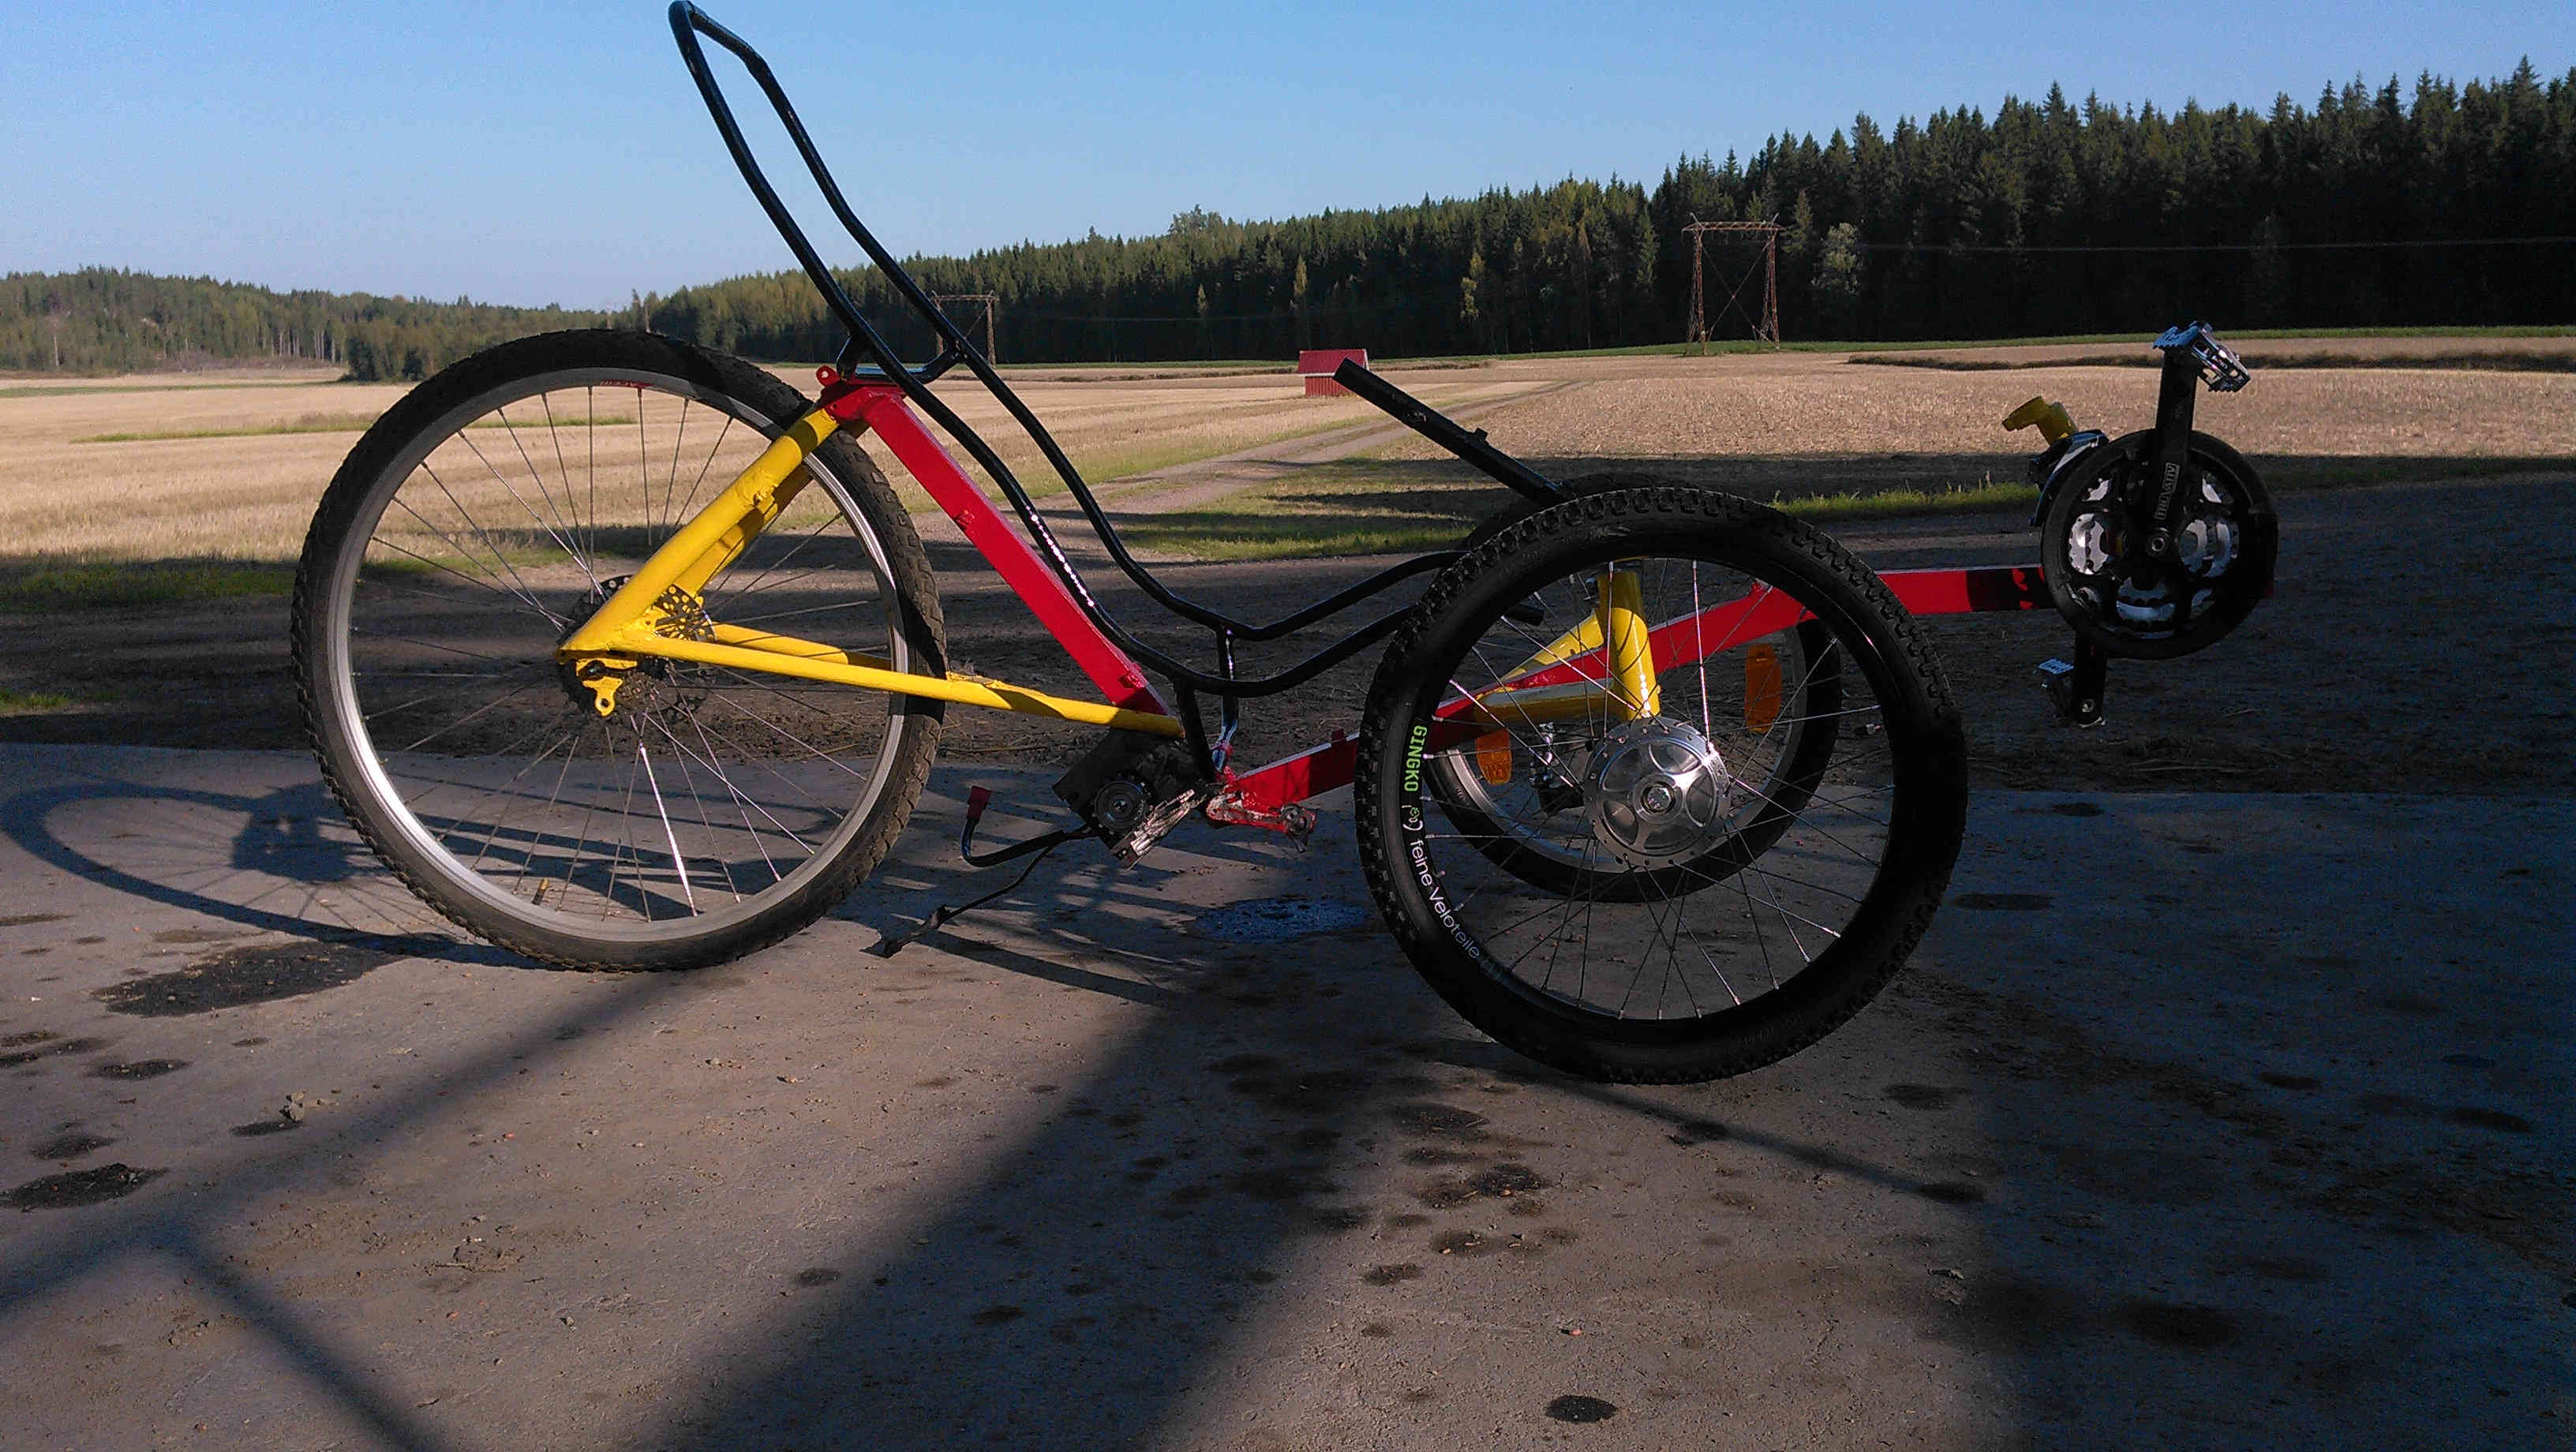
Ready to be PAINTED!
After three weeks of work the frame had achieved readiness level for paint work. However, I didn't have the electrical motor, battery and brake drums arrived yet.
Finalizing the tricycle, paint really makes it!
Once the electrical motor had arrived from Taiwan I was ready to make modifications to the frame since the chain needed to be cut in half. Also the drum brakes required some new installations.
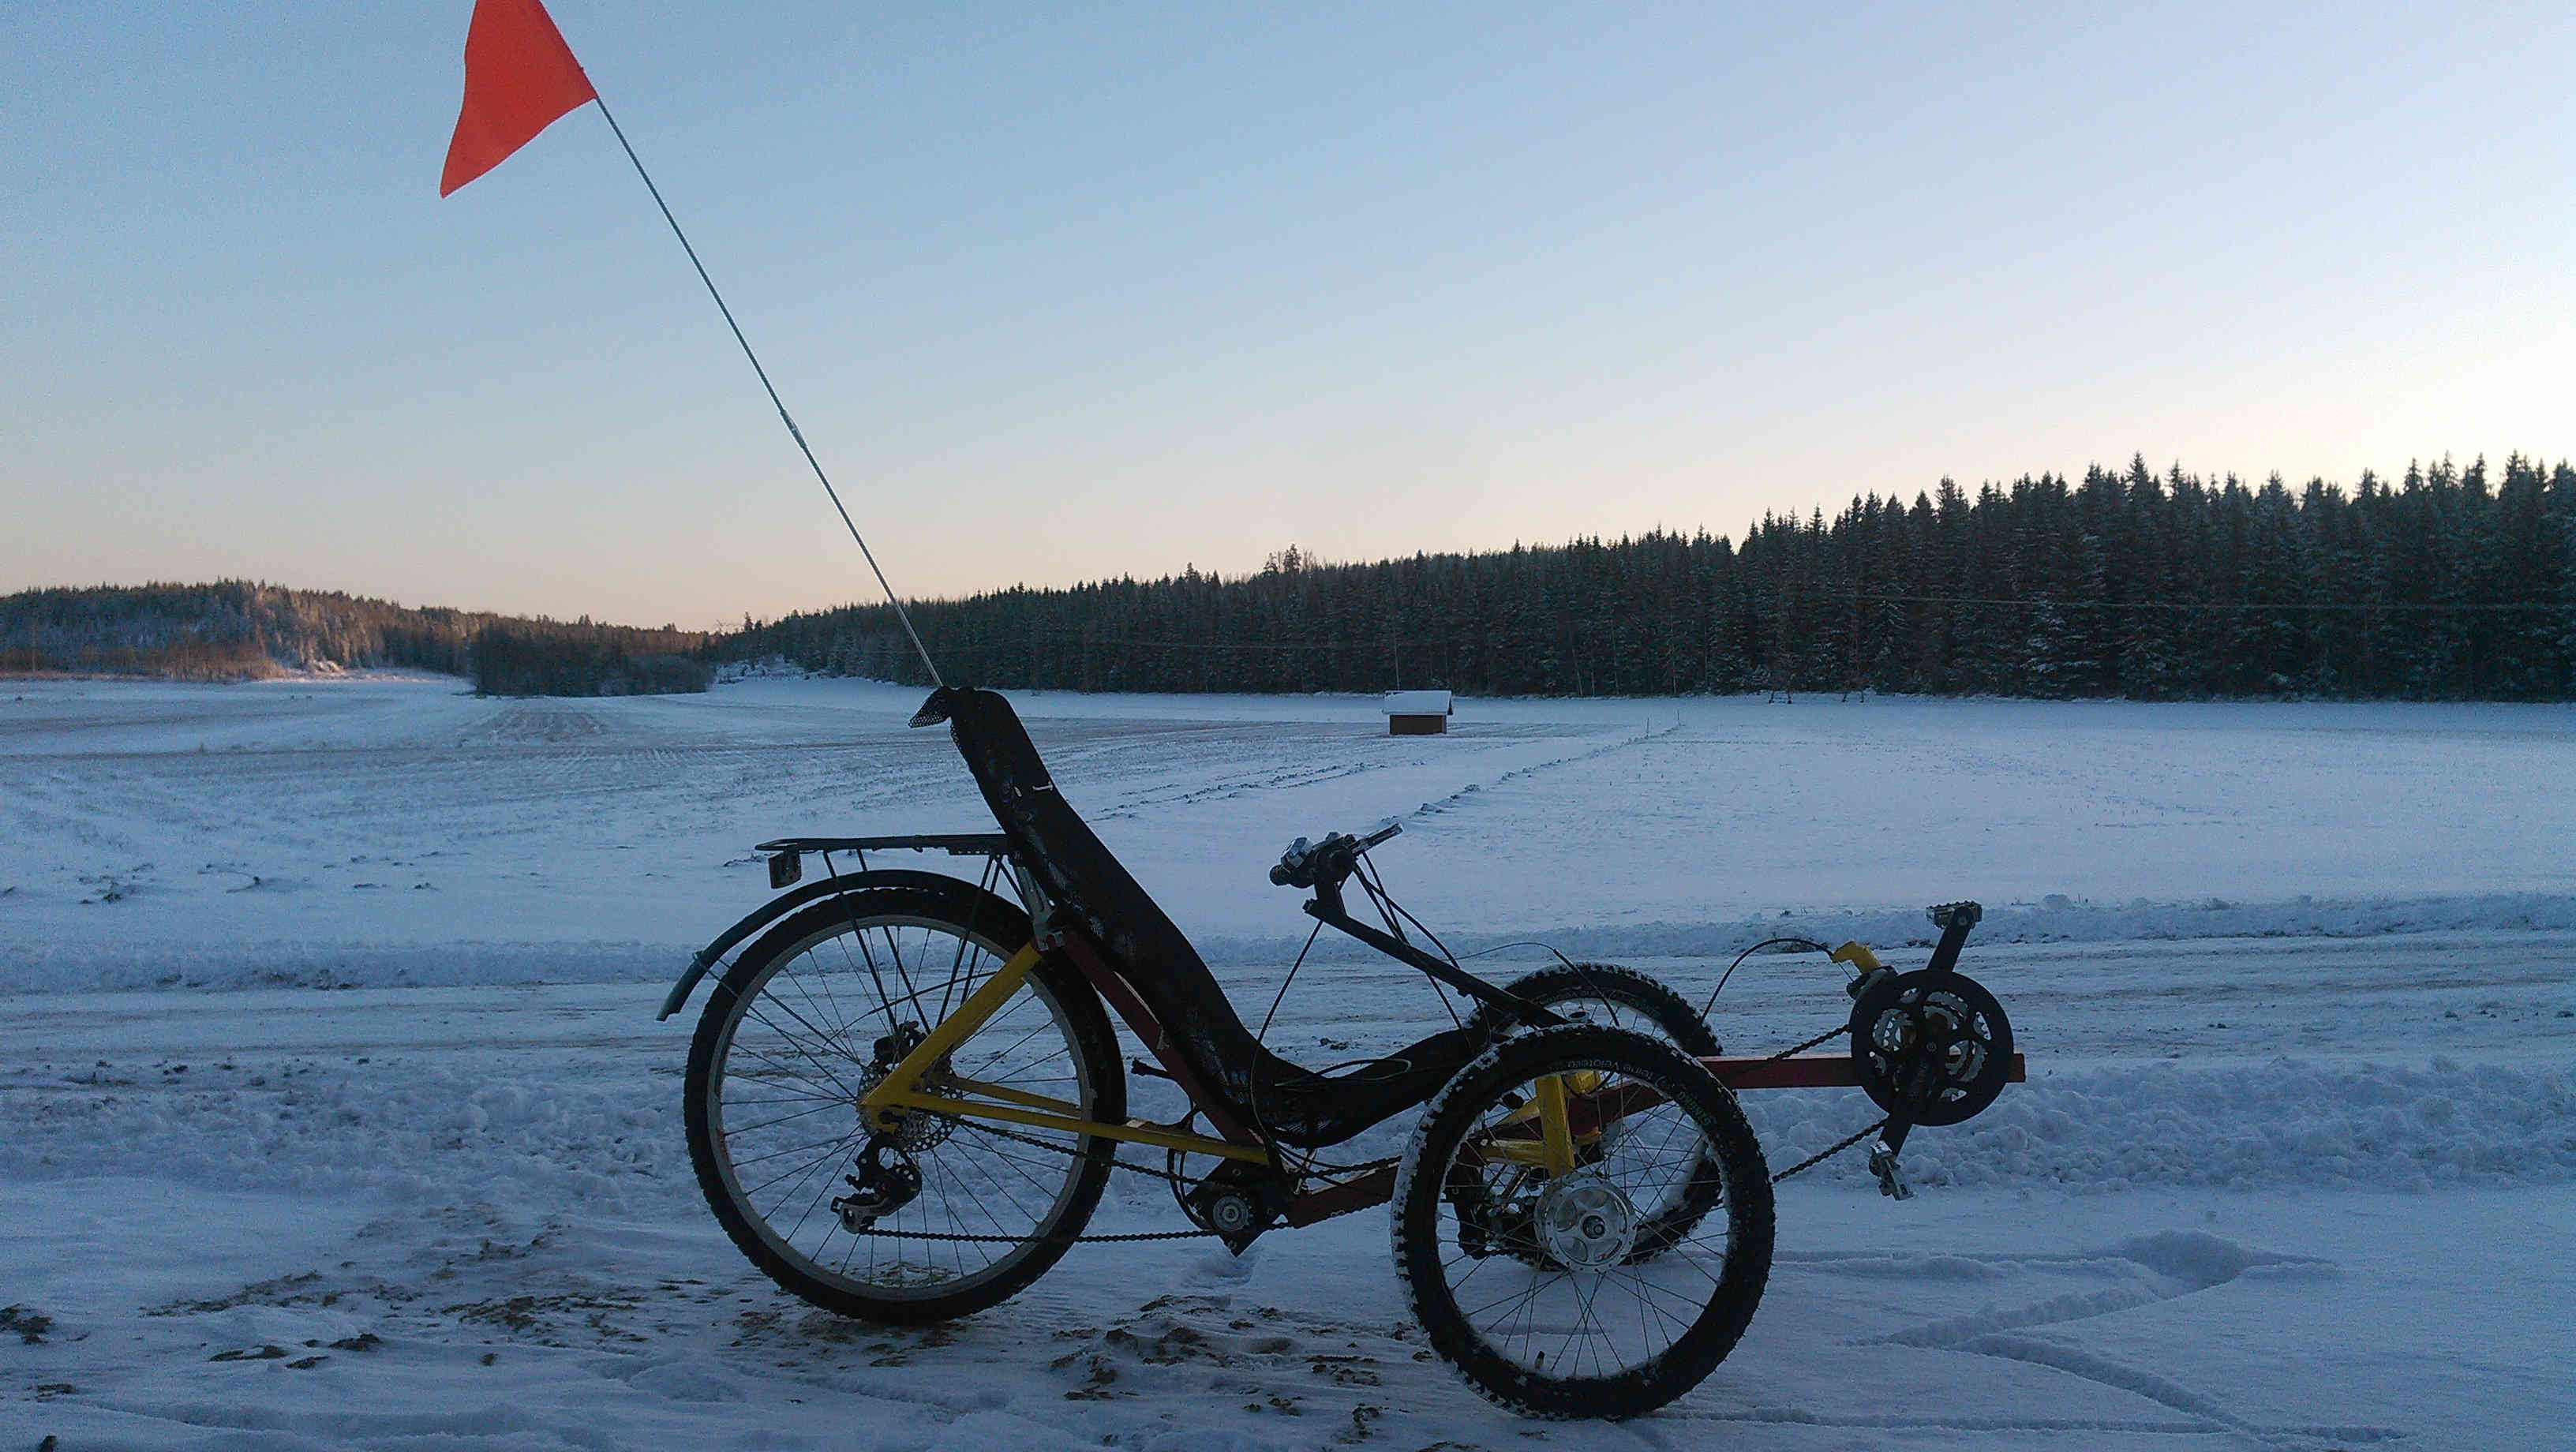
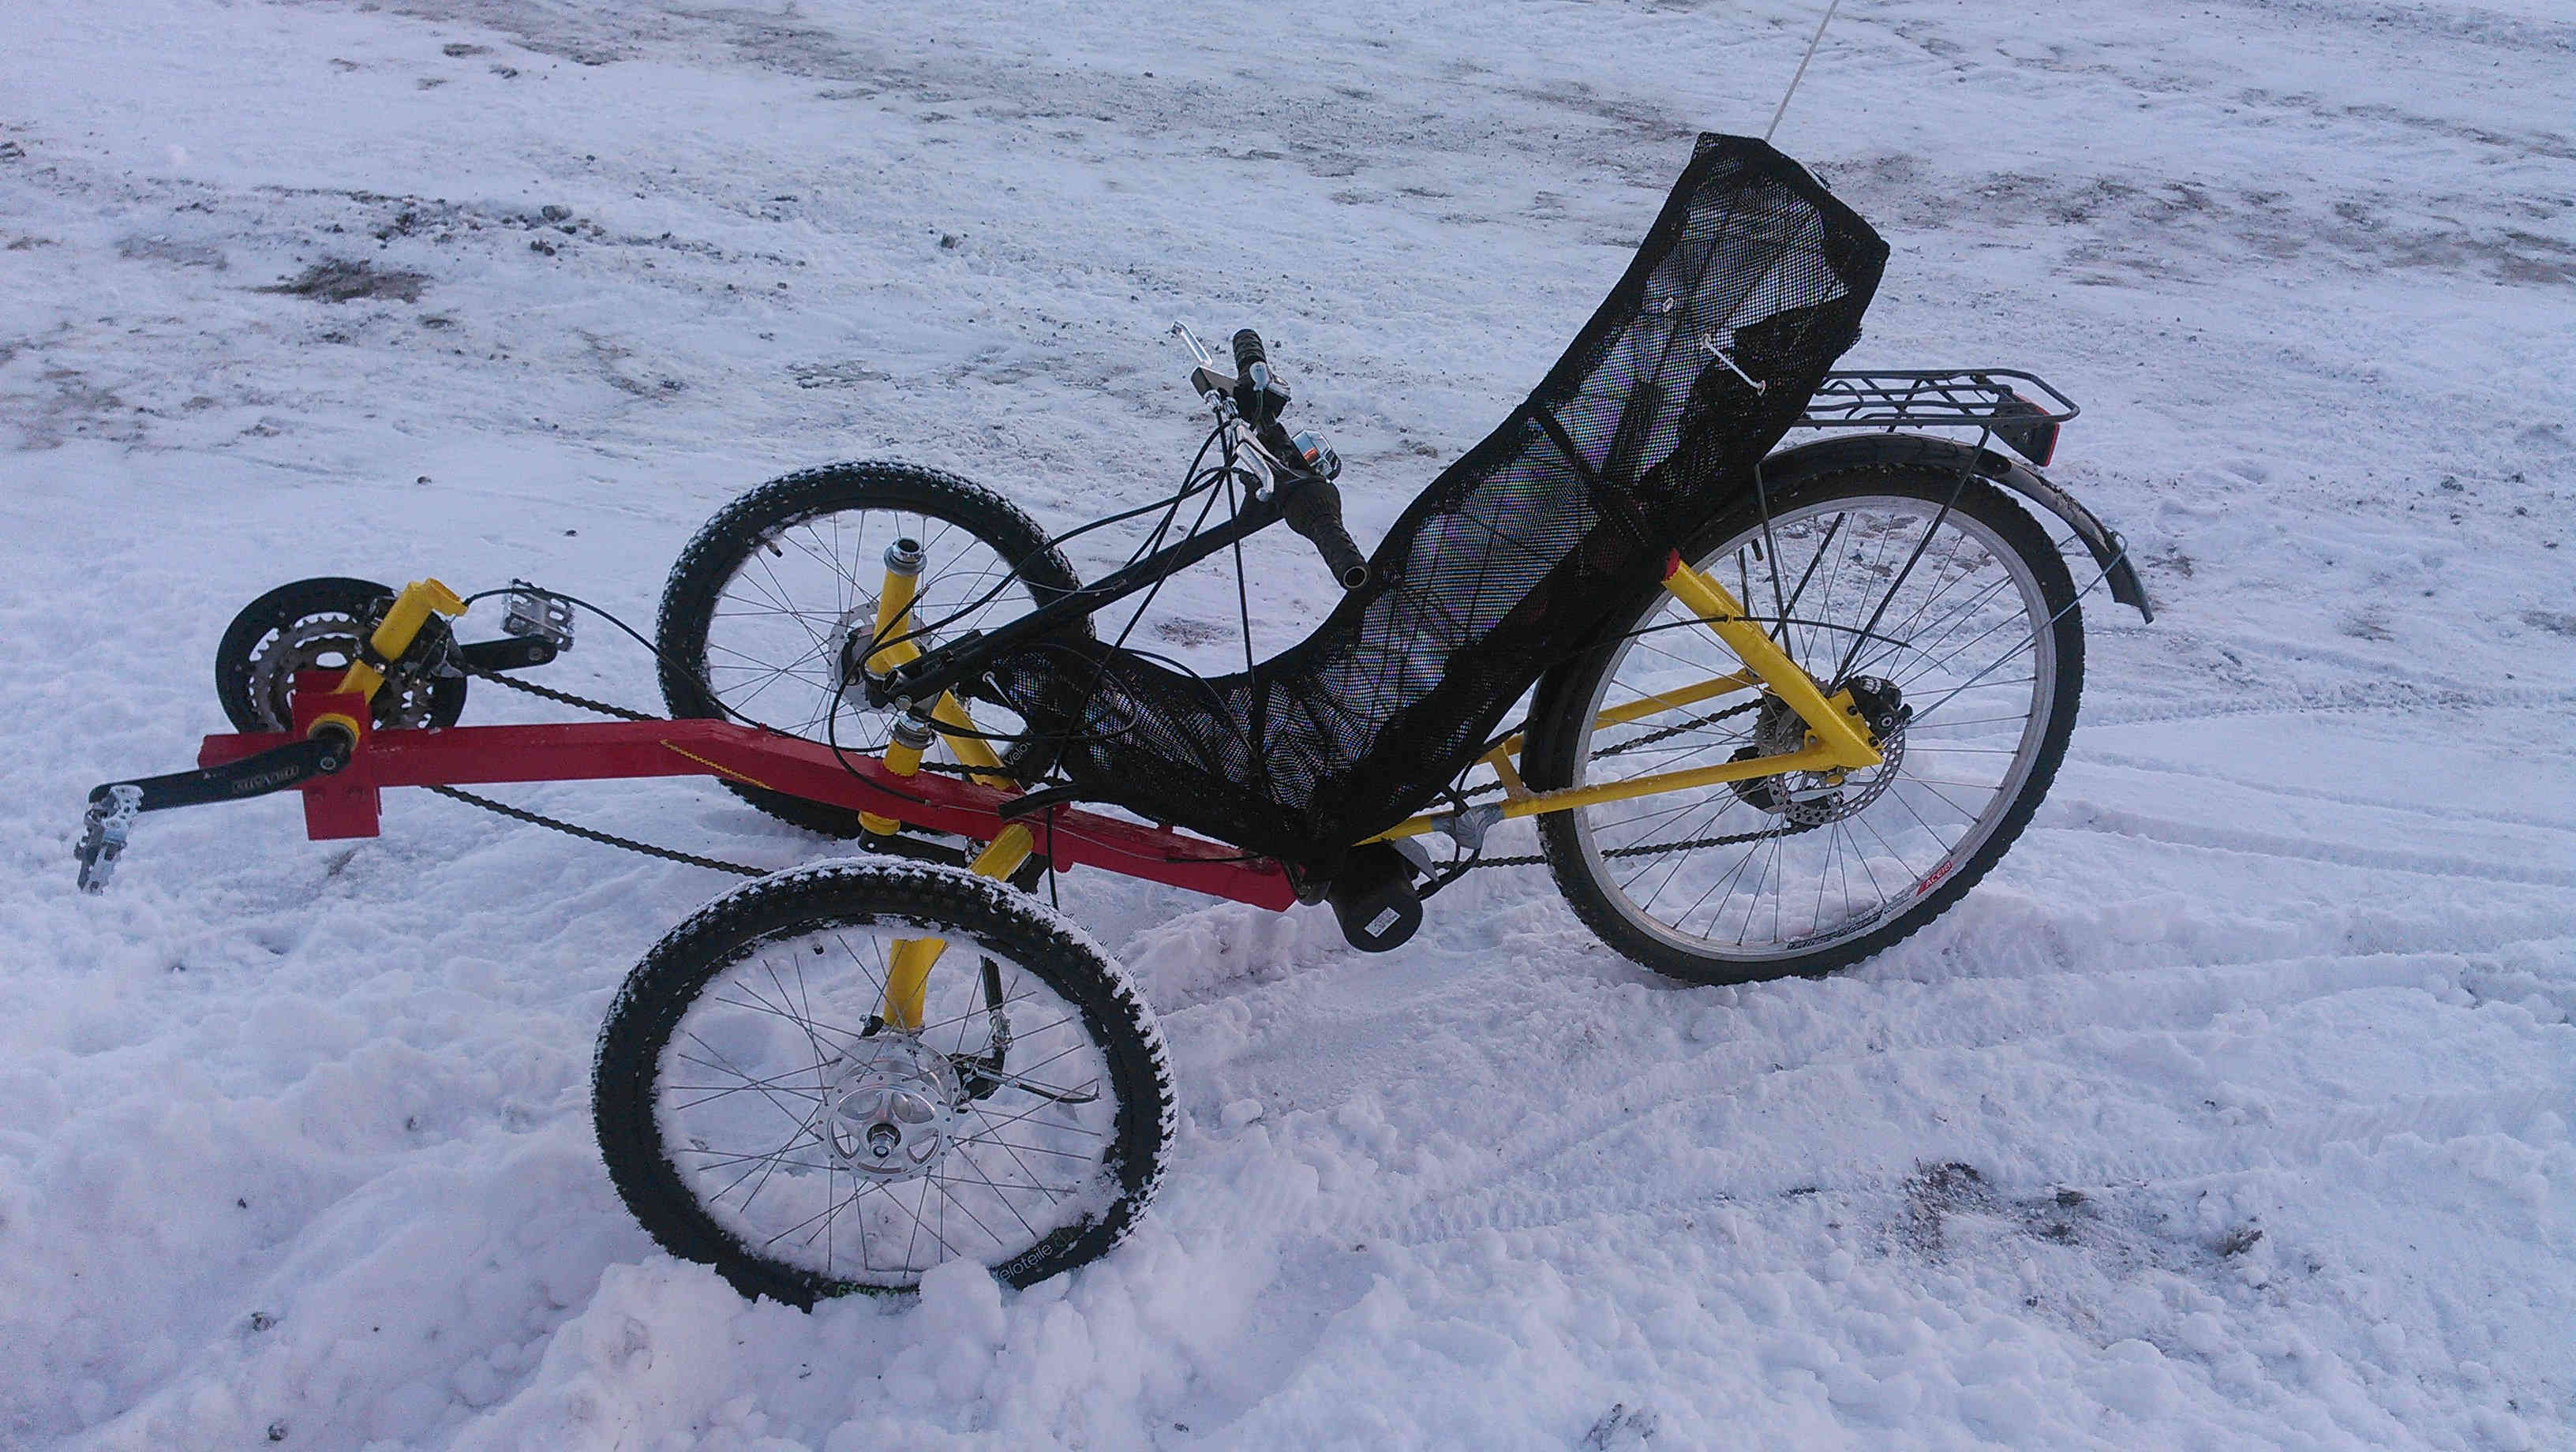
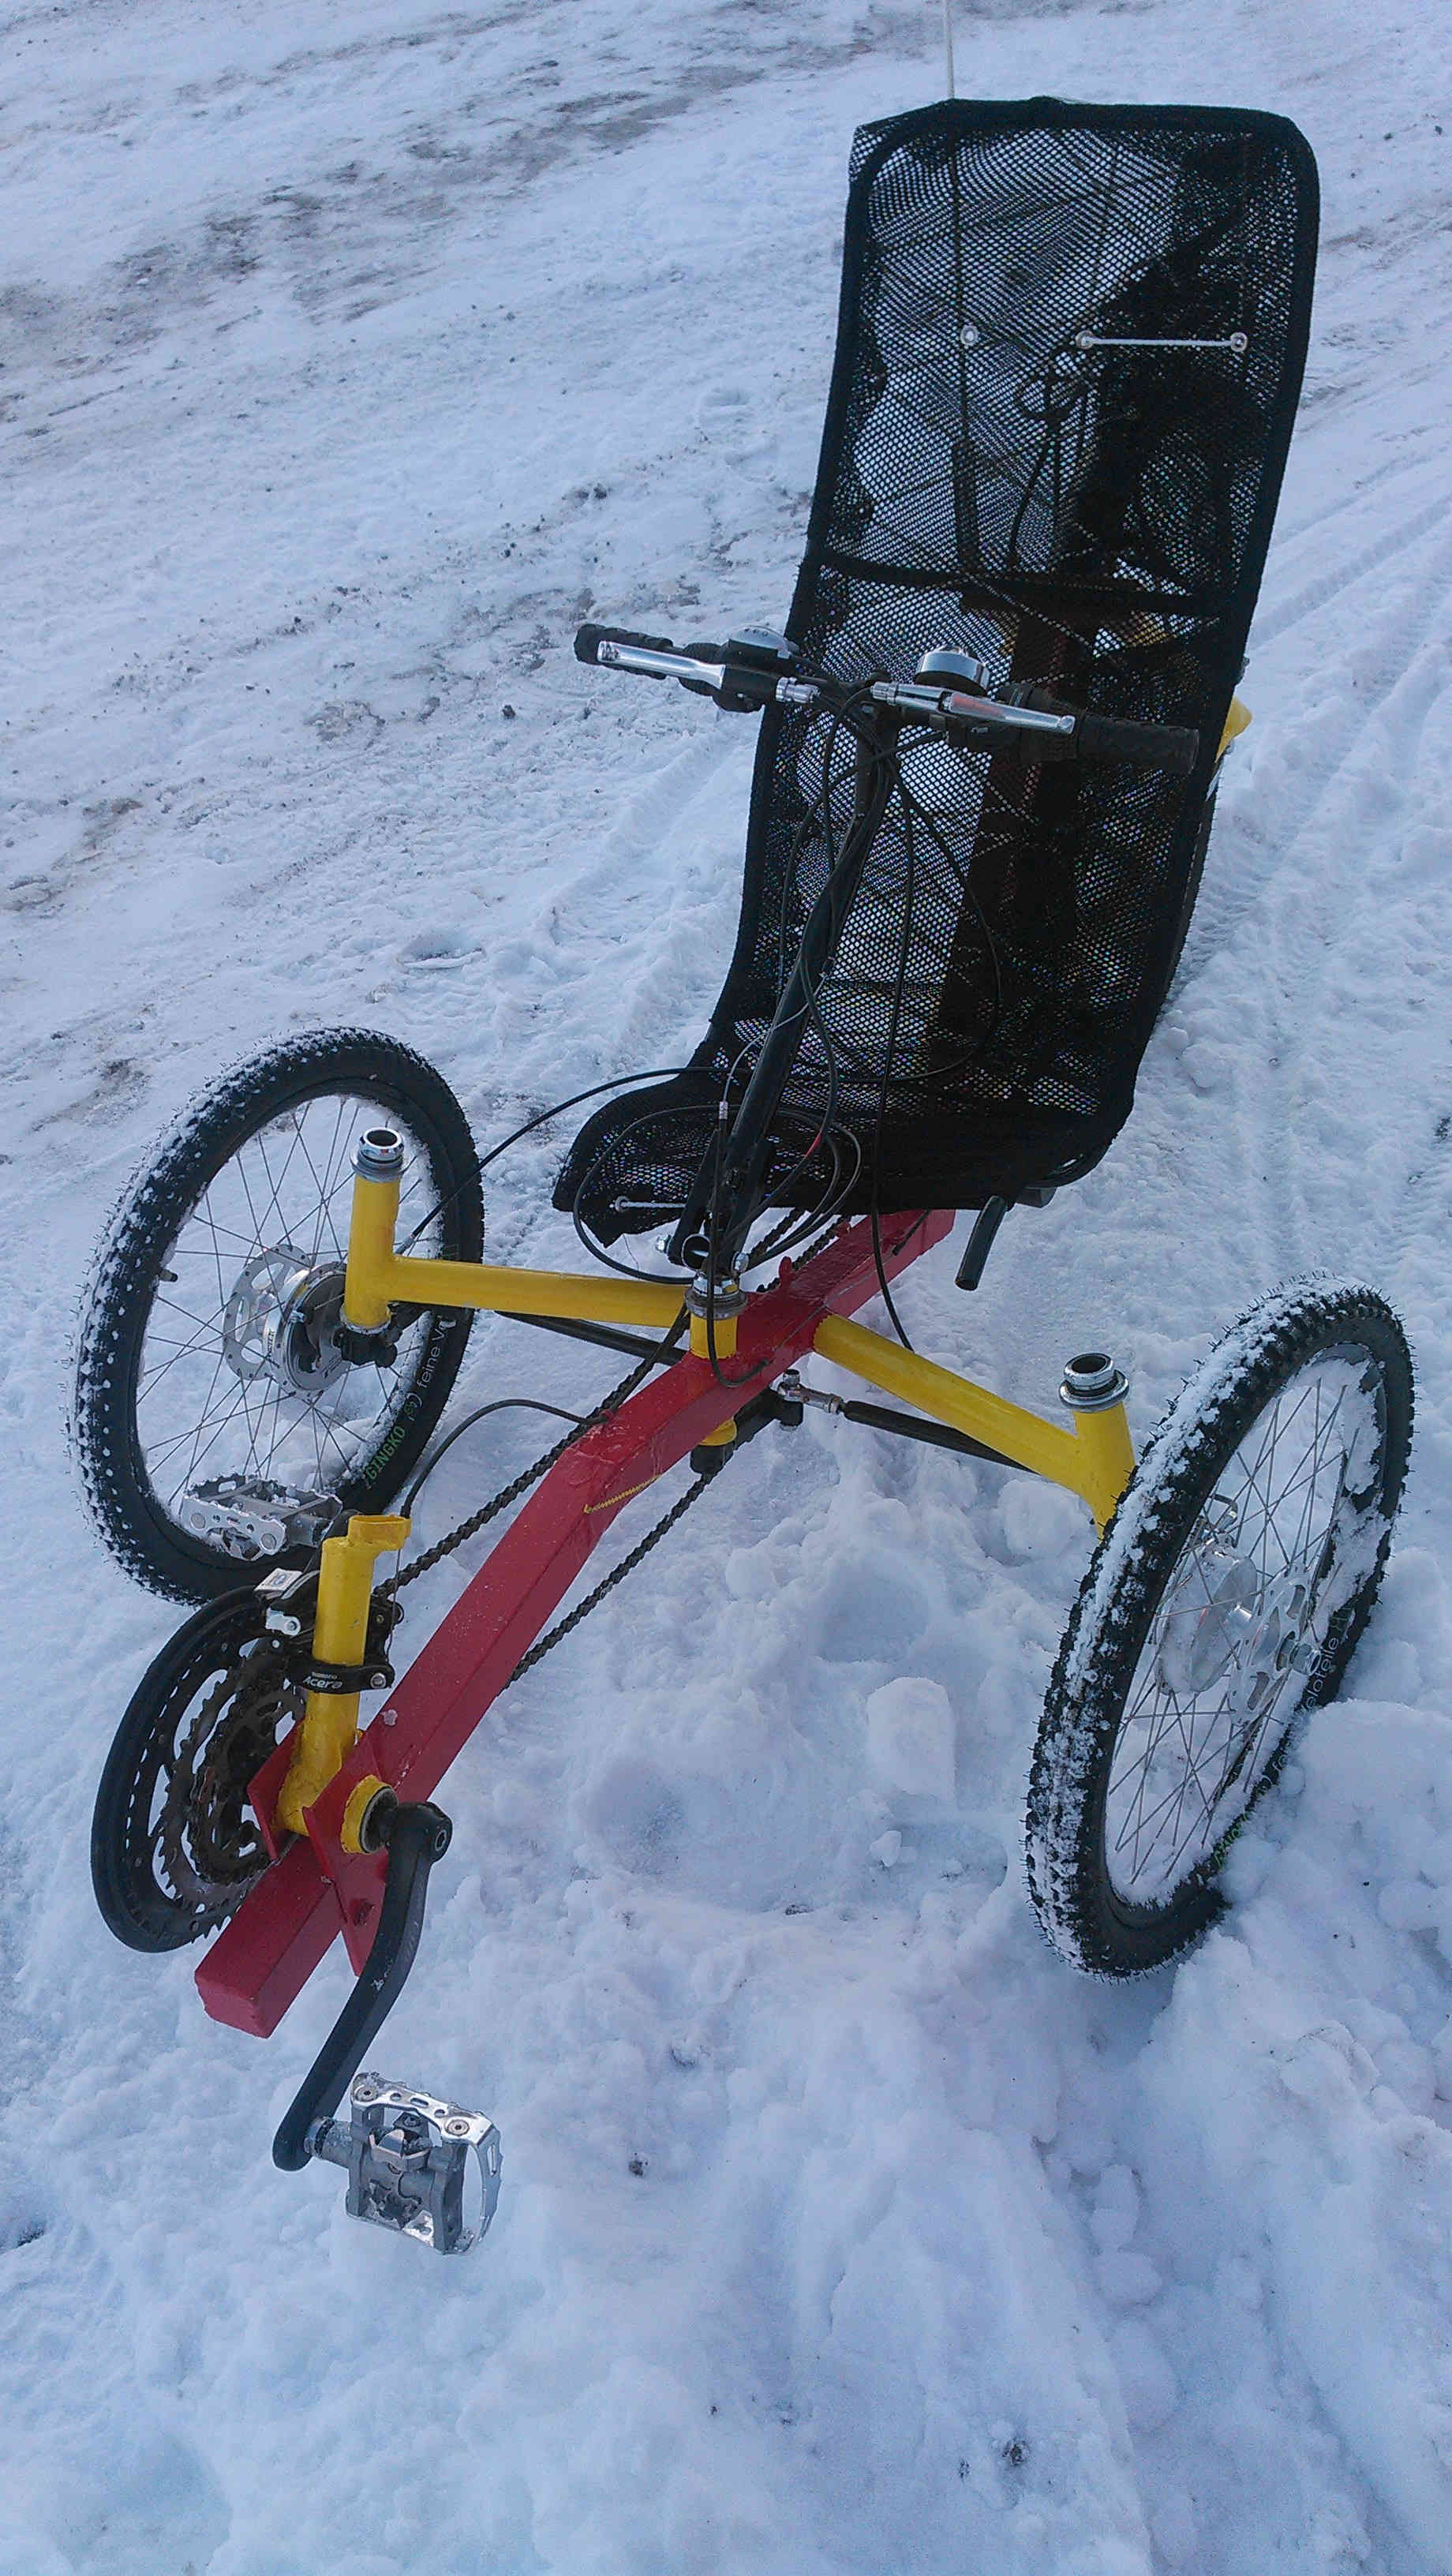
Winter DRIVE!
Test drive in winter wonder land. The trike worked nicely.